
Fitting The Roll Cage
You Have To Get This Right!
Last time, we “modified” the Pajero with some metal artwork, courtesy of an angle grinder!
It doesn’t matter what type of car racing you’re into, a quality roll cage is critical. Without being melodramatic, a roll cage can be the difference between surviving an accident or not.
Firstly, A Few Words About The Paj. No doubt lots of you will be thinking, “They’re crazy. How can you cut the guts out of a monocoque and expect it to still be strong?”
Well, you could be right. Time will tell.
However, those Japanese Engineers are pretty clever. Yes, the Paj is a monocoque. But have a closer look. It actually has chassis rails. No, they obviously don’t form a separate ladder frame chassis with a body on top. There are chassis rails though, integrated into the body pressings.
Dig a bit deeper and you’ll see these chassis rails are multiple layers of high tensile sheet steel, spot welded, bent and folded in a million places for strength.
So there’s hope yet…
The Roll Cage Becomes The Structure
So clearly, the roll cage needed to be strong. Not just for safety, but also to give the body extra strength.
Let’s step back for a minute and state a few obvious and not so obvious things.
- Any roll cage has to be super-strong, to form a protective cocoon around the occupants. That’s a given.
- A standard cage consists of a main u-shaped hoop behind the seats and then lots of triangulation.
- In a body-on-chassis vehicle, the cage goes through the floor pan and is welded to the chassis rails.
- The roll cage has to be built to Australian Standards, using chrome-moly tubing.
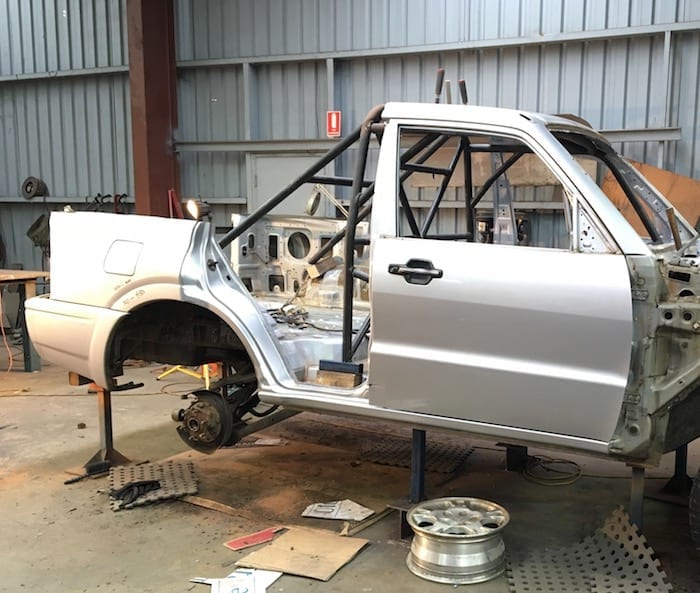
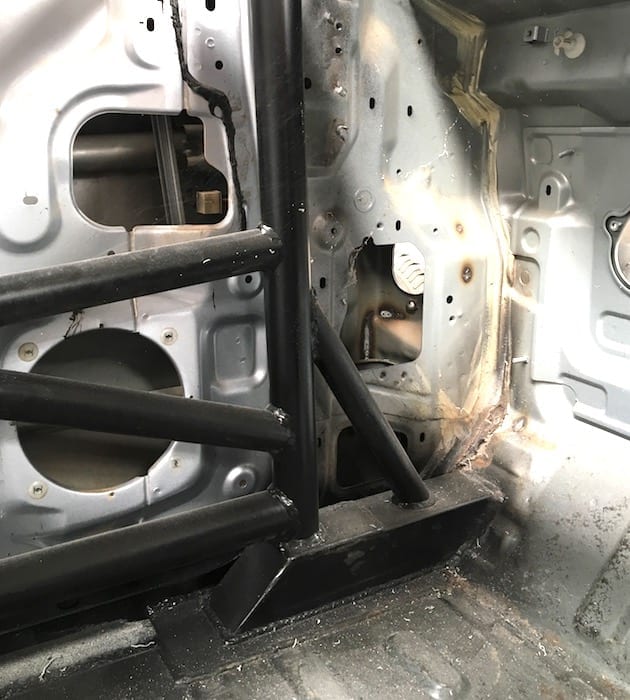
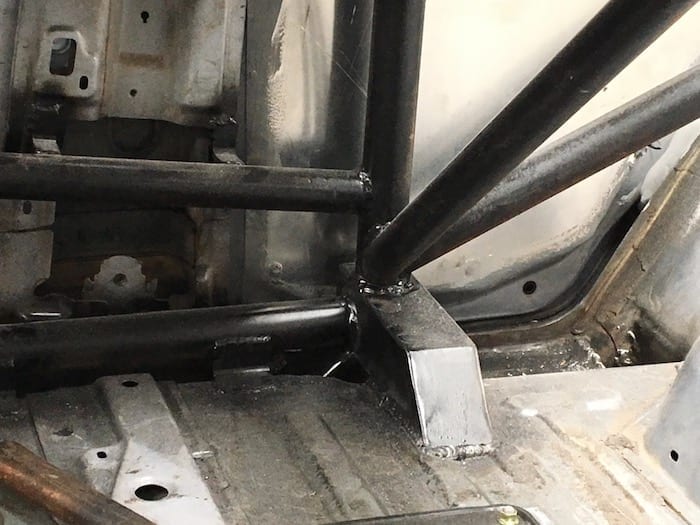
Where to attach the cage in a monocoque? Well it turns out the Paj has a super-strong area at the front of each footwell with a fully formed chassis rail underneath. Makes sense – this is a weak point in most vehicles.
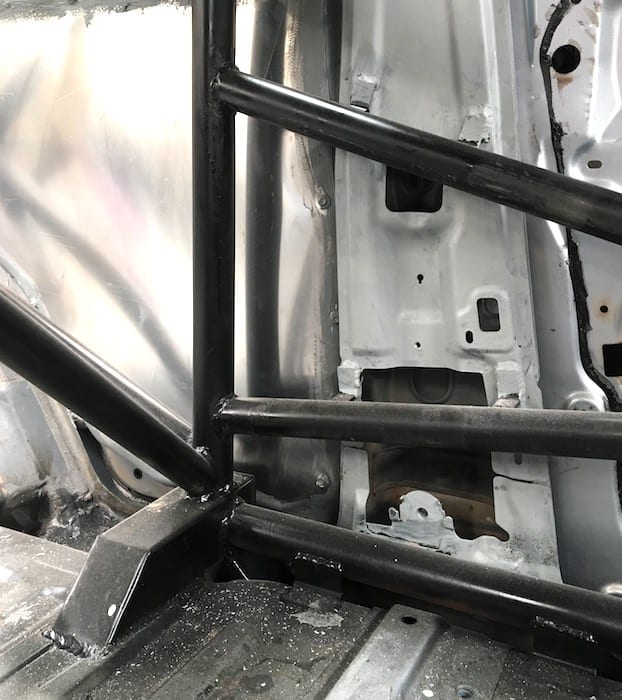
And behind the seats – in what was the rear seat floor pan – is another really strong body/chassis point. This is also stiffened across the vehicle, from one side to the other. Perfect!
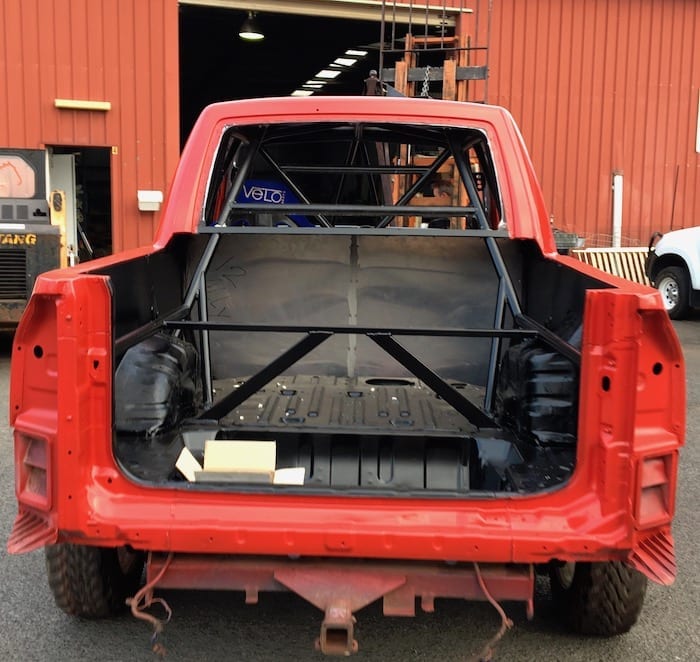
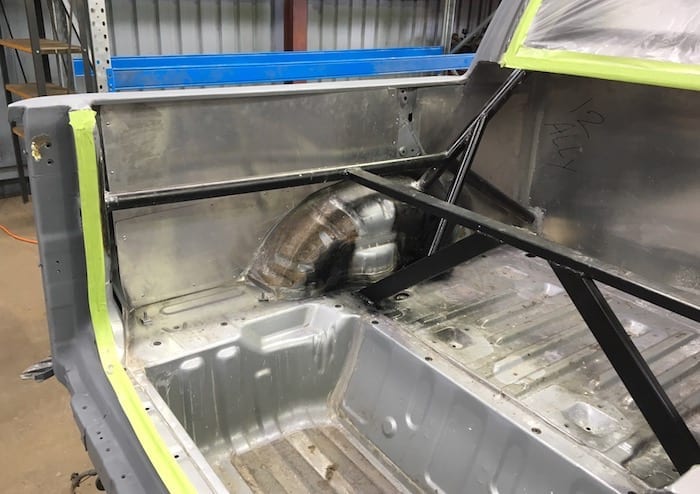
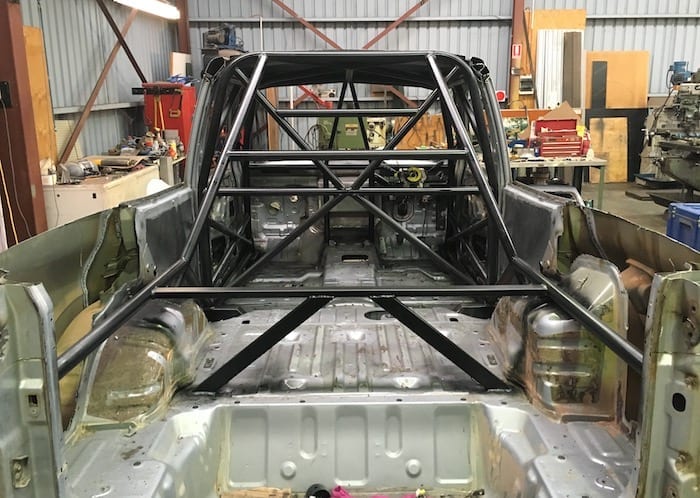
What About The Rear End?
This is an interesting one. Obviously, the rear suspension cradle gives this area strength. Also, a folded and spot welded chassis runs all the way to the back. Lots of complicated bends and folds in the floor also stiffen up this whole area.
But we’ve just removed the top half of the body. What to do?
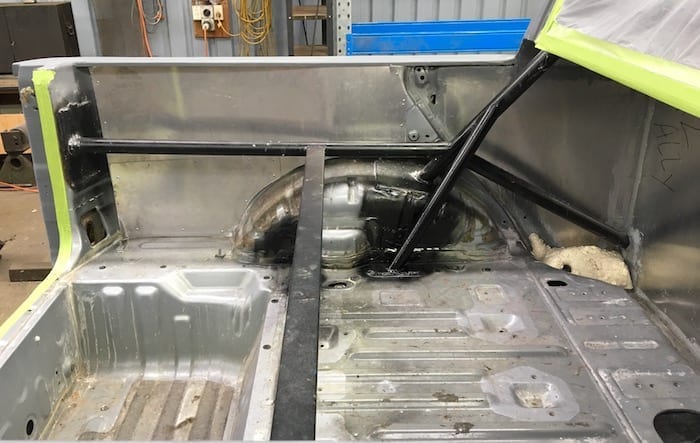
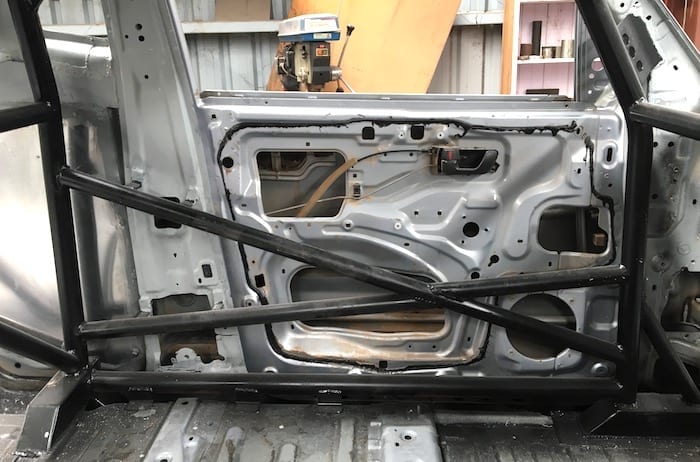
Well, we decided to run braces from the top of the cage down onto the wheel arches, then triangulate this back to the bottom of the main hoop, then triangulate down to the floor. Another cross brace – again triangulated to the floor locks it all together in the side-to-side direction. Confused? See photos below.
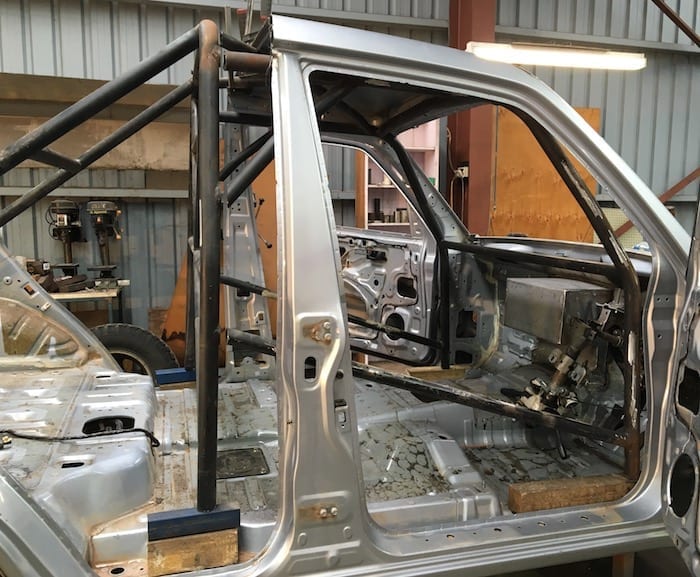
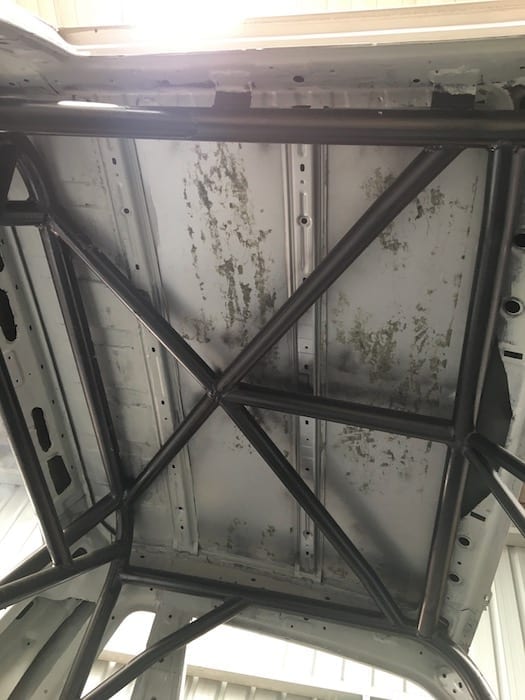
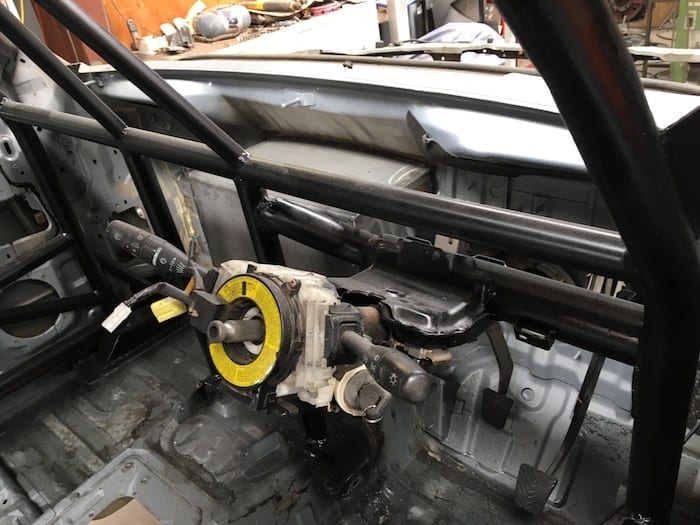
How Do You Prevent The Roof From Caving In?
With lots of triangulation! One place often forgotten when building a cage is the centre of the roof at the front. We’ve triangulated the roof, then continued it down to the transmission tunnel.
Will The Paj Hold Together?
We’re confident it will. Having said this, off-road racing is brutal on cars. So if there’s a weak point, we’ll know about it pretty quickly!
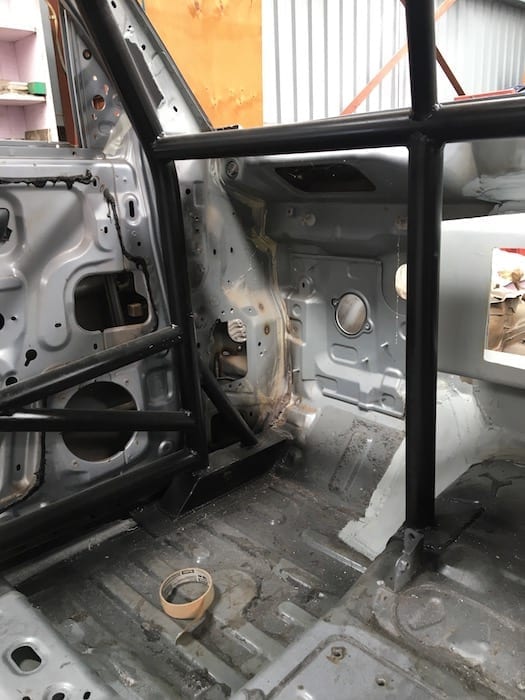
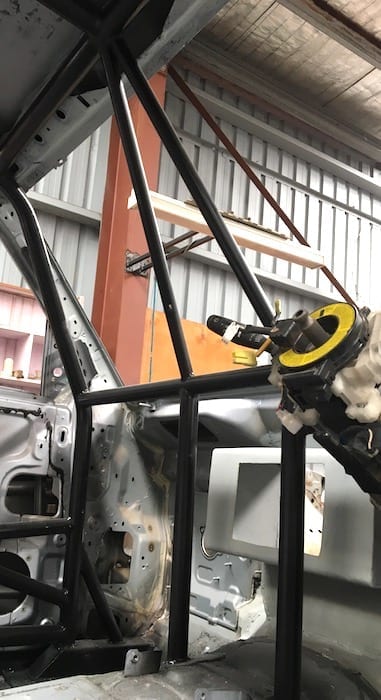
If you look closely in the photos, you’ll see lots of welded tags – flat bar folded and fully welded both ends. They make a world of difference – the body is effectively locked into the cage. In the photo below for example, you can just make out two sets of tags on each of the cage bars. These particular ones lock the B-pillar into the cage. And the bottom bar has three tags which lock the floor to the cage.
Next time: Doing the bodywork… so time-consuming.
Get your BONUS Guide:
Download “What’s Involved In Building An Off Road Race Car”
+
Cable Sizing Calculators… And More!
at our FREE RESOURCES Page!
Any questions or comments? Go to the Comments below or join us on Pinterest, Facebook or YouTube.
Any errors or omissions are mine alone.
Want to know more about off road racing? Then go here.
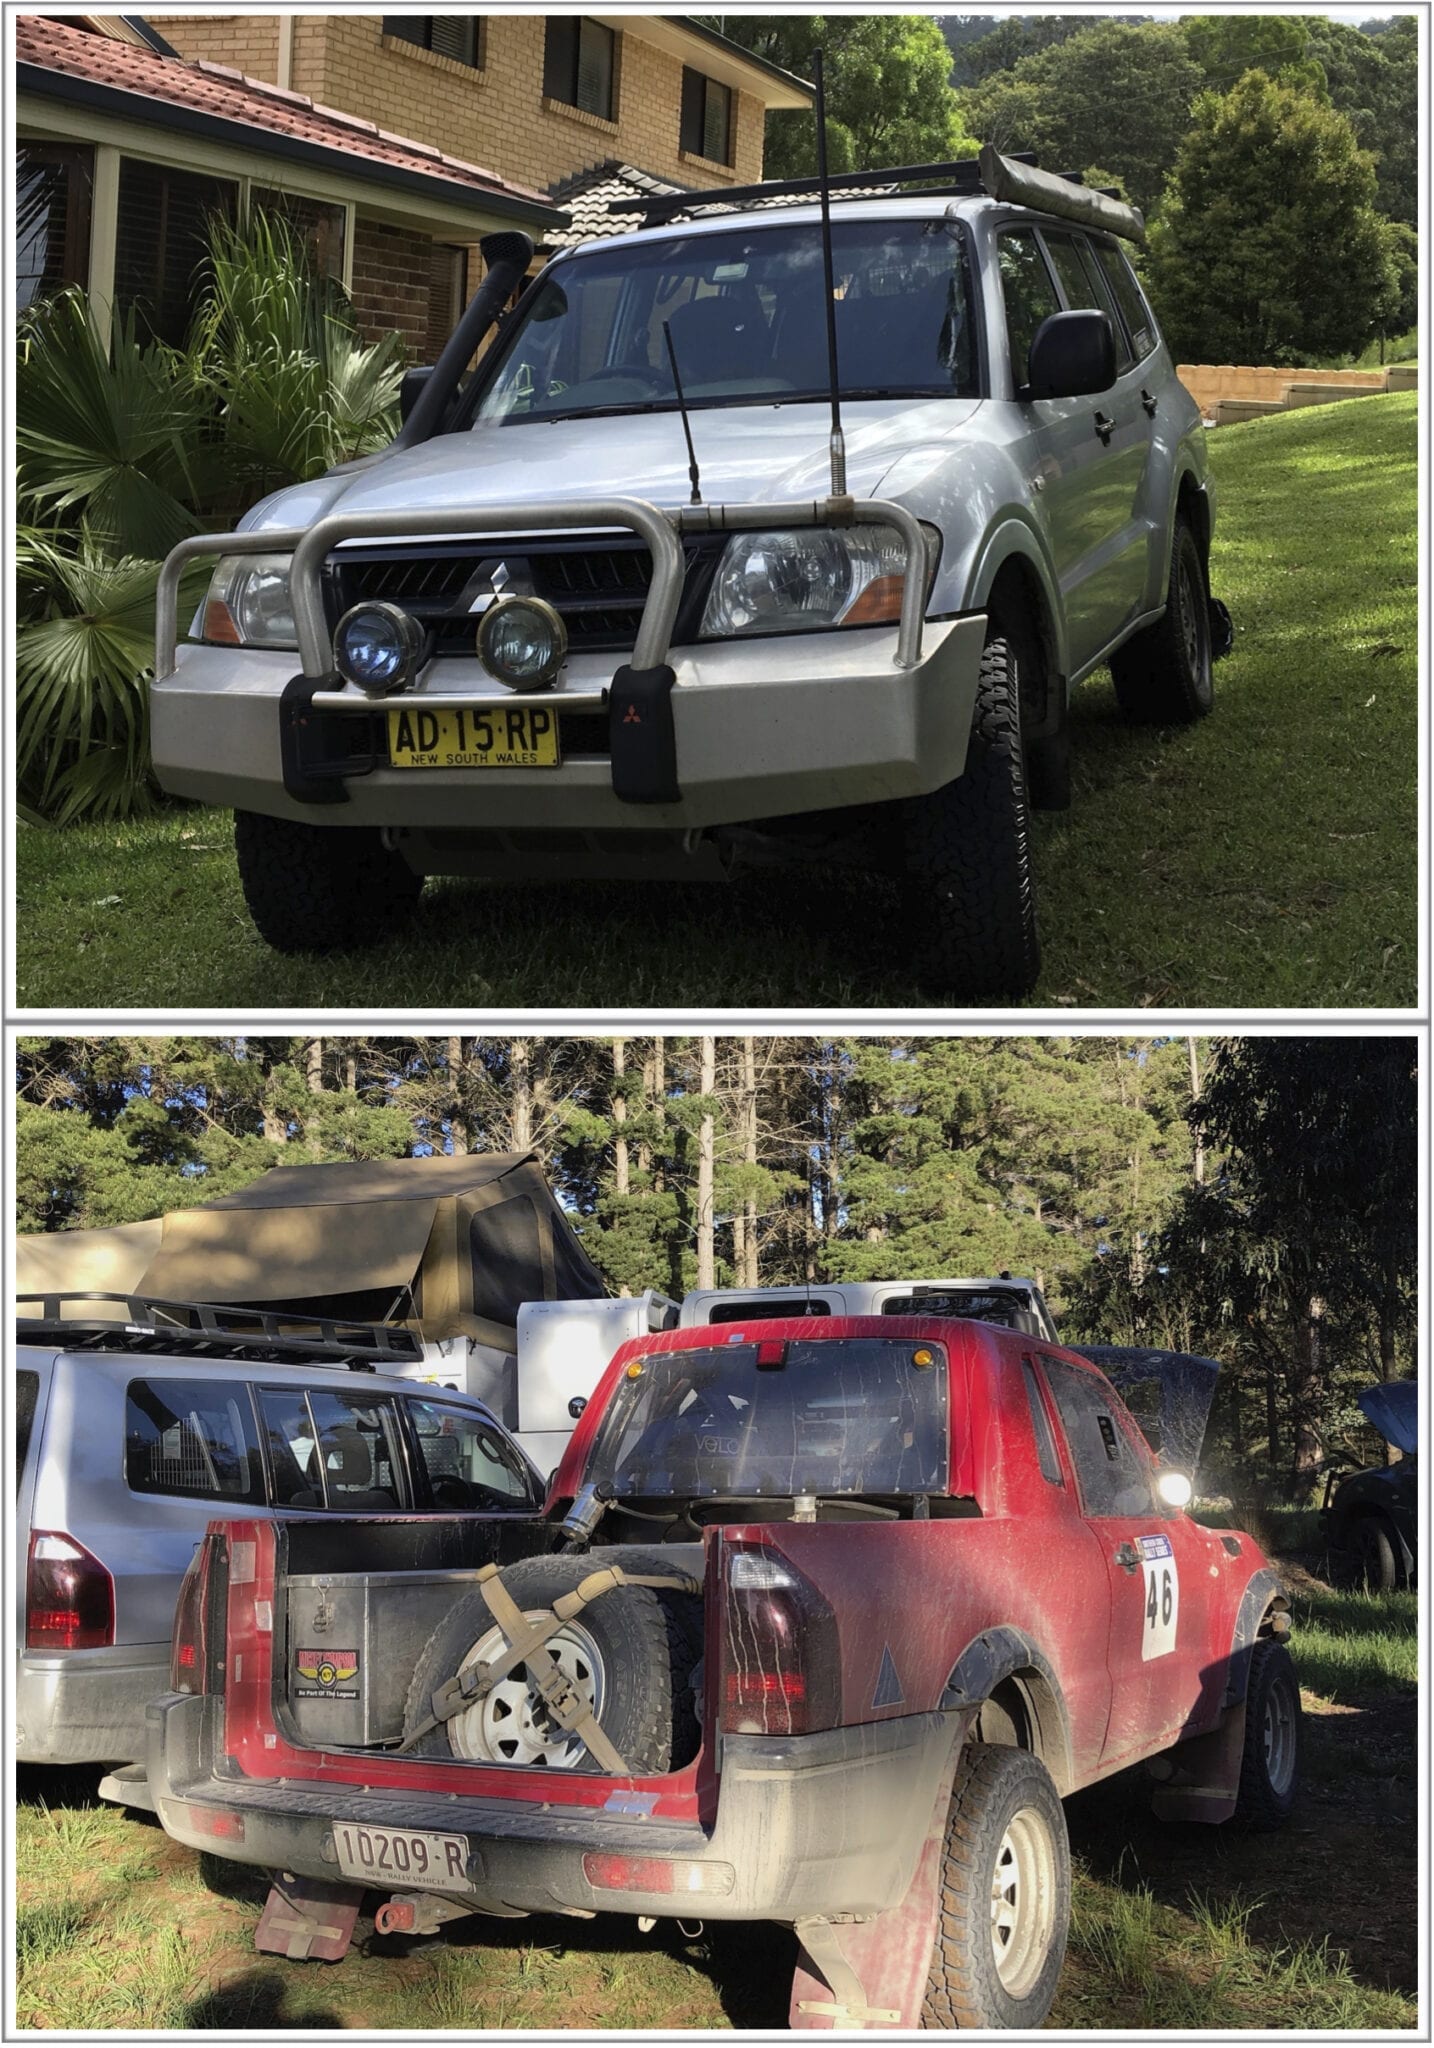
wow the old Pajero is unrecognisable! Can’t wait to see it in action
It certainly is! Should be a lot of fun when it’s running.
Has anyone ever put An LS1 into a registered 96 NJ Pajero and used it as a daily Driver? If the answer to that question is a yes could I be advised as to what type of running gear I’m going to be needing it and adaptor plate eccetera
Hi Brent, Have a look in this Facebook group: https://www.facebook.com/groups/642685235829889/
It’s called V8 Pajero Australia and you’ll find plenty of good advice regarding V8 conversions for the NJ model.
Hope this helps. Cheers, Andrew