
Time For Some Metal Artwork!
Last time we test-fitted the engine into the Paj. Go here if you missed it.
Metal Artwork With An Angle Grinder…
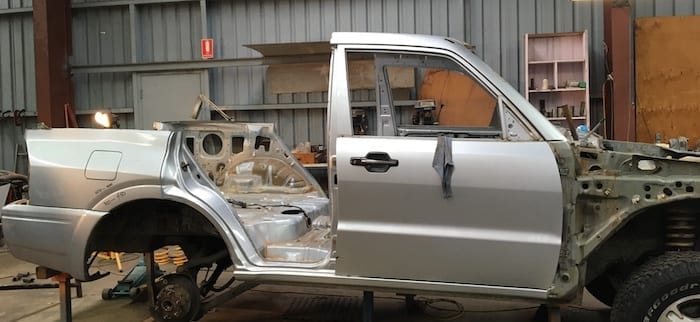
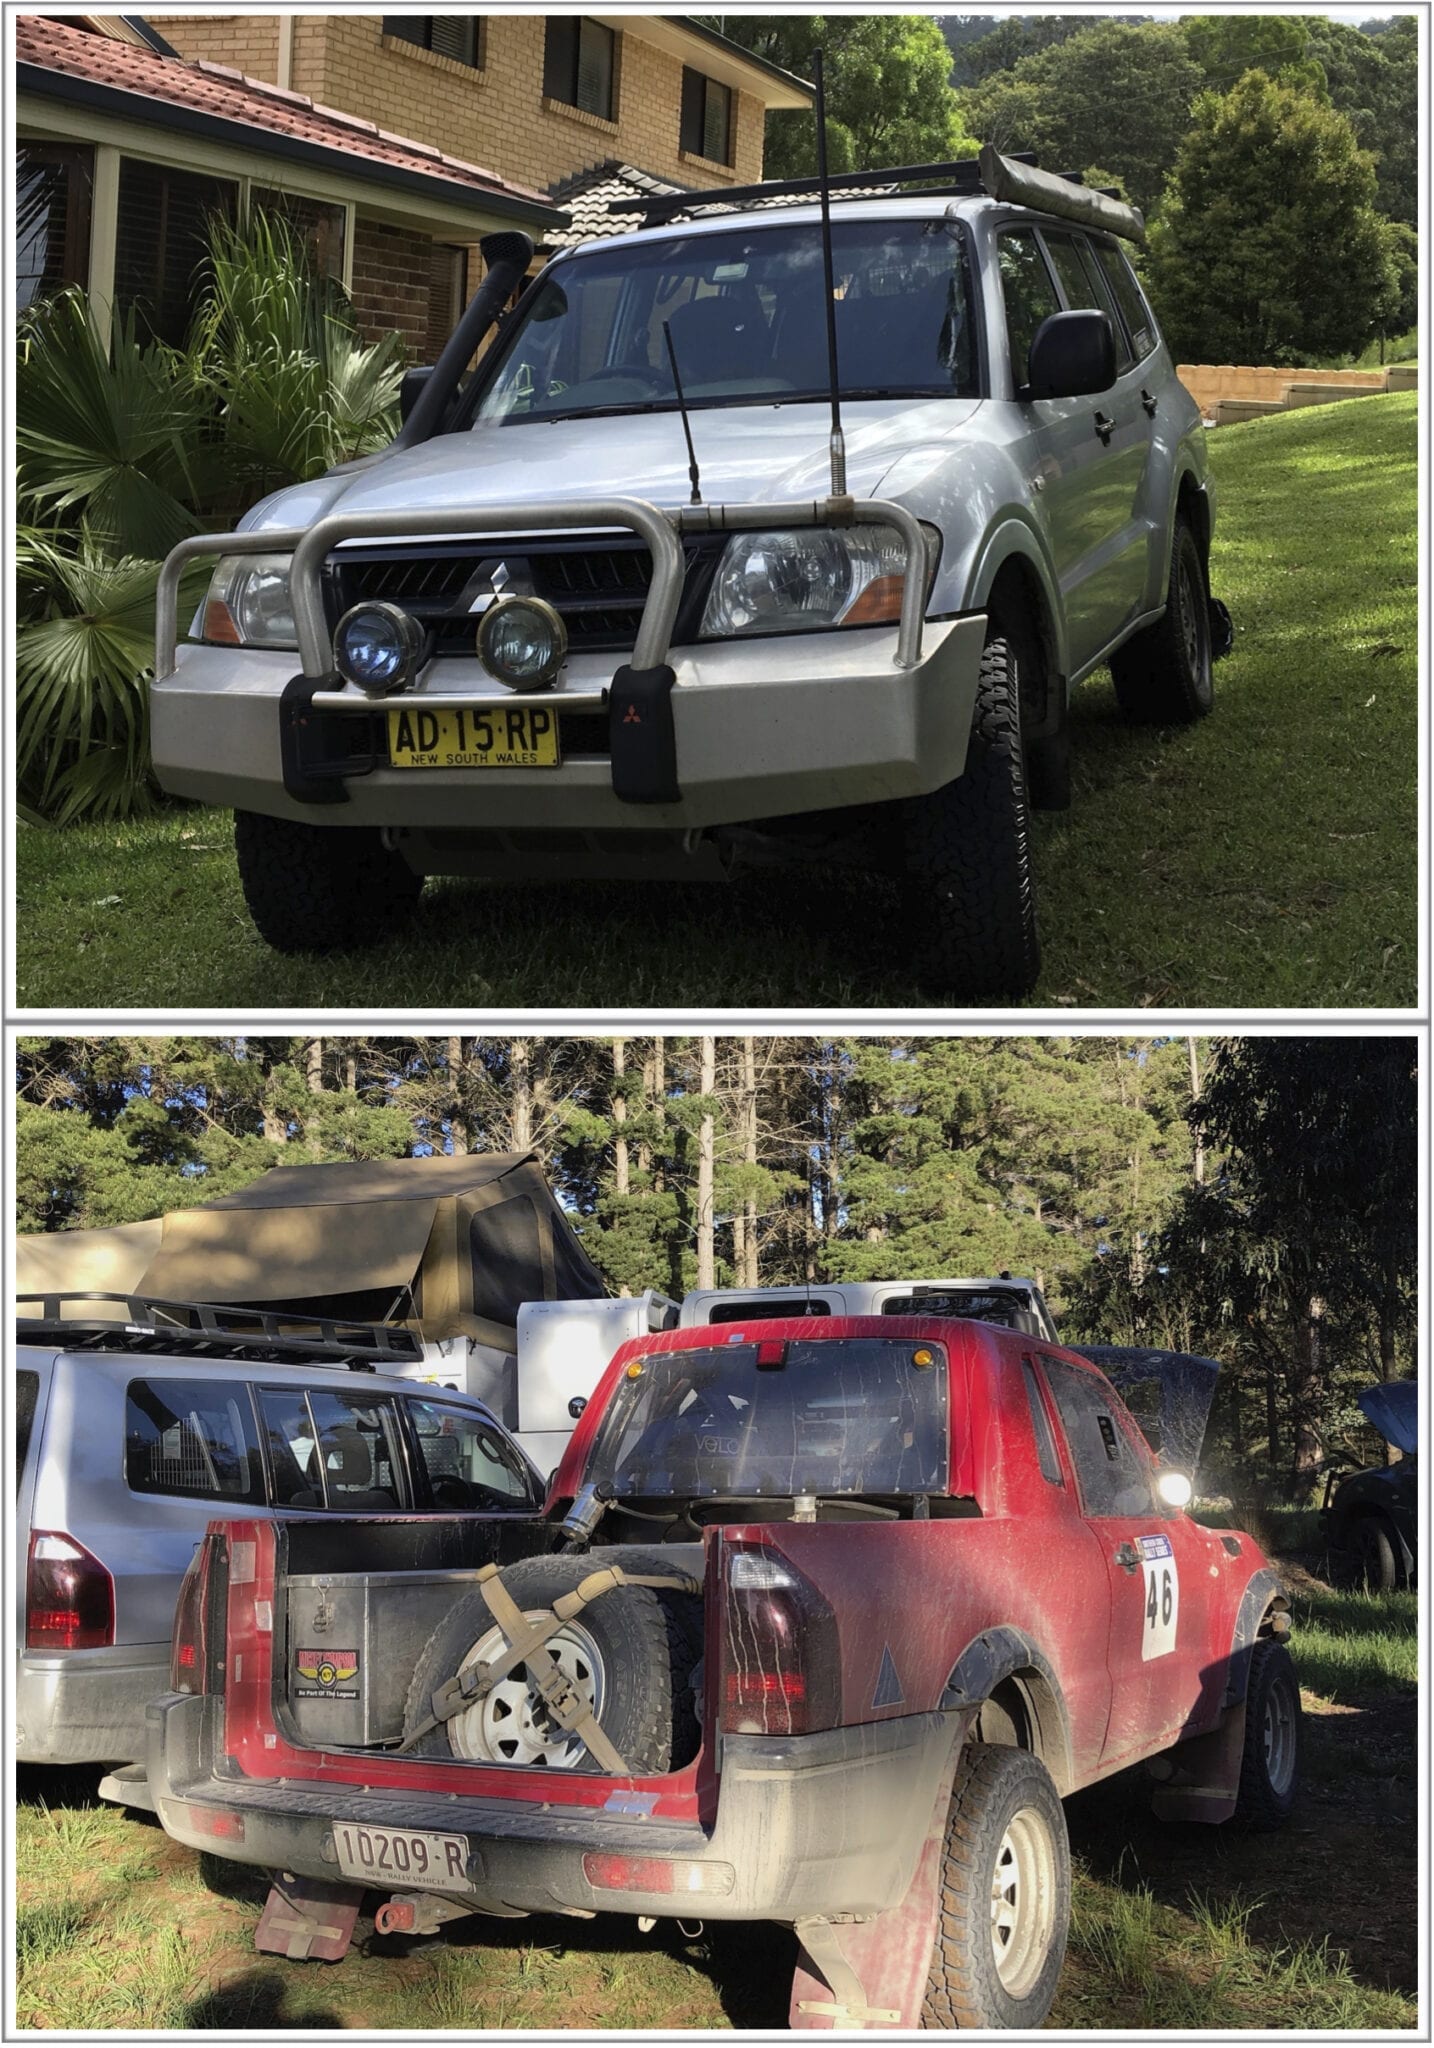
Dave and I had finally decided the Pajero was going to become a ute. How hard could it be? Ha!
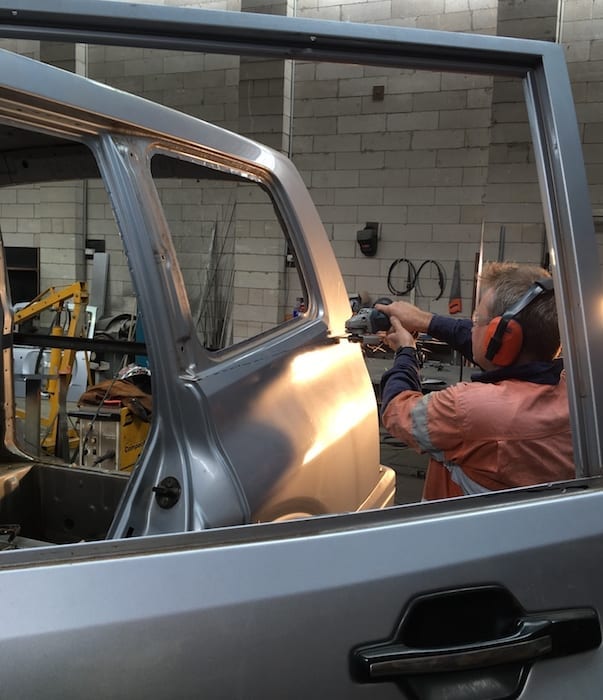
So the time had come. Armed with a permanent marker, an angle grinder and a steady hand, it was time for some serious metal artwork!
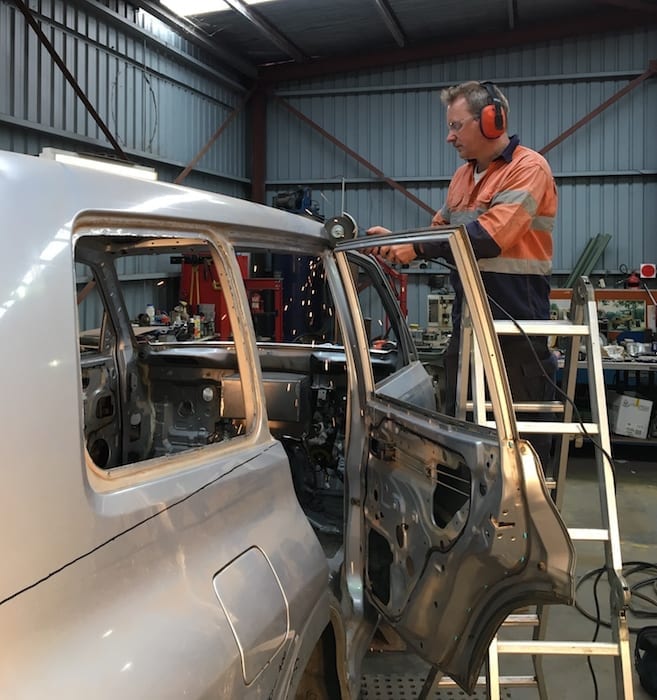
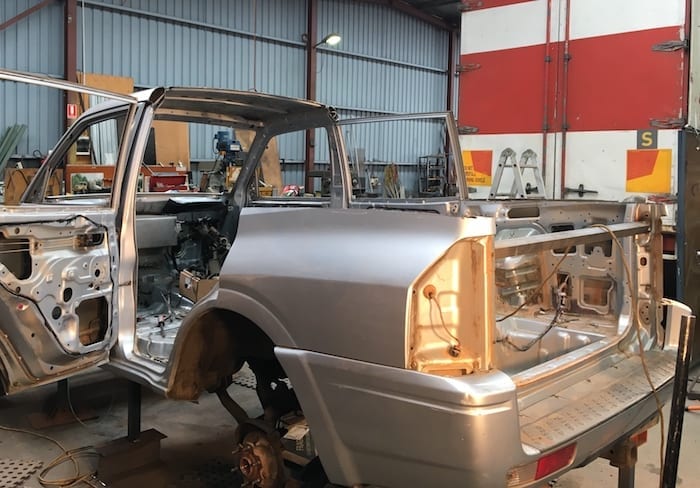
First things first. We were going to cut the roof off, from behind the front doors all the way back to a horizontal line above the tail lights. So Dave decided some support was needed for the rear end. A piece of angle iron was tacked on to prevent the sides from springing in.
Sometimes you just have to jump in head first and see what happens. Time for the angle grinder!
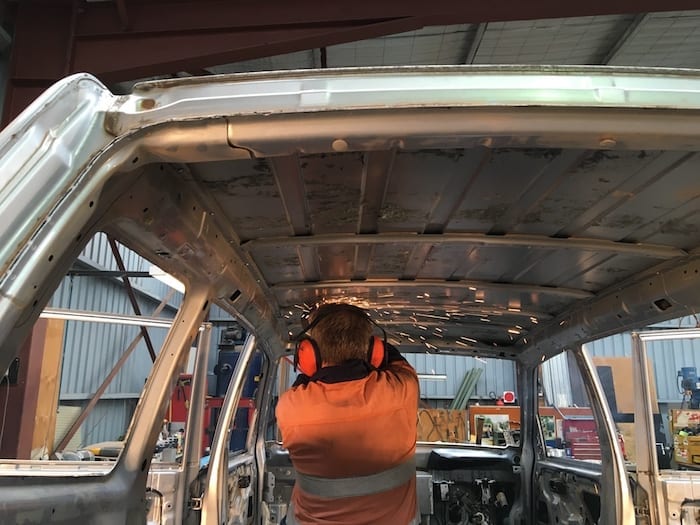
Layers Upon Layers
Once you cut through the top layer of sheetmetal, there are more layers underneath. There can be up to five separate sheetmetal skins in one panel – all spot welded together for structural strength. It’s pretty easy to see why Mitsubishi’s monocoque design is so strong and rigid. Makes it hard to cut through them though…
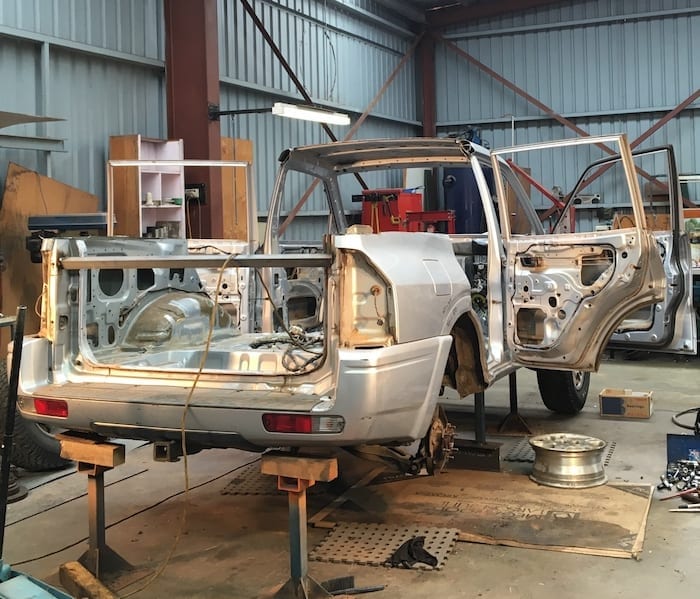
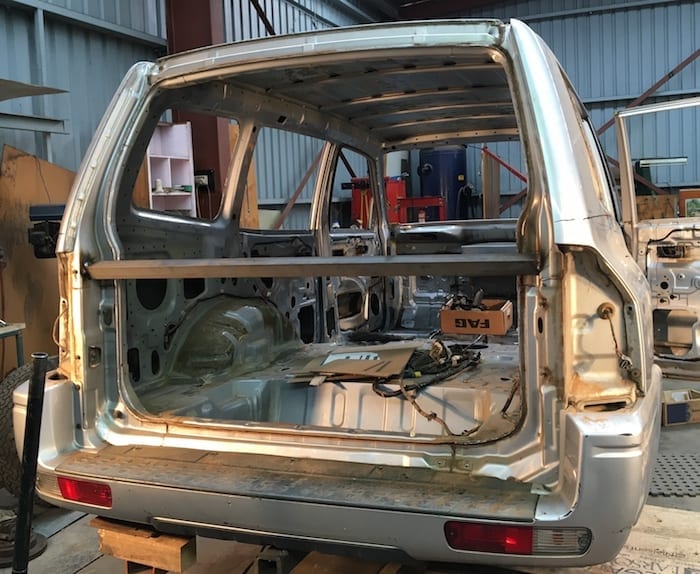
Interestingly, the body didn’t twist or spring at all. The doors still closed easily and there were no other signs of movement at all. This was encouraging. Of course the plan was to make the roll cage part of the structure, but it was reassuring that the body was still strong.
We kept the piece we’d cut off. The vague plan was to take the rear door surround, cut it back and weld it in behind the cab. This would give driver and navigator a bit of storage space behind the seats.
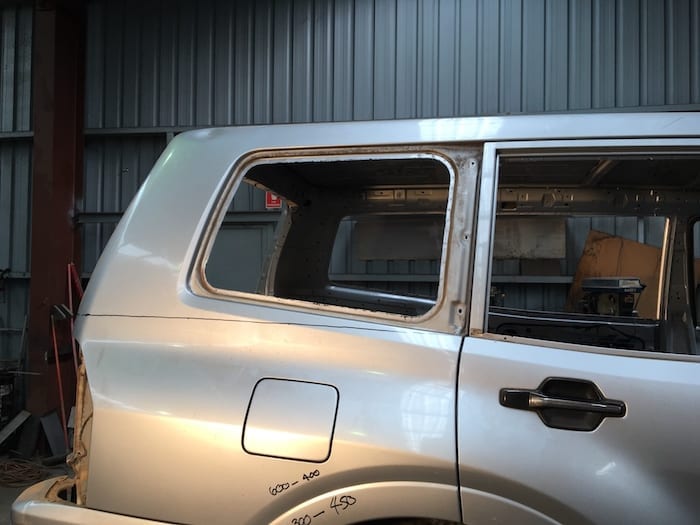
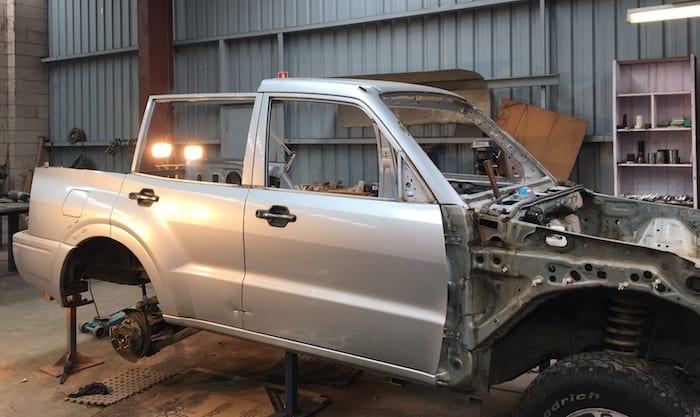
What To Do With The Rear Doors?
Well, the obvious option was to cut off the window frames and weld the doors in. The downside? It makes panel beating after a crash pretty difficult. Oh well, we’ll deal with that when it happens…

Next time: Test-fitting the roll cage.
Get your BONUS Guide:
Download “What’s Involved In Building An Off Road Race Car”
+
Cable Sizing Calculators… And More!
at our FREE RESOURCES Page!
Any questions or comments? Go to the Comments below or join us on Pinterest, Facebook or YouTube.
Any errors or omissions are mine alone.
Want to know more about off road racing? Then go here.
Cool project. I suggest you think in terms of building a space frame that includes a roll cage.
Hi Rhett. We looked at a couple of options – one of them was a space frame. We compromised with a roll cage tied into the body at lots of points. The space frame was beyond our budget. Next post will be about details of the roll cage and how we used it to stiffen the body. Stay tuned!