
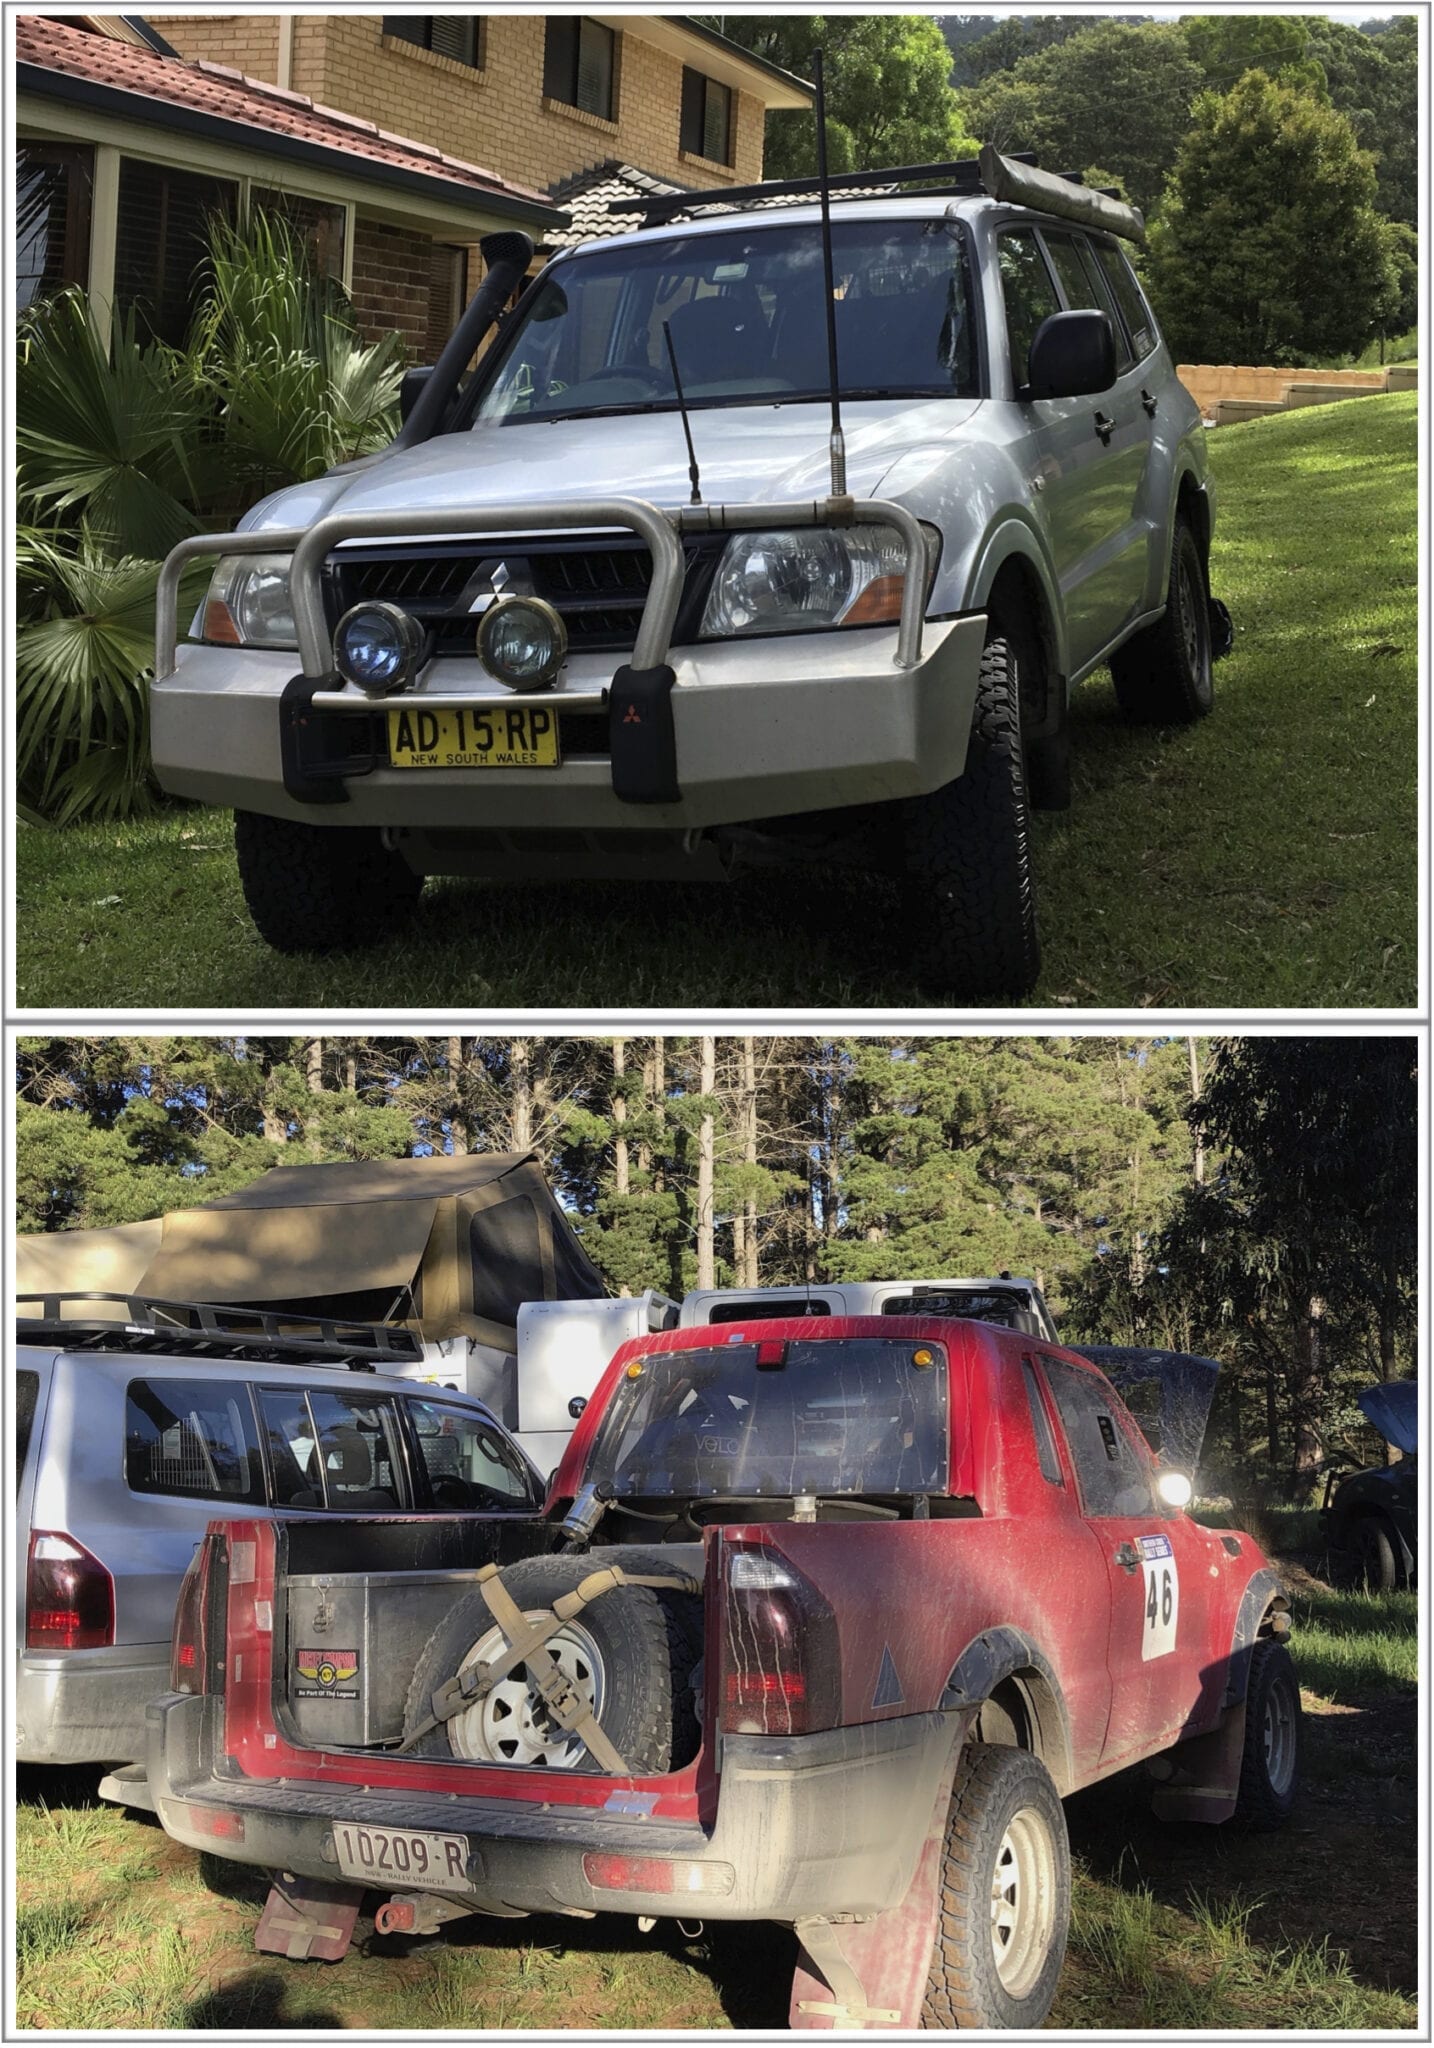
Pajero Ute Conversion – Creating An Extra Cab
Last time we showed you some details of the roll cage.
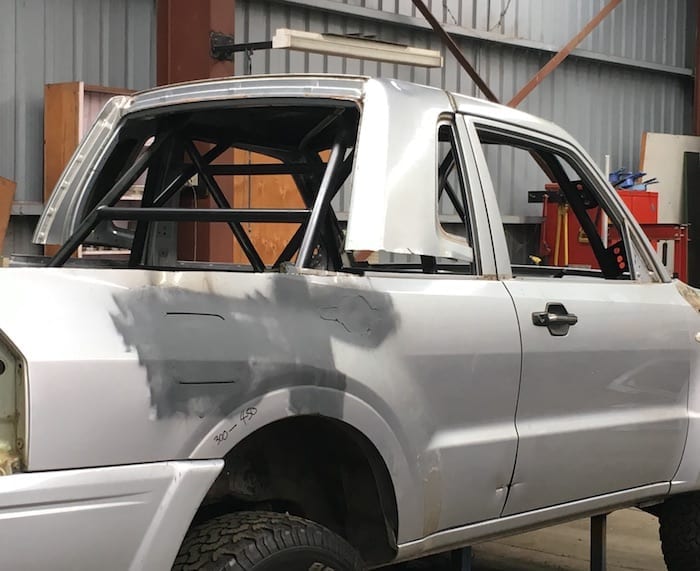
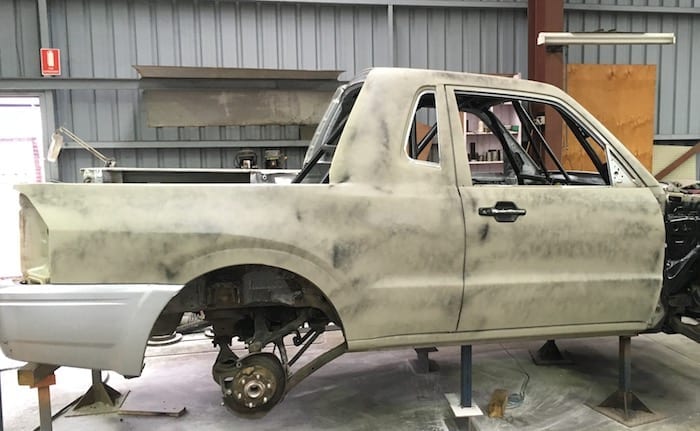
Moving The Rear Door Forward
Rather than simply chopping the Paj then fitting a flat sheet behind the cab, it sort of made sense to use the rear door and matching surrounds. After chopping off the back half, we measured the rear door-surround and decided it would fit neatly behind the B pillars.
There were a few advantages in taking this approach over fabricating a flat rear wall:
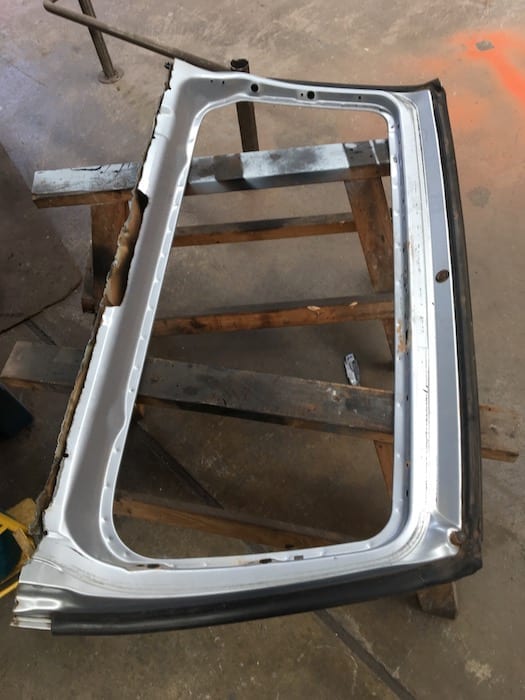
- The rear door-surround is strong – lots of internal gussets and folds to stiffen it.
- By chopping then using the top half of the rear door, we had somewhere to screw a polycarbonate window into.
- By using the rear-door surround, it effectively becomes an Extra Cab. It’s always useful to have some space behind the seats to store stuff.
- It would look better than a flat sheet, if done properly.
Downsides? It’s a lot of work!
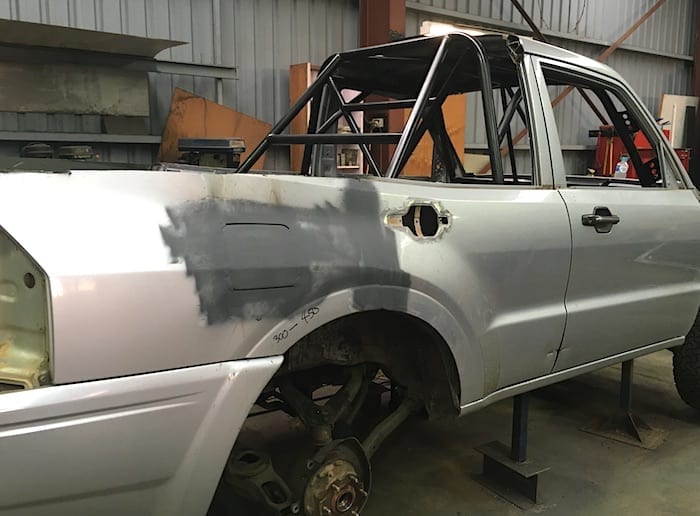
Step 1: Sort Out The Back Doors
So the first step was to sort out the back doors. The window frames disappeared pretty quickly then the doors were welded shut – as was the fuel filler door.
We left the back doors on their hinges. Why? Two reasons:
- The door seals could stay in place. This would help to keep the dust out of the cab.
- The doors were already properly aligned. Why create more work by taking them off their hinges, then welding them back in?
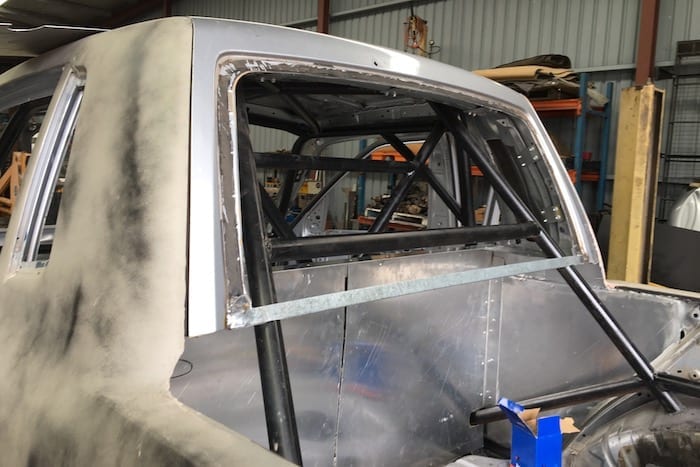
Step 2: Fill In The Gaps
The next step was to tack weld the door-surround in place, start filling in all the gaps with sheet metal and then grind all welds smooth. Sounds pretty simple, but it took a lot of time to blend everything in.
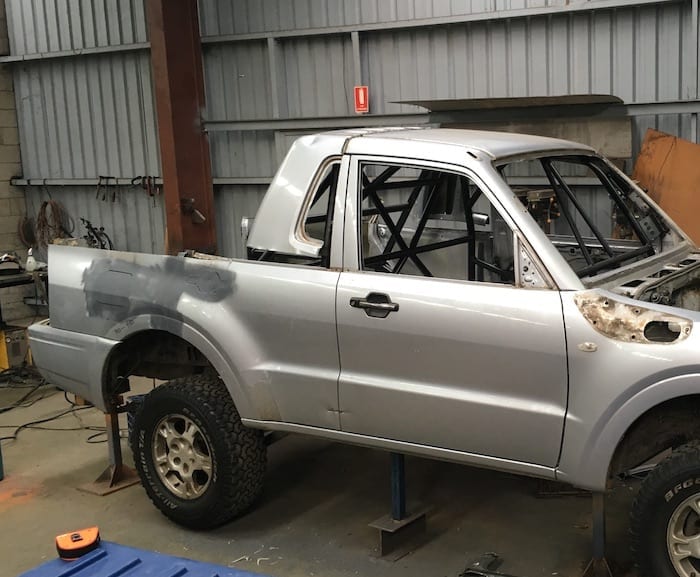
The inner doors had been gutted earlier. So they were covered with aluminium sheet. The gap from the bottom of the door-surround to the floor was also filled in with aluminium sheet, to form the rest of the rear wall.


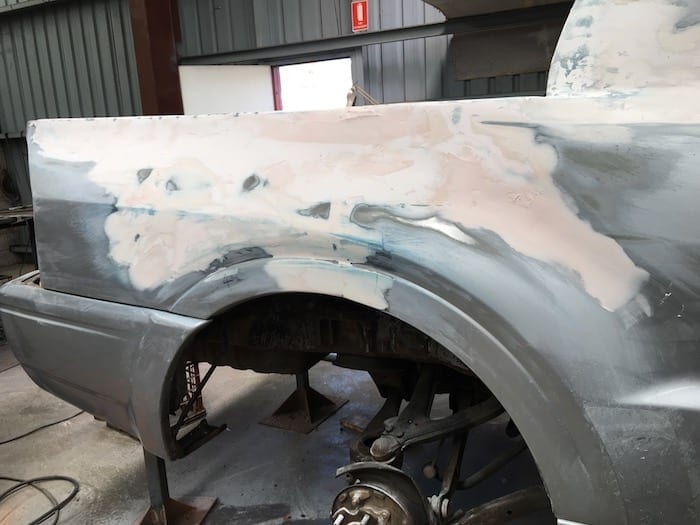
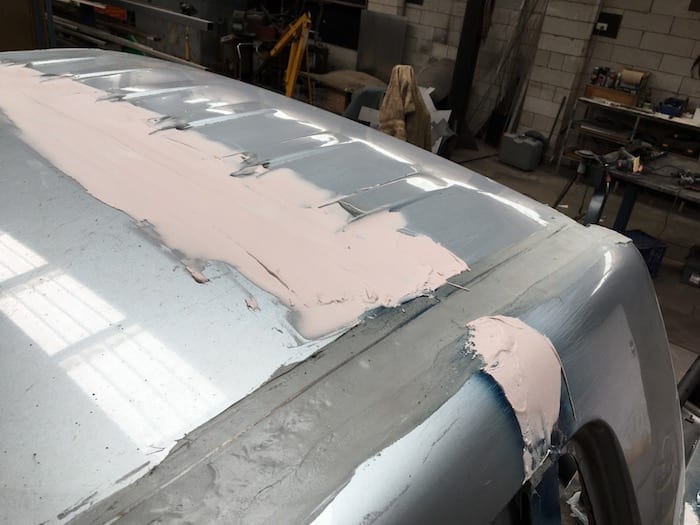
Step 3: Filler, Filler And More Filler!
Dave spent endless hours filling in any gaps and blending the panels to get it all a smooth finish. After weeks of filling and sanding, he was finally ready to give it all an undercoat.
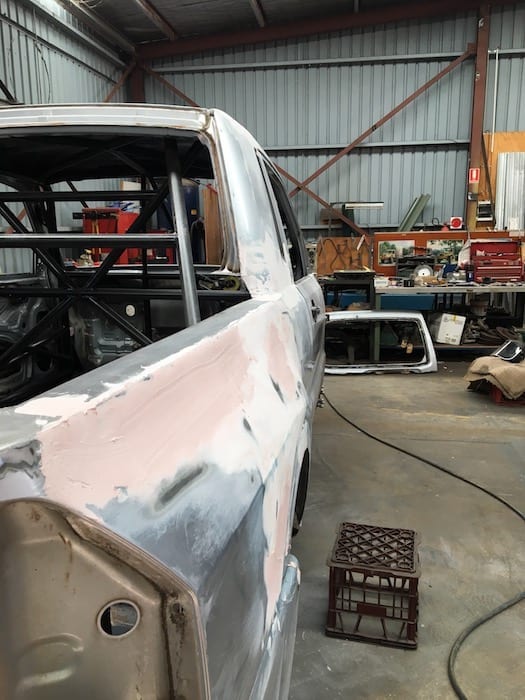
Step 4: Fit The Rear Door (Or What’s Left Of It!)
The rear door was cut down and the top half was used. This was bolted in then the gap between door and door-surround was filled and sanded back.
Again, the original rubber door seal was retained. We figured it wouldn’t hurt to leave it in there.
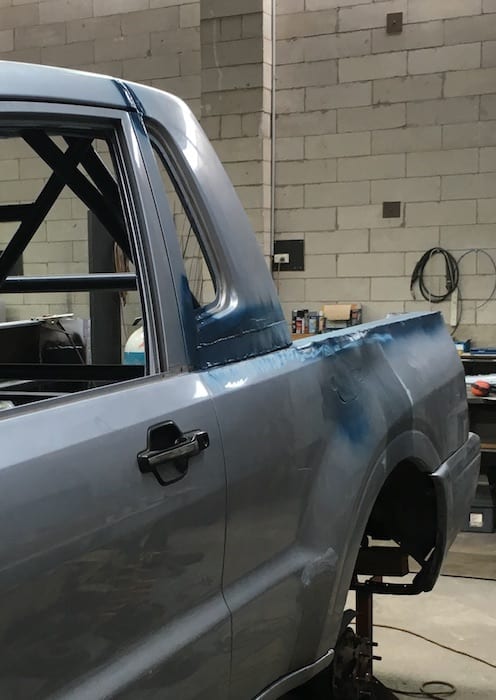
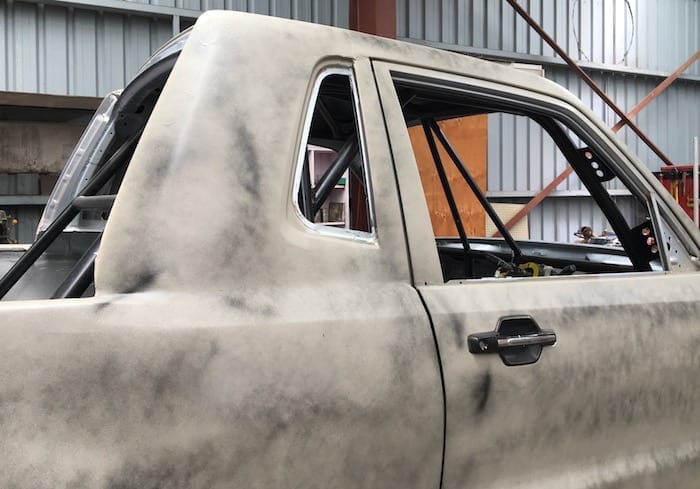
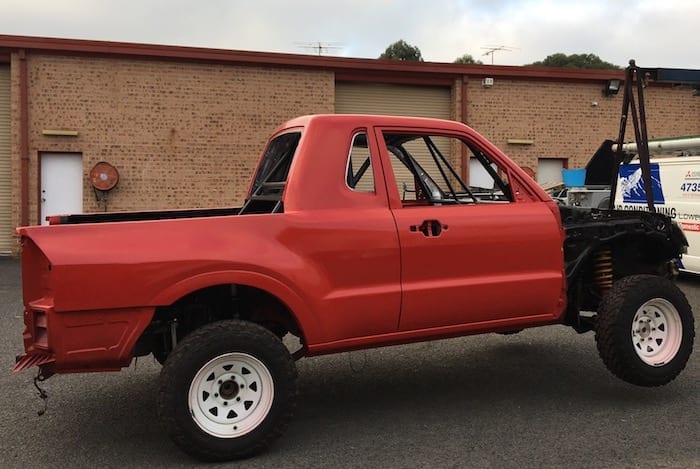
Step 5: Give It All A Coat Of Paint
Finally it was time to get out the paint gun. After all of Dave’s careful preparation, this was pretty straightforward. It’s starting to look like a rally Paj now!
Next time: Modifying the suspension.
Get your BONUS Guide:
Download “What’s Involved In Building An Off Road Race Car”
+
Cable Sizing Calculators… And More!
at our FREE RESOURCES Page!
Any questions or comments? Go to the Comments below or join us on Pinterest, Facebook or YouTube.
Any errors or omissions are mine alone.
Want to know more about off road racing? Then go here.