
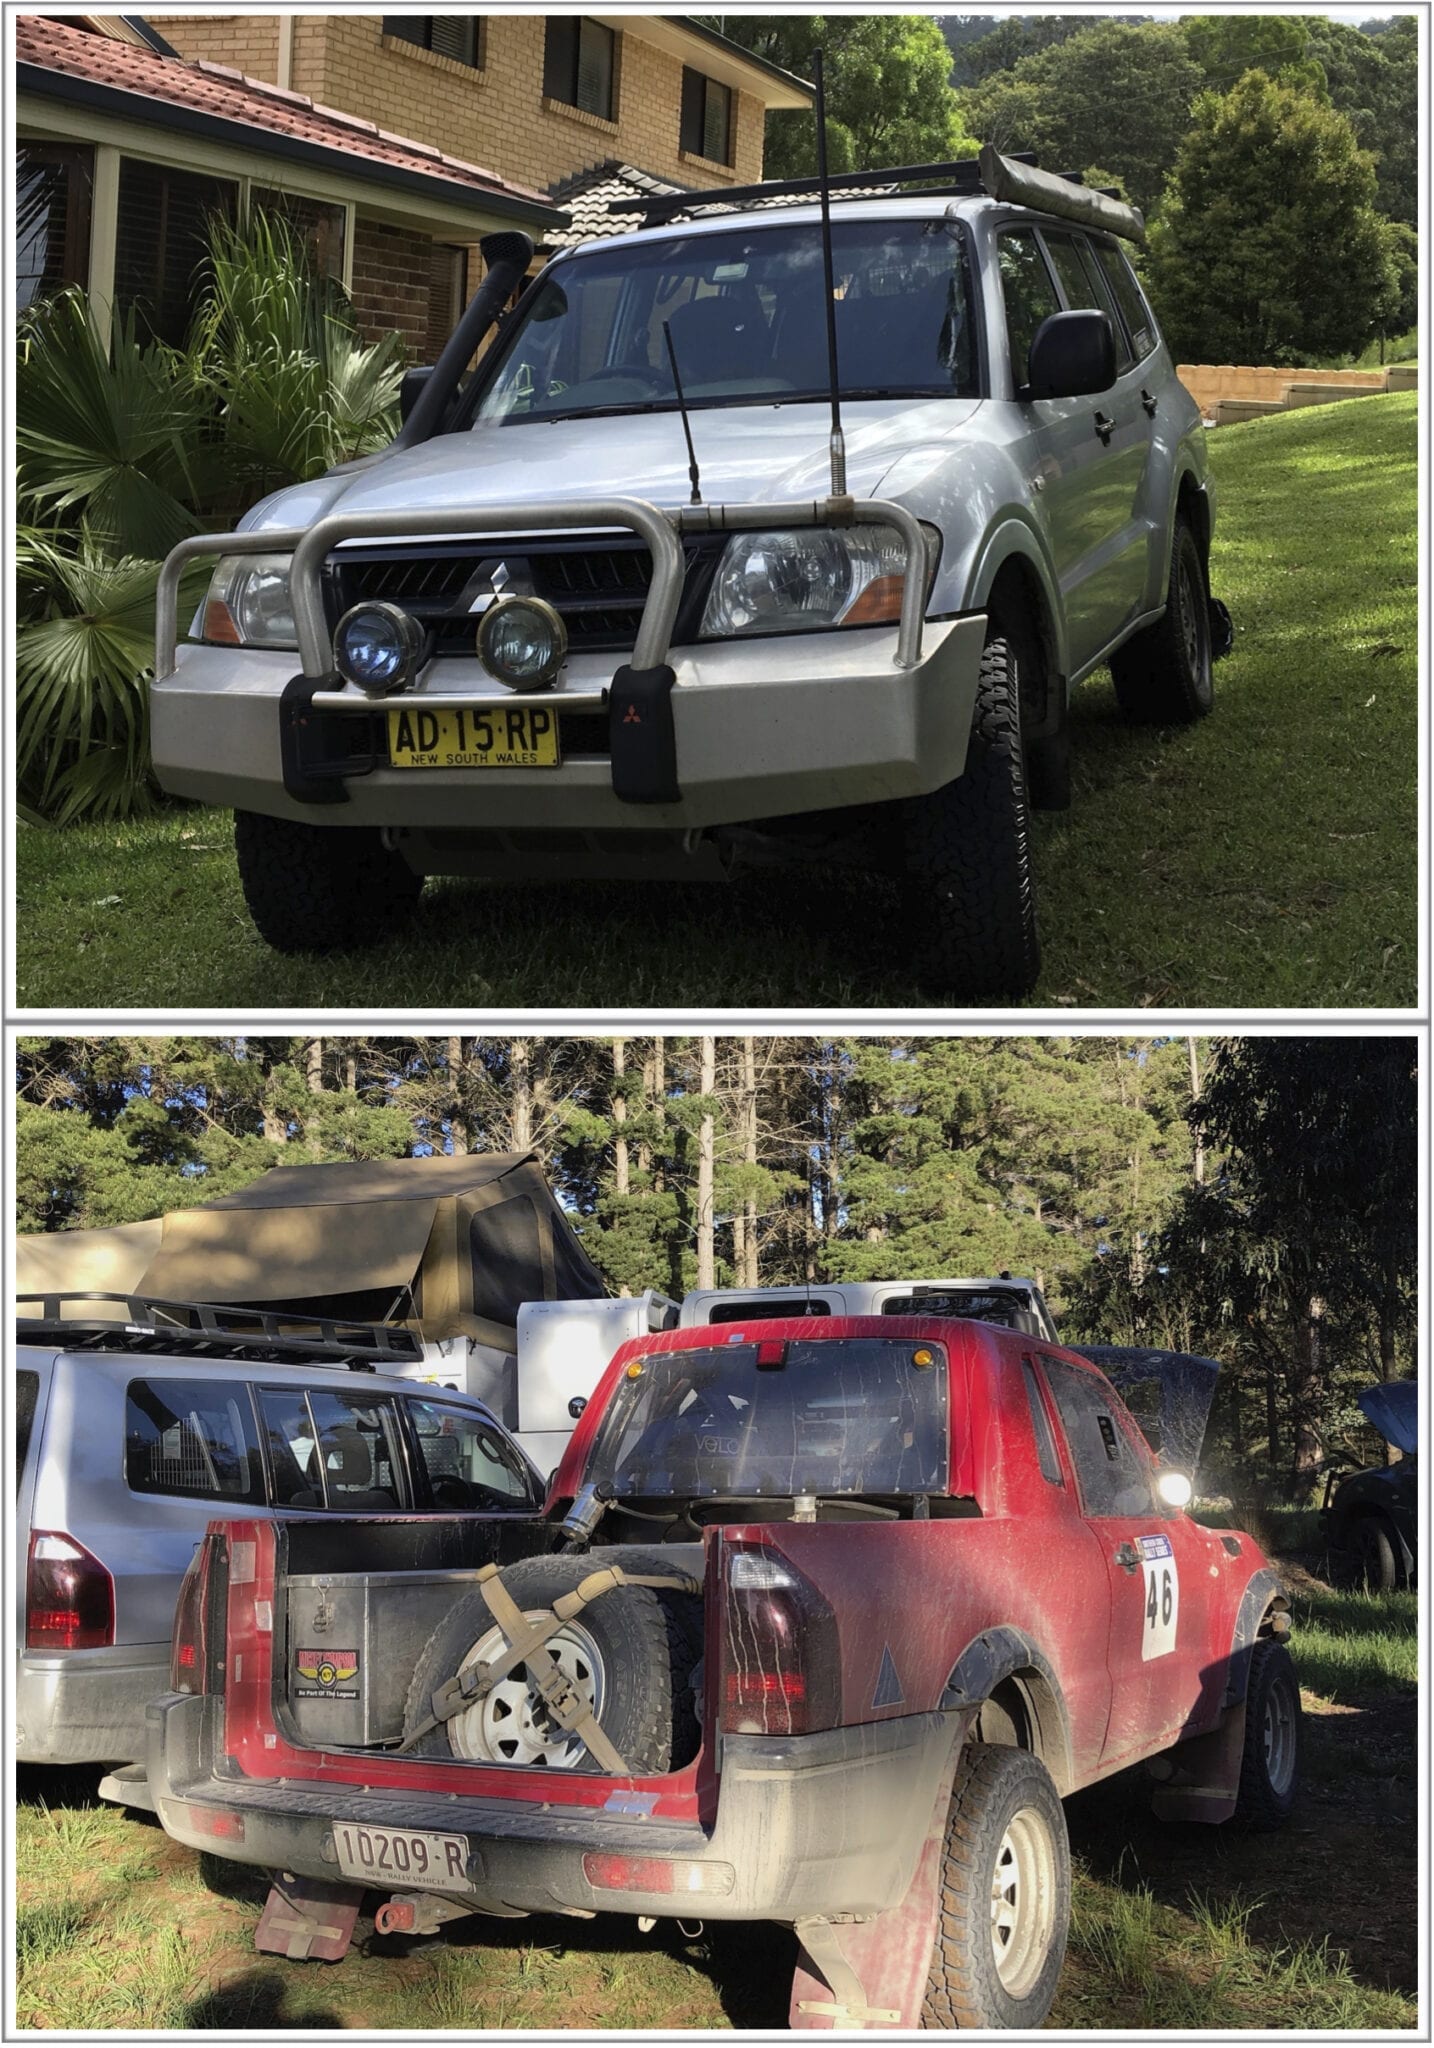
Let’s Build A Race Car – Stripping Out The Interior
Last time we looked at how this project came about. Go here if you missed it.
The Project Begins
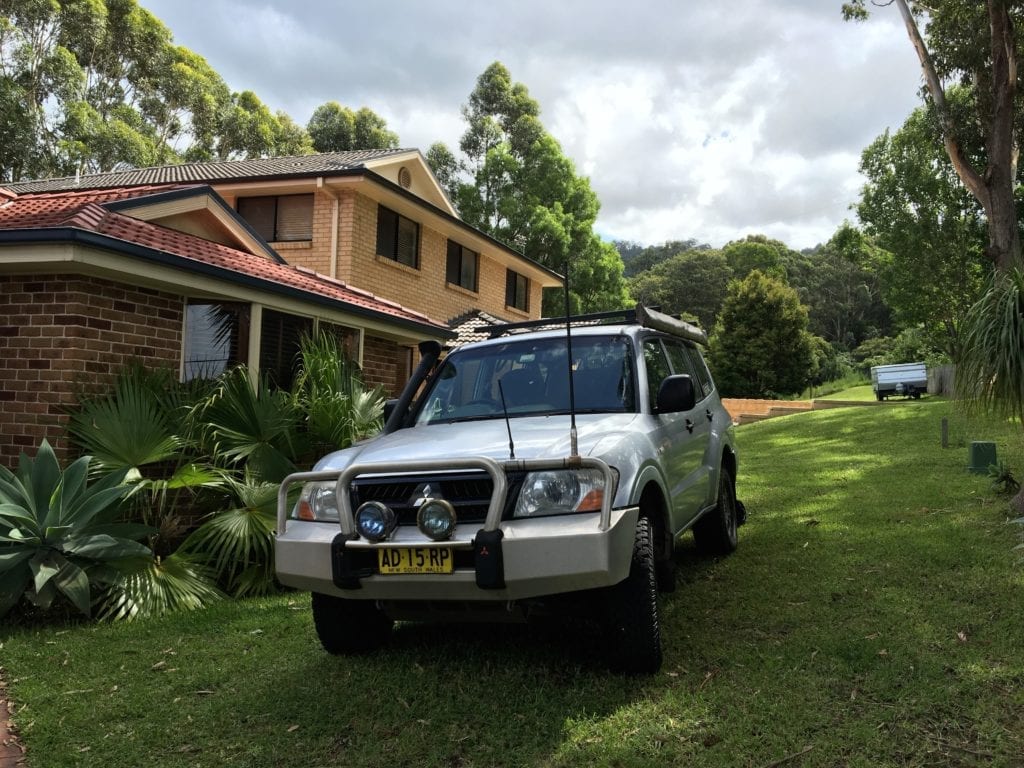
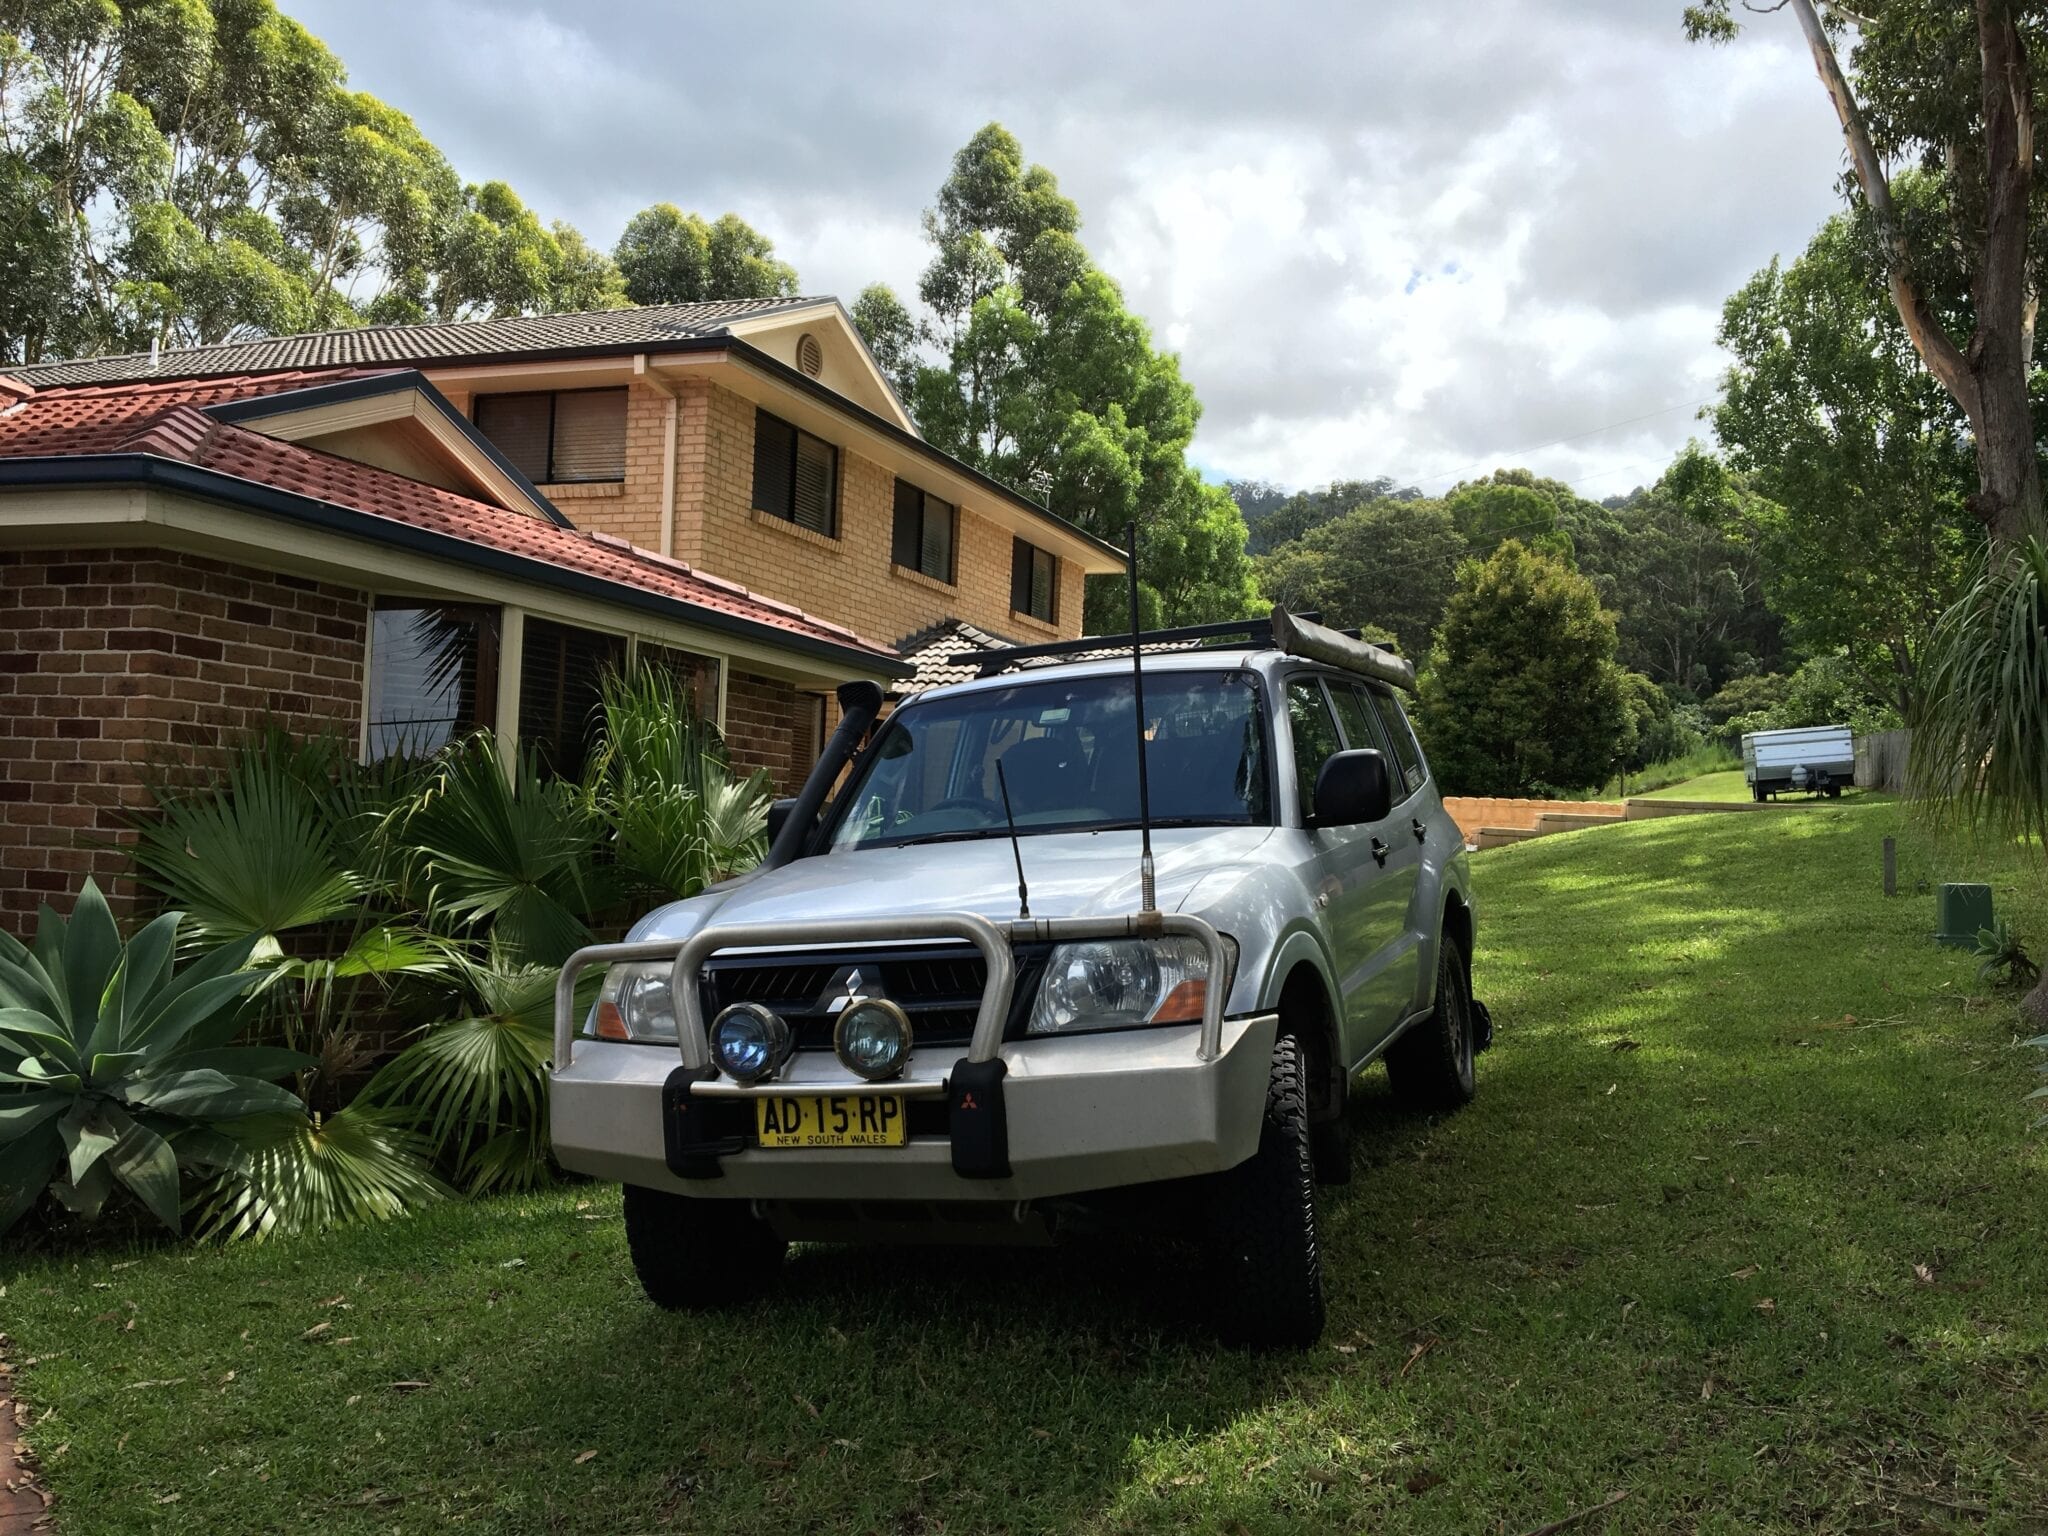
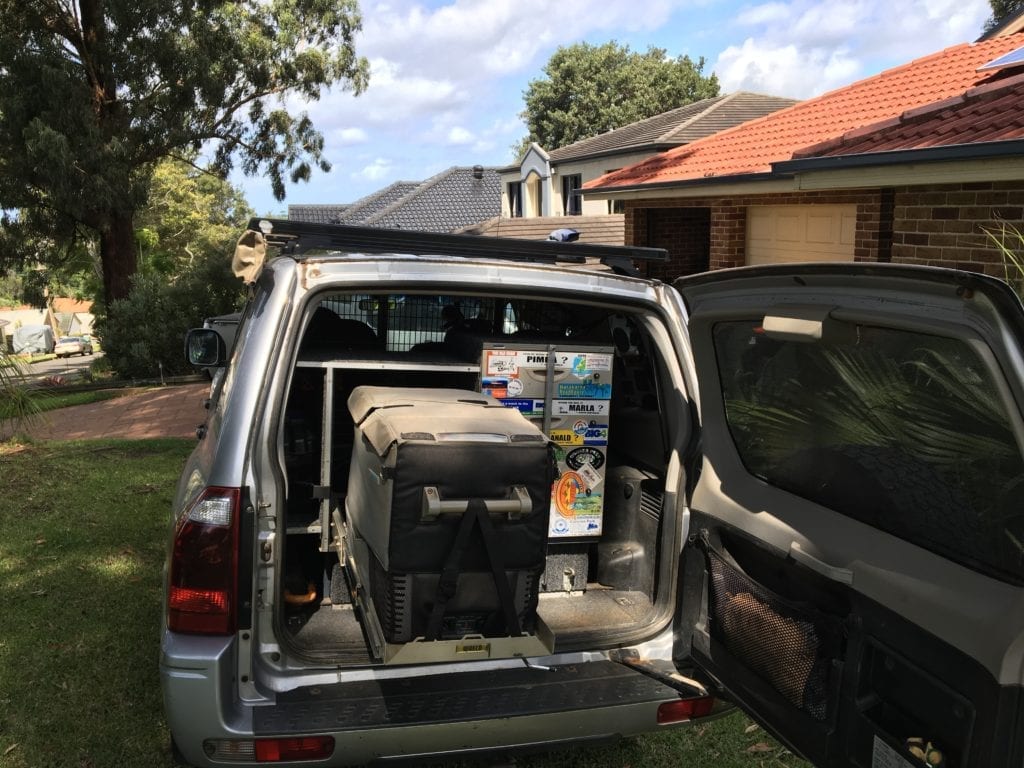
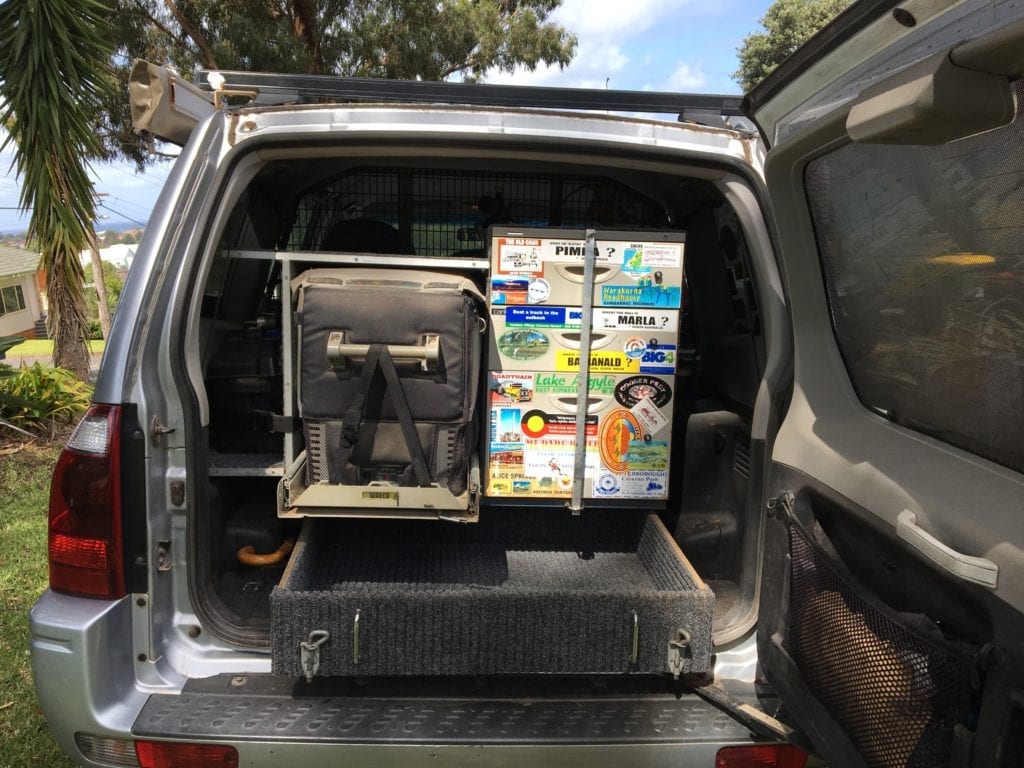
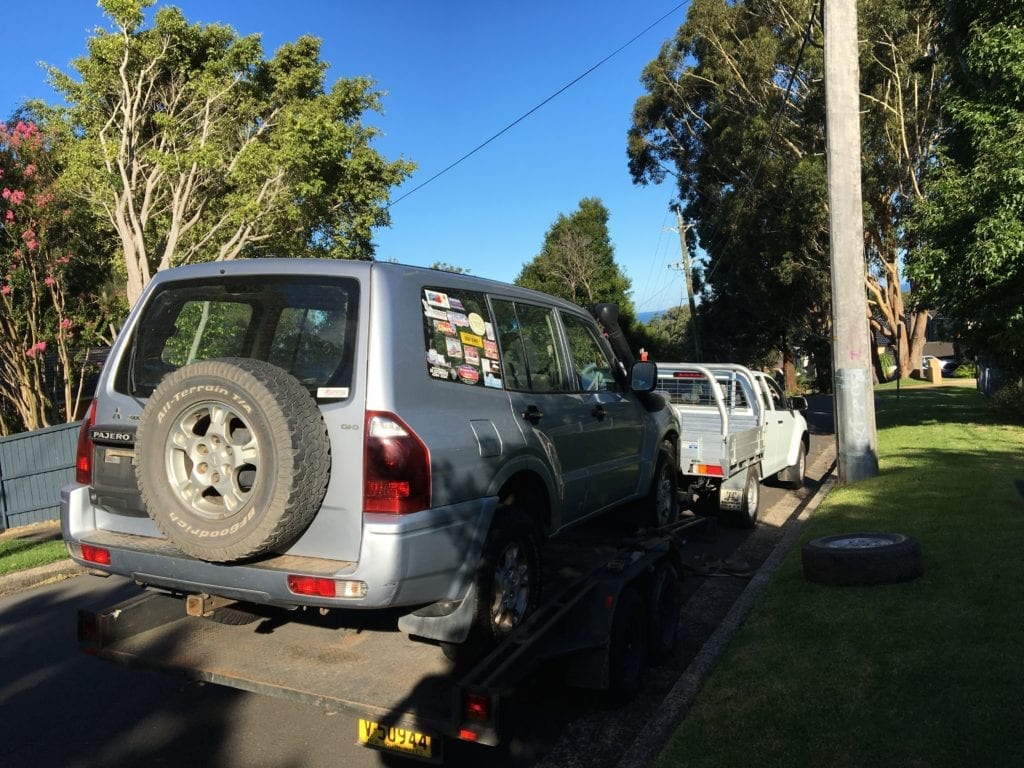
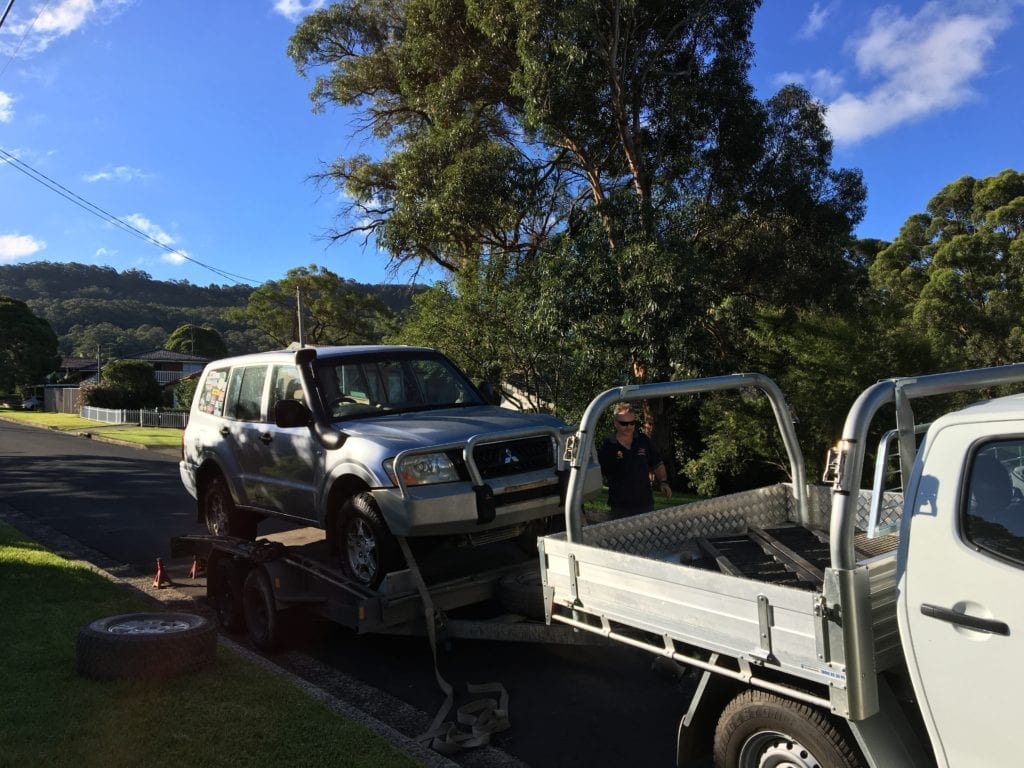
Okay, let’s make a start. The Pajero was going to Dave’s workshop for its transformation. Time to start our rally car build! His workshop is about 1-1/2 hours from our place. So we decided to strip out the items we wanted to sell, or keep for another vehicle – all the add-ons:
- Rear drawers,
- Fridge and fridge slide,
- Roof racks and awning,
- Driving lights with wiring,
- Second battery with wiring,
- UHF radio and antenna,
- RAM mount for iPad, and
- Cargo barrier.
Then there were the less obvious things like:
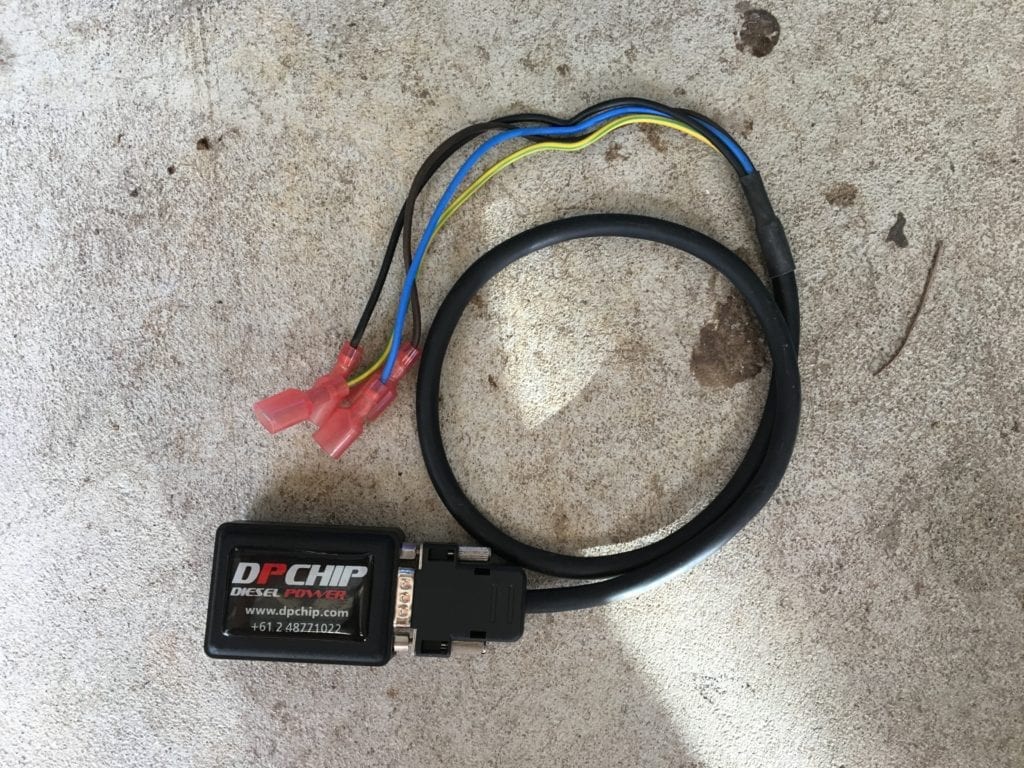
- DP Chip,
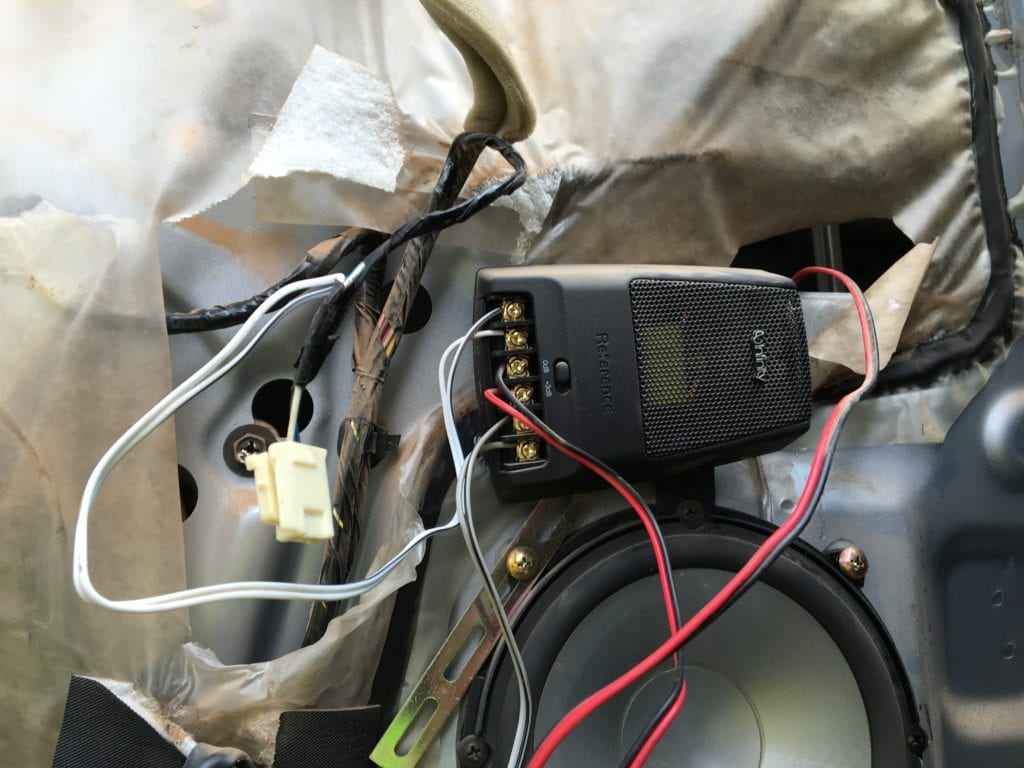
- After-market stereo head unit and speakers,
- Fire extinguishers,
- Car seat covers, and
- Inverter.
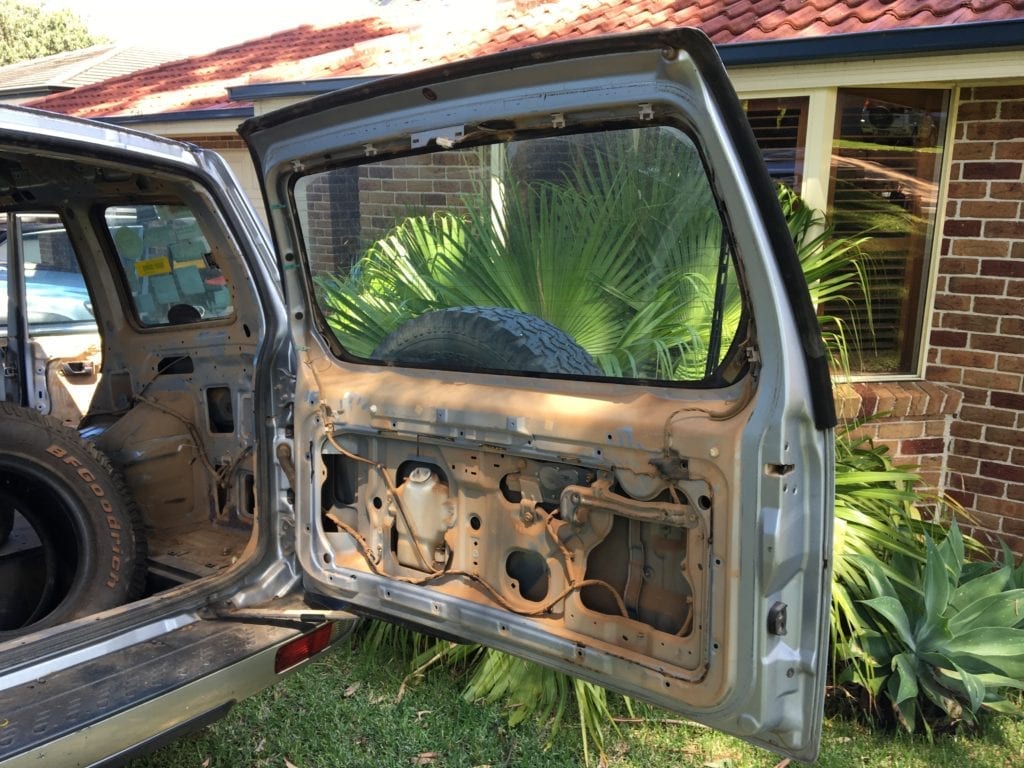
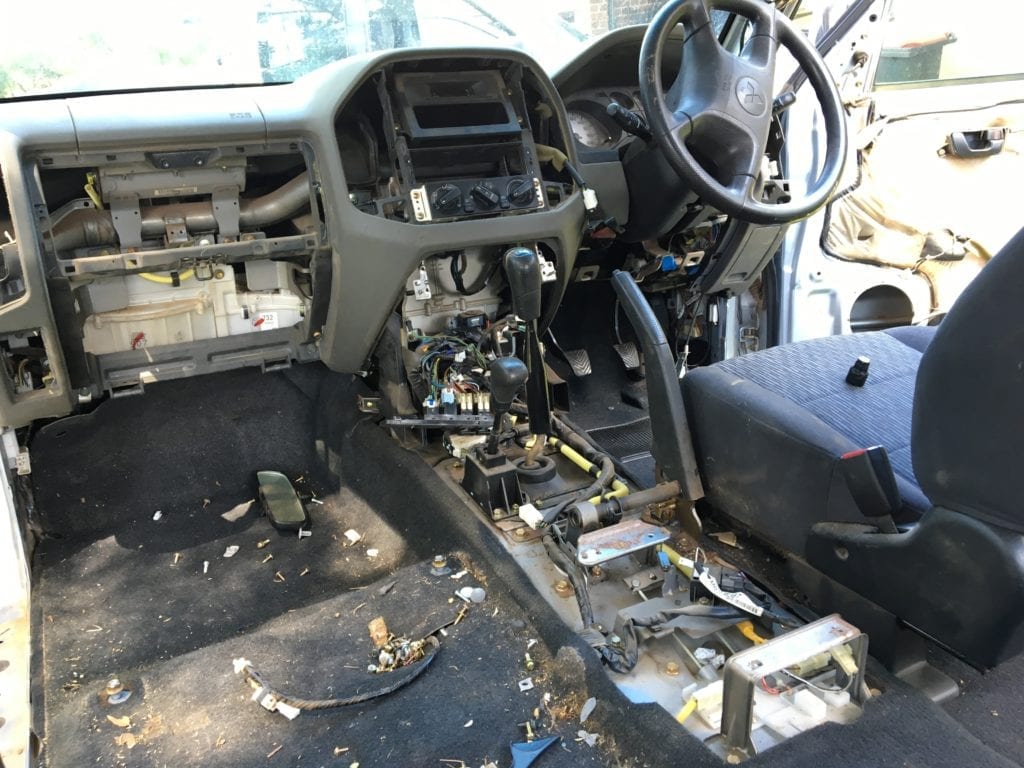
To get a head-start, I also stripped out the interior. Seats (except for drivers seat), door trims, carpets, roof linings, console and seat belts. These all ended up in the back of my ute, for their final journey to the rubbish tip (“Waste Management Centre”). Surprisingly, the load was over 250kg – it all adds up.
Beware The Bright Yellow Safety Circuits!
I had to be careful. We still needed to drive the Paj on and off Dave’s car trailer. Modern cars have such a complex safety circuit – we didn’t want to disturb this and risk shutting down the Paj. Fortunately, all components are colour-coded bright yellow so they were relatively easy to avoid.
When the internal trims were removed, over 10 years of abuse on dirt roads soon became apparent. Layers of dirt filled every crack and crevice – the worst being the rear cargo area. Closer inspection revealed the culprit. Under the rear tail lights are vents. They allow air to flow through the inside of the car and exit out the back. These were leaking copious amounts of dust back into the Paj. Wish I’d noticed this 5 years ago…
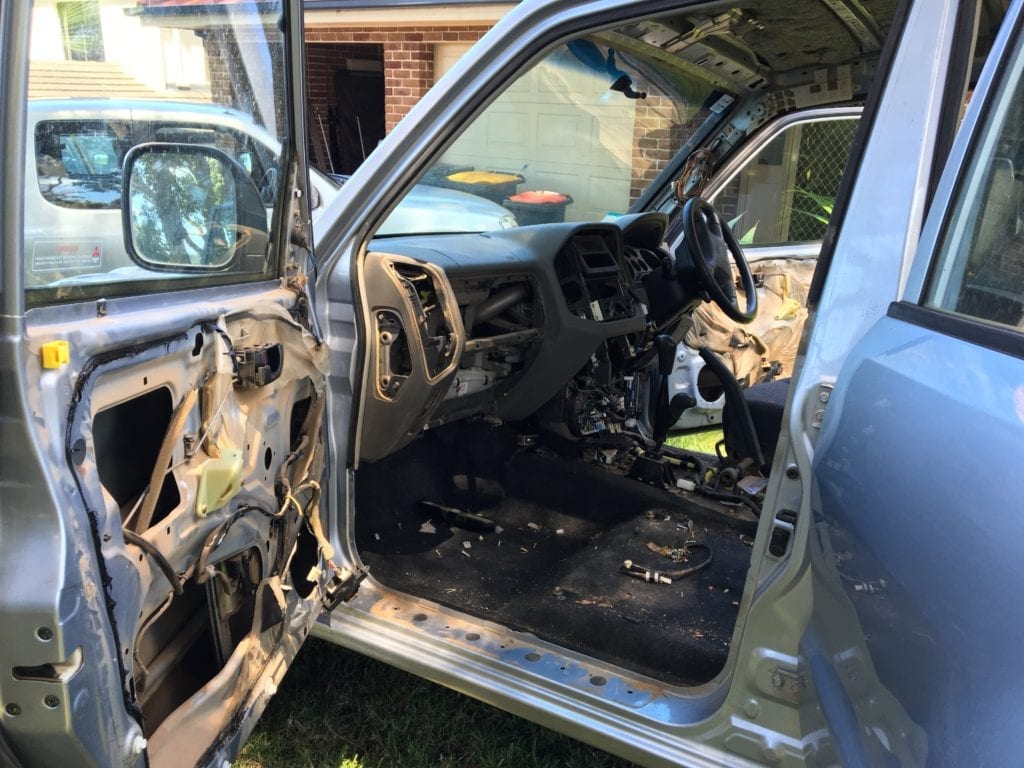
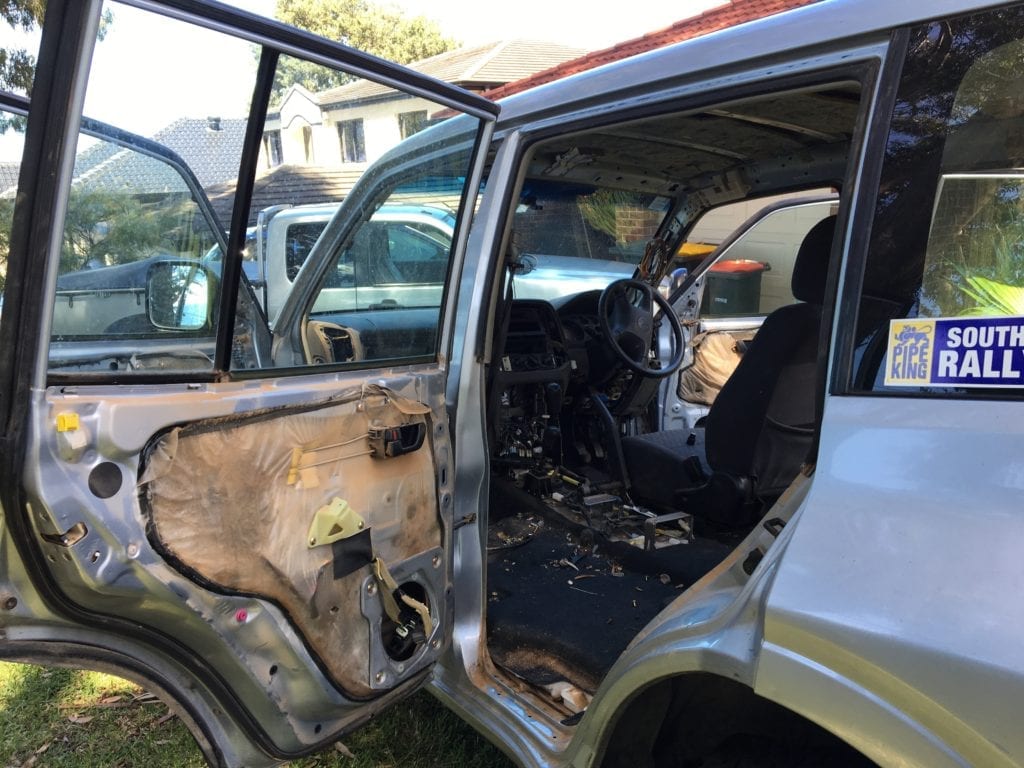
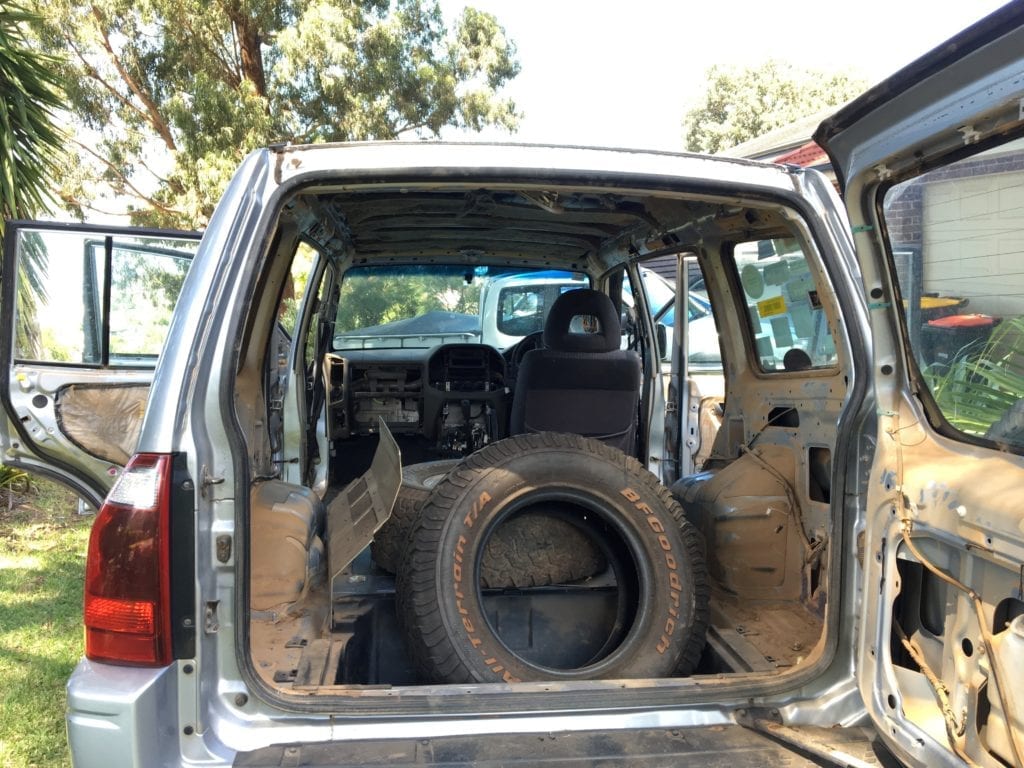
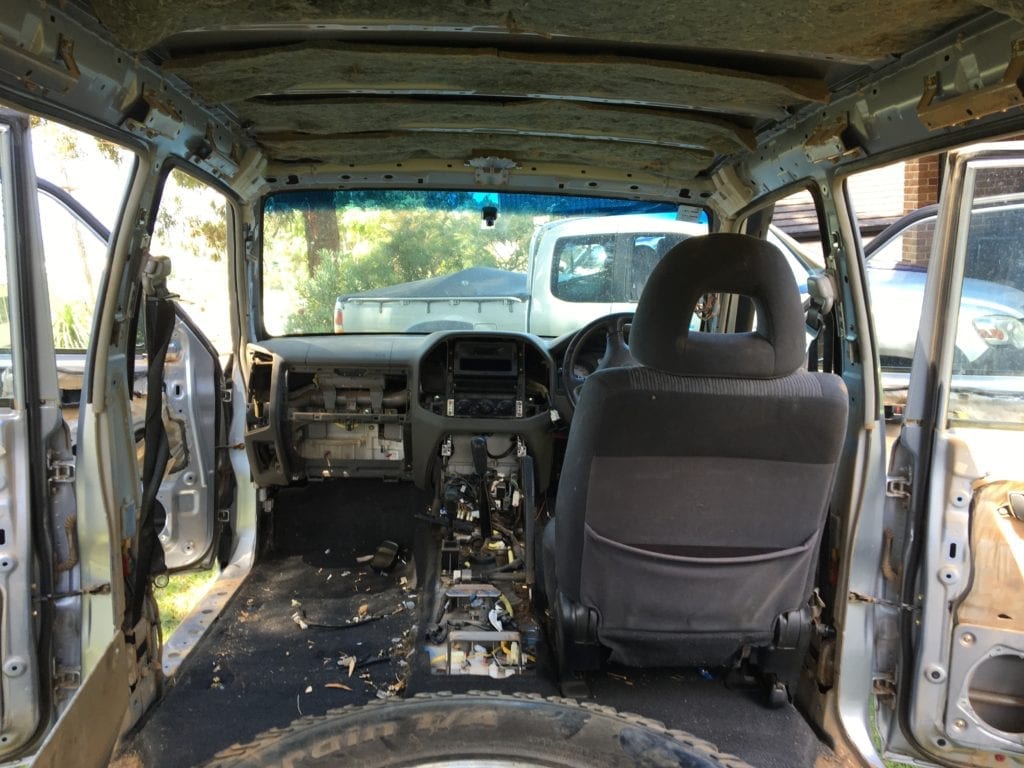
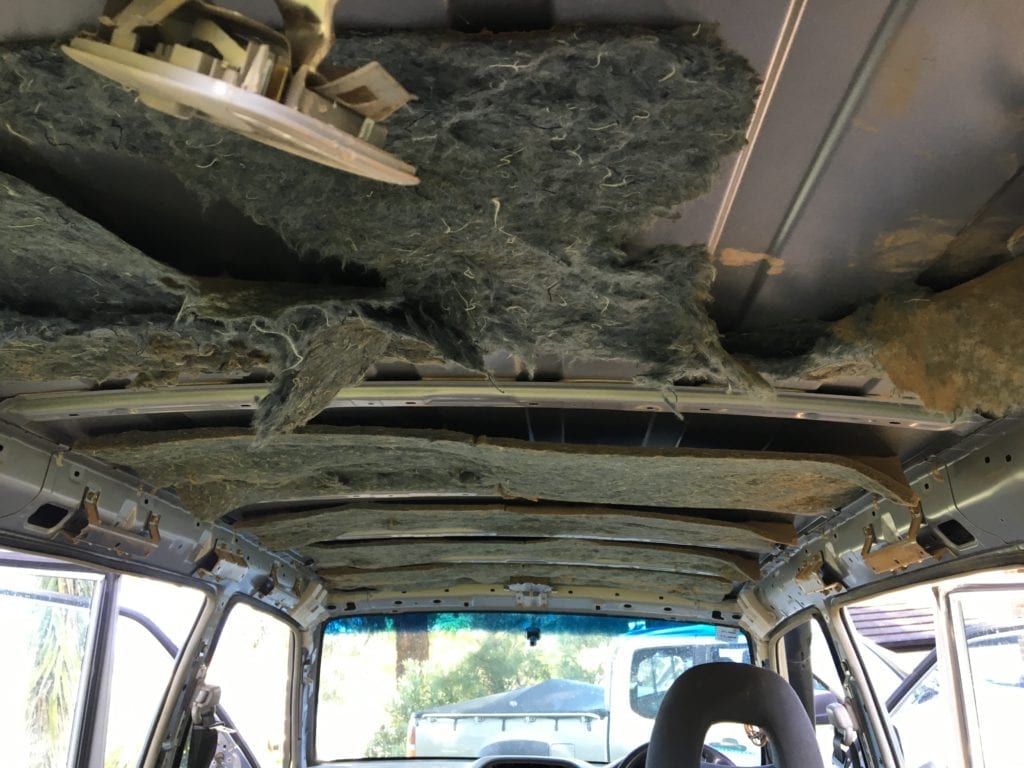
As a testament to Mitsubishi’s paint quality and rust-proofing, there were no signs of body rust inside the vehicle at all. A pleasant surprise.
So the interior’s been lightweighted. Time to get the ol’ girl loaded onto a car trailer and taken away for a new life.
Next time: Stripping the Paj back to bare bones.
Get your BONUS Guide:
Download “What’s Involved In Building An Off Road Race Car”
+
Cable Sizing Calculators… And More!
at our FREE RESOURCES Page!
Any questions or comments? Go to the Comments below or join us on Pinterest, Facebook or YouTube.
Any errors or omissions are mine alone.
Want to know more about off road racing? Then go here.