
How To Make Your Dual Battery Installation Neat & Tidy
Note: This article may contain affiliate links. If you click through and make a purchase, we earn a small commission at no extra cost to you.
Last time, we figured out where the panel was go to fit and we laid out everything on the backplate.
Punching And Sealing
So far you’ve managed to avoid drilling or punching holes in your pride and joy. Well, the time has come – deep breaths and keep calm…
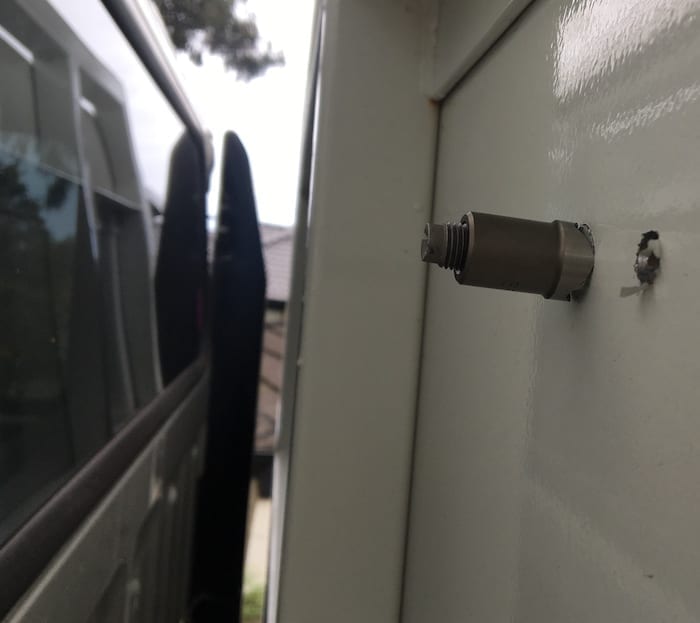
I had four existing bolts which I could use to mount the backplate. But the backplate will live inside a storage box. So I had to run cables in and out of the storage box. I needed to drill some holes – damn!
When doing a dual battery installation like this, I’m a strong believer in doing it once and doing it properly the first time. There’s nothing worse than having to pull apart something to find a mystery water leak.
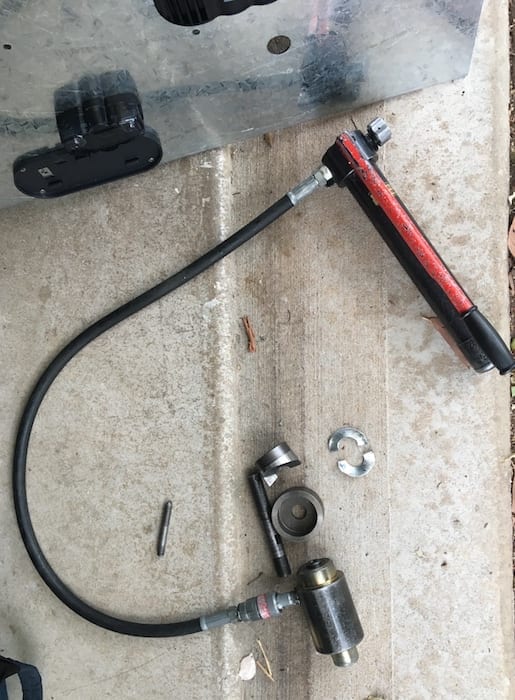
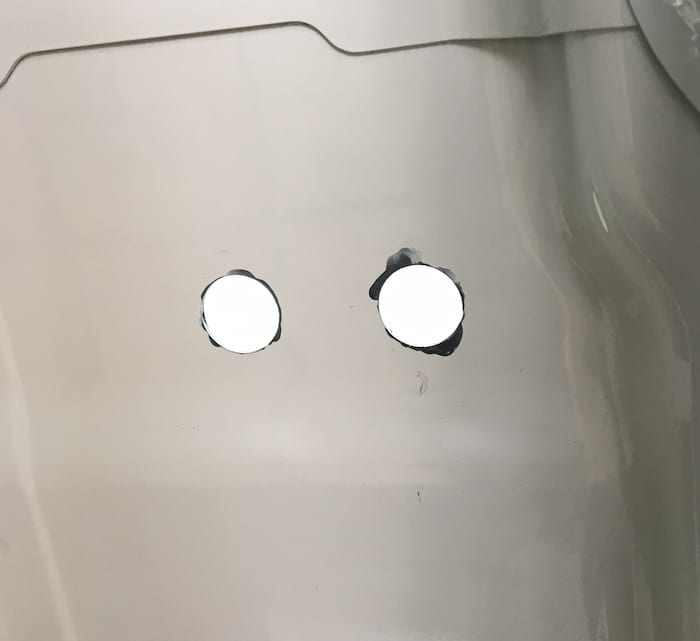
Fortunately I had access to a hydraulic hole punch kit. These units are fantastic. They make a clean, round hole that doesn’t even need de-burring. All you need to do is drill a 10mm pilot hole then use the punch kit for the final hole.
Once you’ve used one of these, you won’t ever consider using a hole saw again. You can buy them at any good tool store. This is an example of a hydraulic punch kit. (Note: We’re not affiliated with Specialised Force in any way).
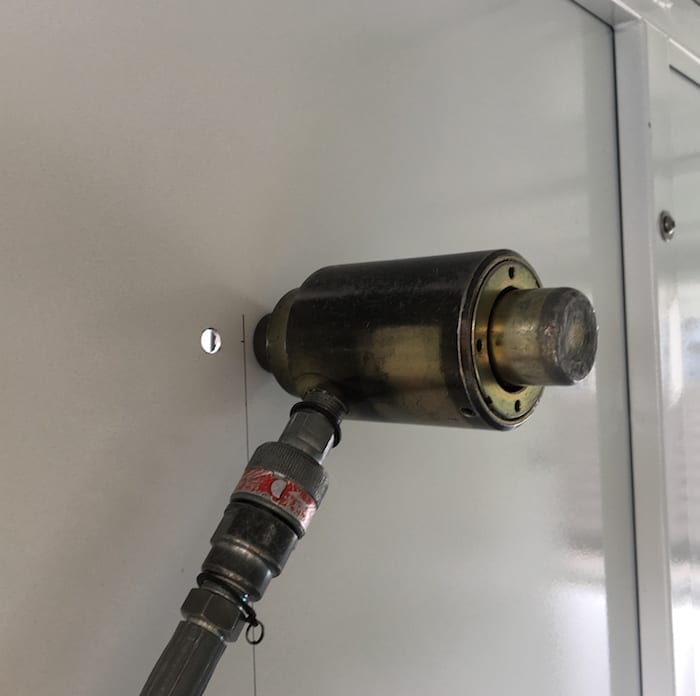
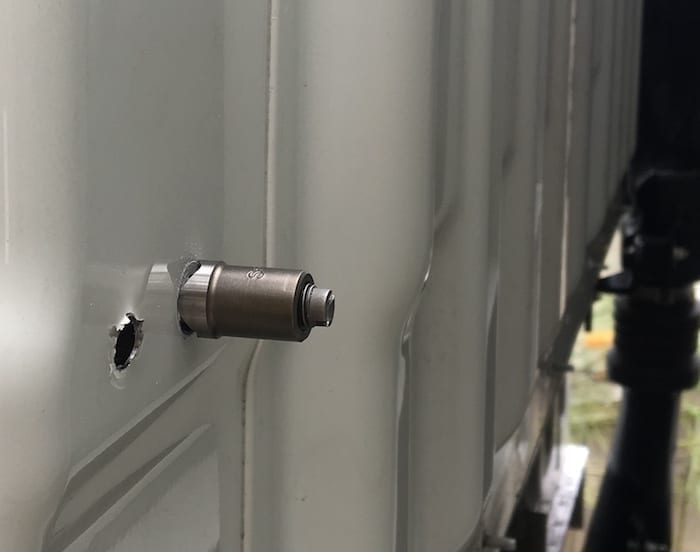
After you’ve punched the holes, get a small paintbrush and some galvanising paint – something like Galmet Cold Gal spray. Spray some cold gal into an old cup or similar, then carefully paint the bare metal around the circumference of the hole.
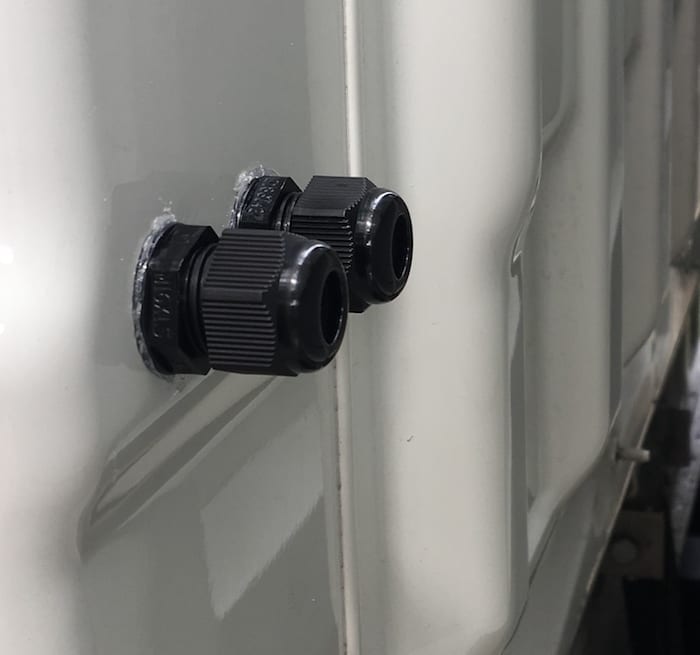
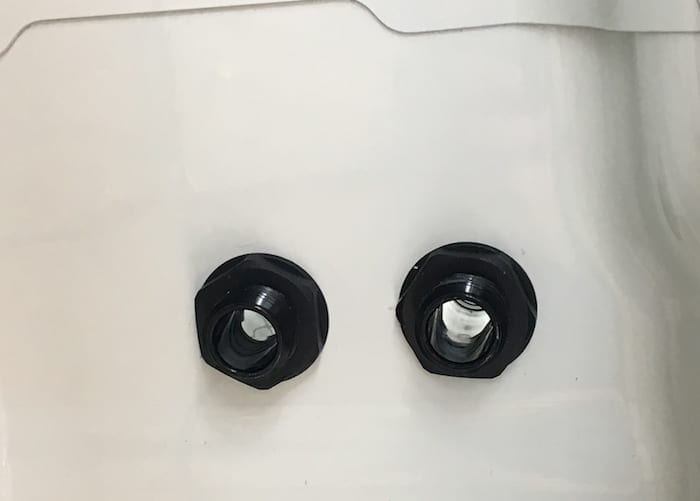
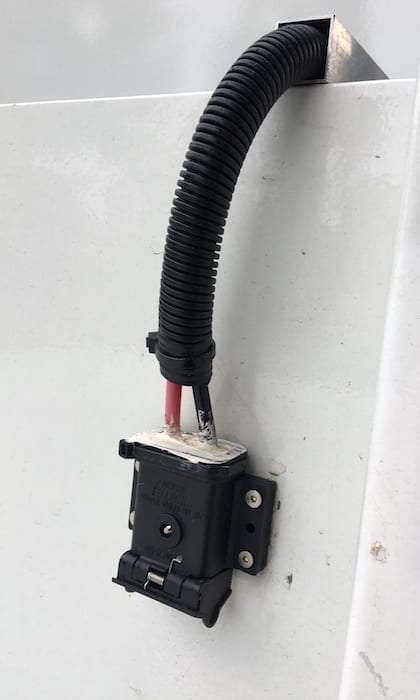
I used IP 67 rated cable glands. To be doubly sure of no water leaks, I also used some silicone on each cable gland. This isn’t really necessary, but it made me feel better if nothing else…
Running The Cables
After you’ve fitted all the cable glands, it’s time to start running cables. At this point, you should know:
- The size of each cable (go here for a detailed description of sizing automotive wiring plus a Cable Size Calculator).
- What size fuse each supply (positive) cable needs.
- Where you’ll mount the fuses.
If you’re not 100% sure of any of the above, go back to my previous article and get it sorted before you go any further.
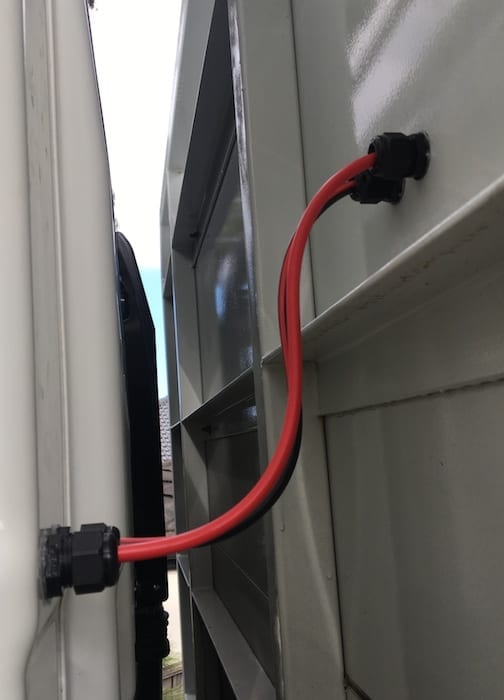
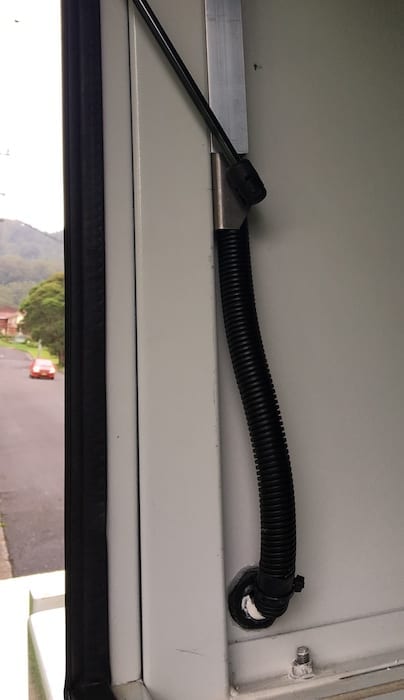
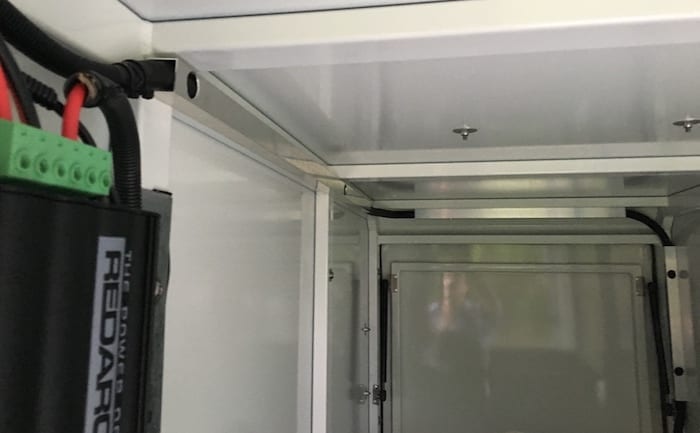
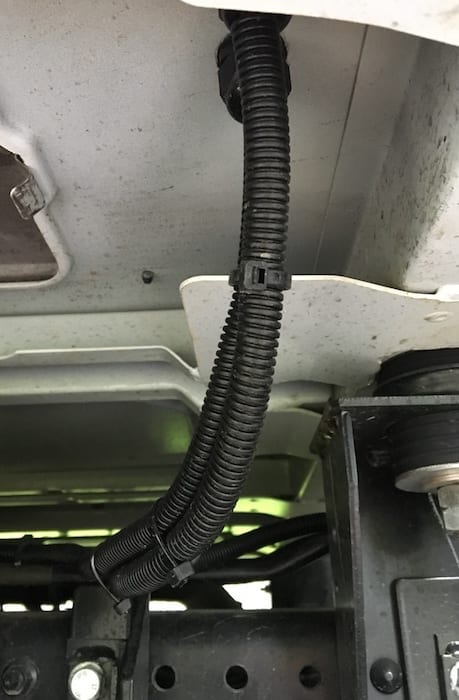
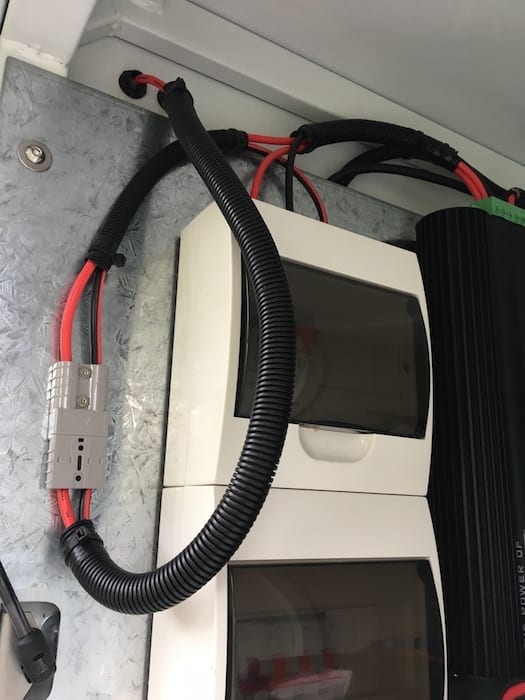
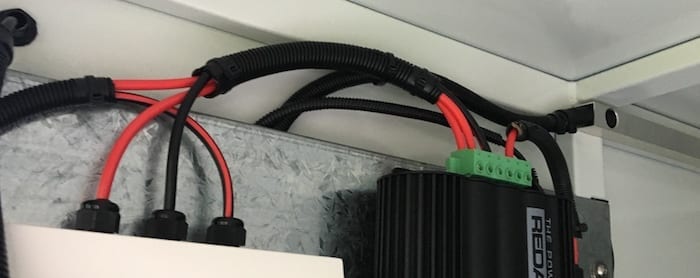
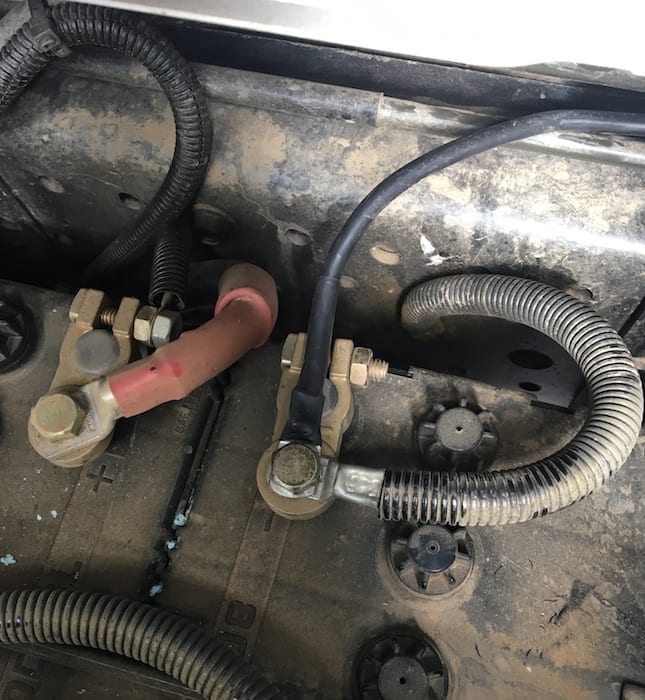
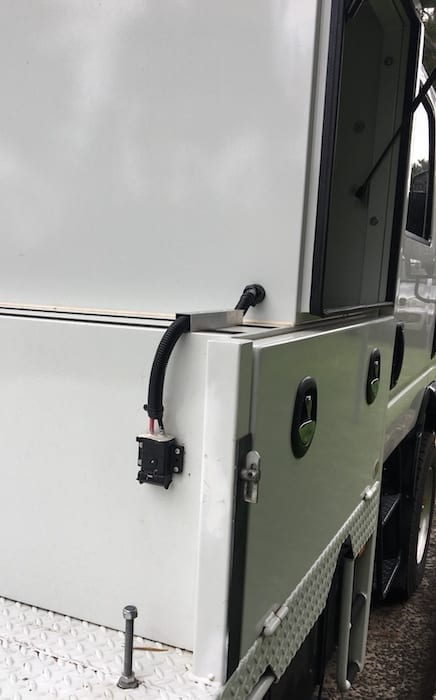
One tip for running cables. I generally use something like 25 x 25 x 1.2mm aluminium square tube when running cables. And I use corrugated split tubing everywhere. Combined, these two keep the cables neat and – more importantly – protect them from rubbing or damage.
By now you’ll no doubt have a spaghetti of cables around your backplate. That’s good – you’re making progress! Terminate them one by one and before you know it, you’ll be finished.
Tidying Up
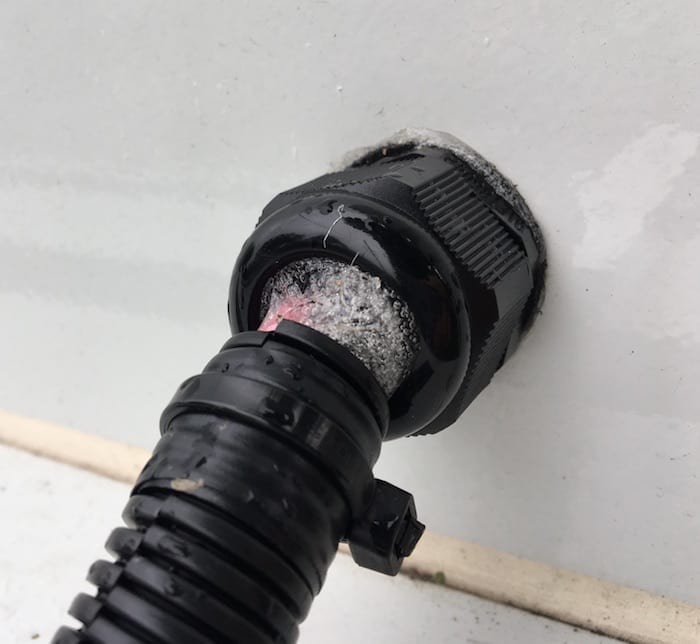
Make sure every cable gland is tight and sealing properly around the cable. Sometimes you might have a situation as shown in the photo below.
Two 6AWG cables are running through one cable gland. While it looked like the gland was sealing around both cables, I decided to guarantee a proper seal by filling the gland with silicone before tightening. Just hope I don’t have to remove it one day!
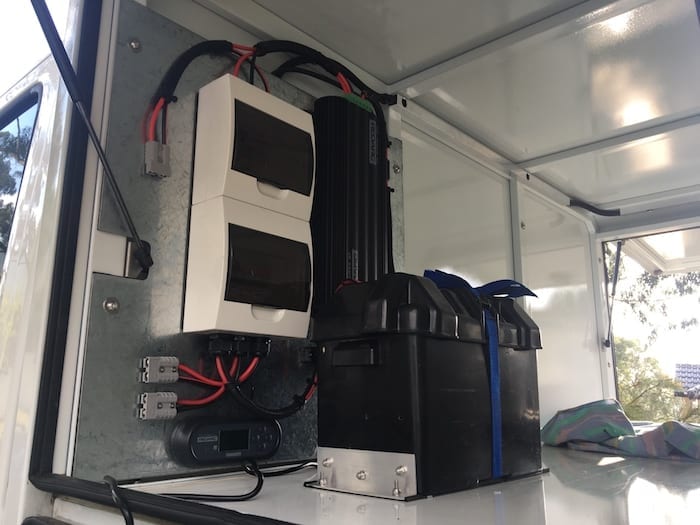
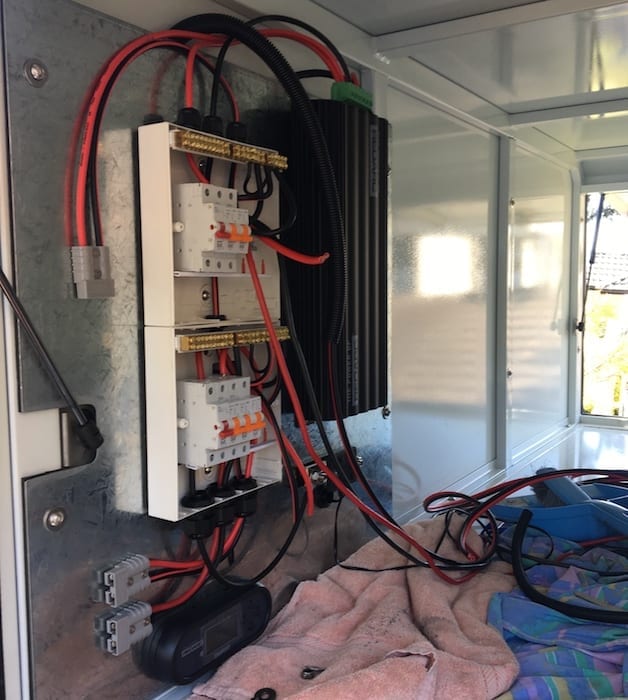
The following are some more photos of the installation. Hopefully they’ll give you a few ideas.
Next time: Installing the solar panel.
My Generator has a wide range of REDARC gear, including the Manager30.
NOTE: REDARC send us products to review from time to time. (That said, we purchased all REDARC products mentioned in this article.)

Get your Traveller’s Guides
… and a whole lot more at our FREE RESOURCES Page!
Any questions or comments? Go to the Comments below or join us on Pinterest, Facebook or YouTube.
Any errors or omissions are mine alone.
Go here for more How-To Guides and tips.