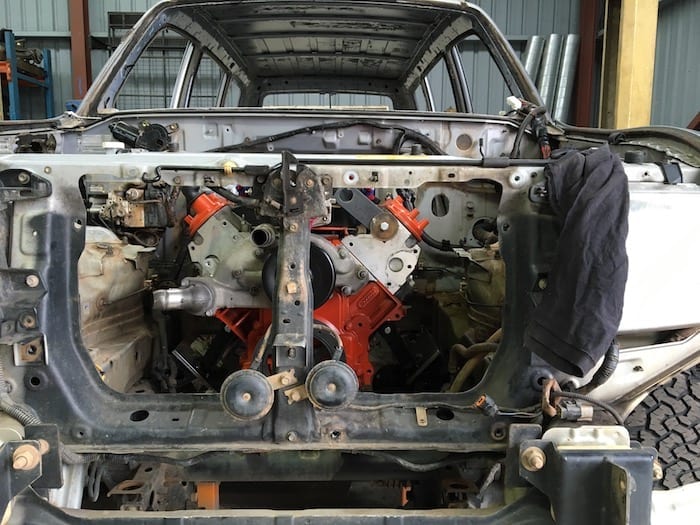
New Motor, New Gearbox… New Engine Mounts
Last time we showed you how Dave strengthened the inner front guard panels to prevent cracking.
With a non-standard motor and gearbox, the Paj was obviously going to need new front and rear engine mounts. So let’s get to work!
Front Engine Mounts
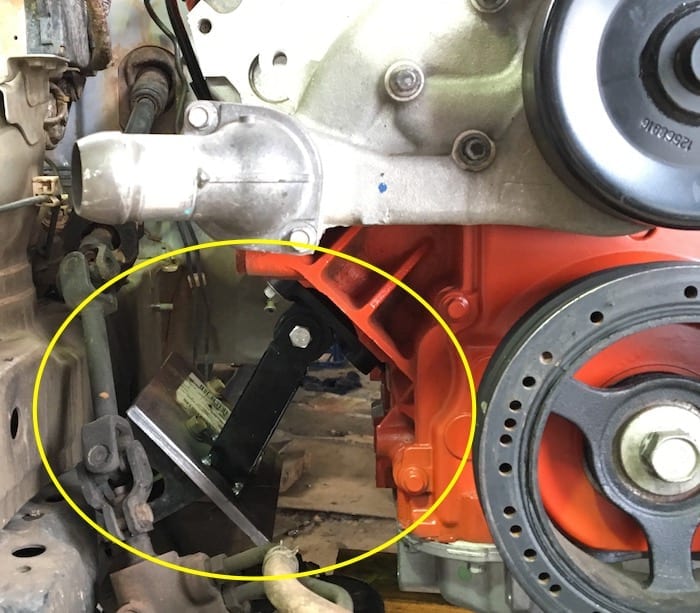
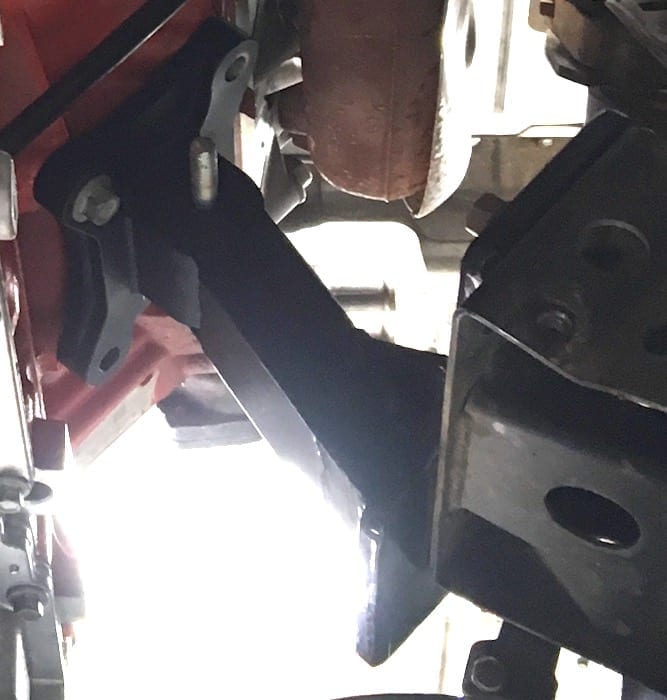
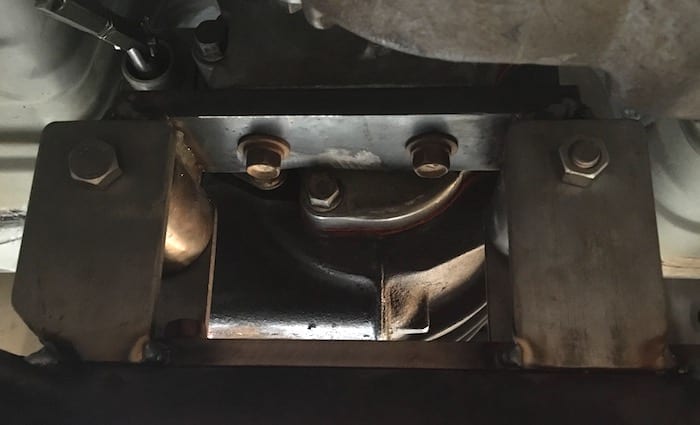
The front engine mounts were surprisingly straightforward. The mounting plates on the engine were not too badly mis-aligned with the mounting plates in the Pajero’s engine bay. So the finished product was quite neat.
The mount which bolts onto the motor is a stock-standard item. The mating part is a fabricated yolk, offset to make up for misalignment between the motor and the body’s mounting points. Grade 8.8 bolts and Nyloc nuts (not shown here) were used to tie it all together. See photos below.
Rear Engine Mounts
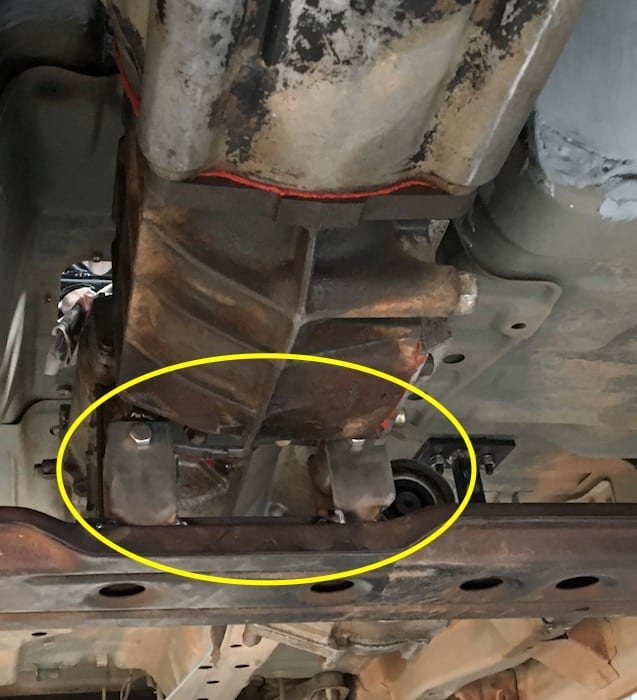
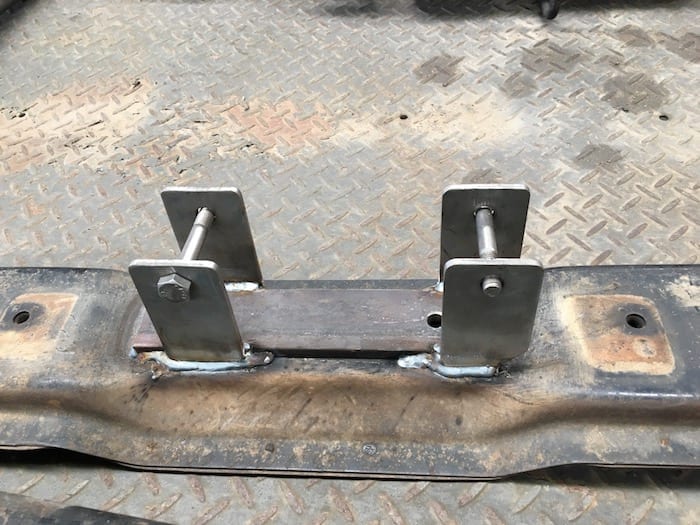
The rear mounts were a neat fit. Purely by chance, the mounting holes for the rear engine mount were over the top of the rear crossmember.
The mount which mounts to the gearbox was made from 12mm thick flat bar and two round bars welded together. Then Dave bored the round bars and press fitted off-the-shelf engine mount rubber bushes.
The mating part which mounts to the crossmember was fabricated from flat bar to form yolks. See photos below.

Transfer Case Hanging In The Breeze
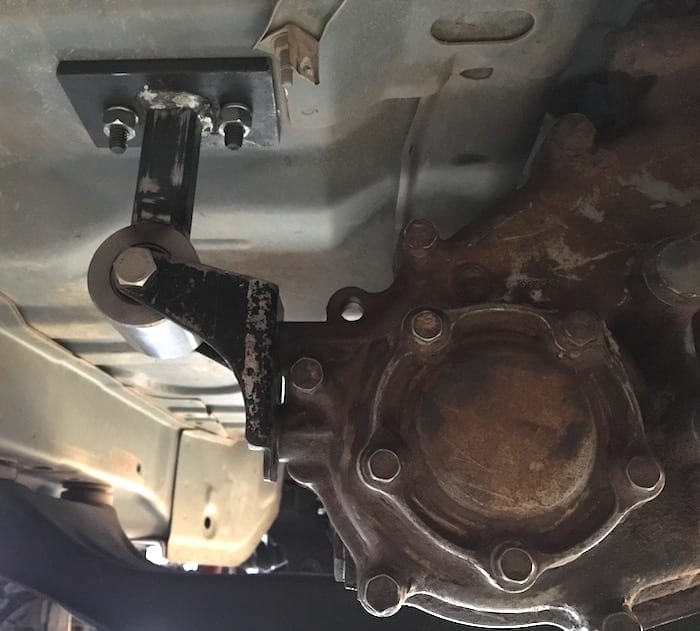
The transfer case hangs off the back of the gearbox and acts as a pendulum, trying to twist the gearbox down. So it needed some support. A simple mount – again using a pressed-in engine mount bush – solved this issue.
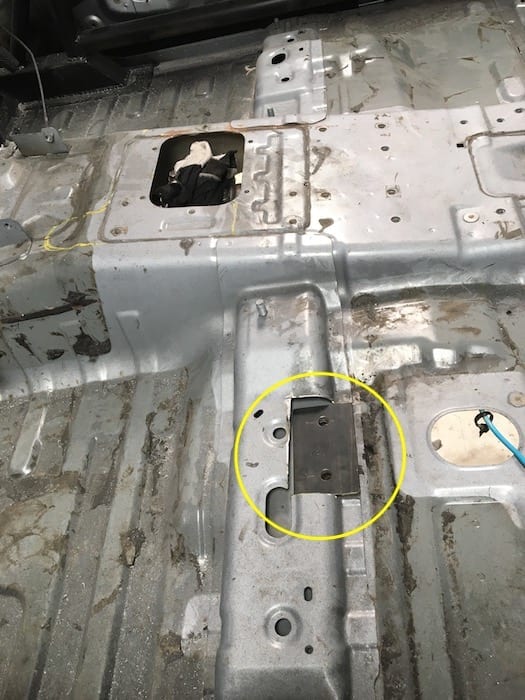
This mount bolts through the body. Without reinforcement, the mount would rip out of the floor.
Of course, it coincided with a stiffener web on the floor in the cab… Murphy’s Law. So we cut part of this out, making room for 12mm thick flat bar. This was fully welded in and the web was then boxed around the flat bar for strength. See photos below.
Fitting The Tail Shafts
With the engine and gearbox fitted, it was time to check what surgery the tail shafts would need. Remembering the Hewland gearbox was originally built for a Mitsubishi, the splines fortunately matched.
The rear tail shaft had to be shortened. Dave cut it down and re-welded, then spun the shaft in a lathe and skimmed it until the tail shaft was balanced. He’s done this successfully several times over the years.
The front shaft was short. However this was easily fixed with a spacer at the front end.
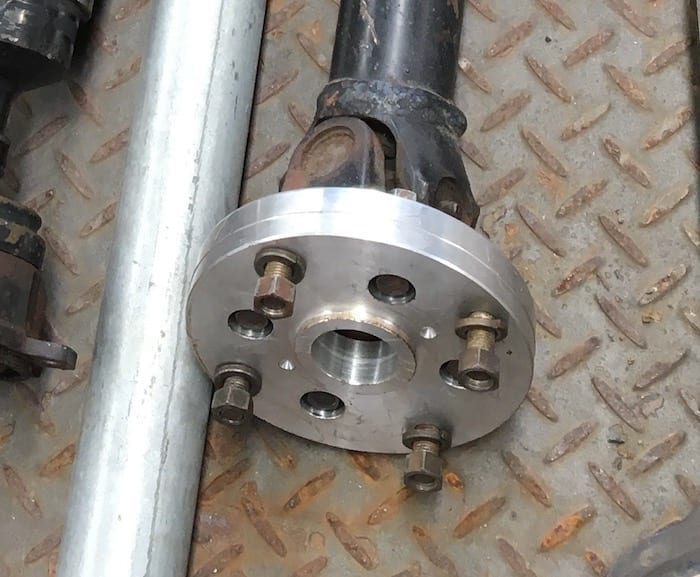
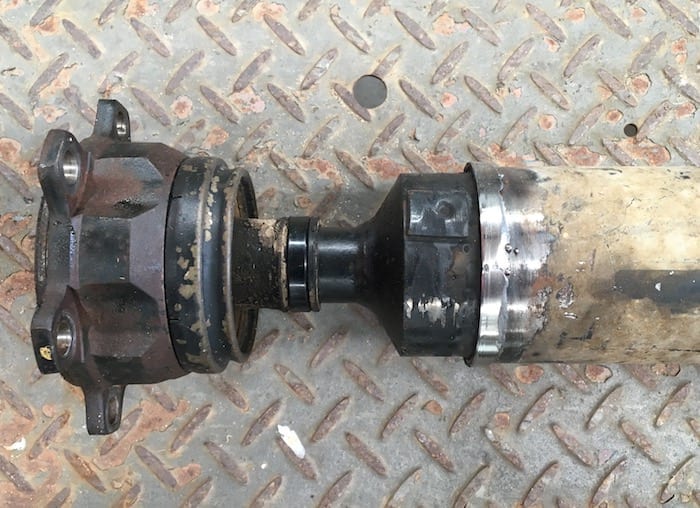
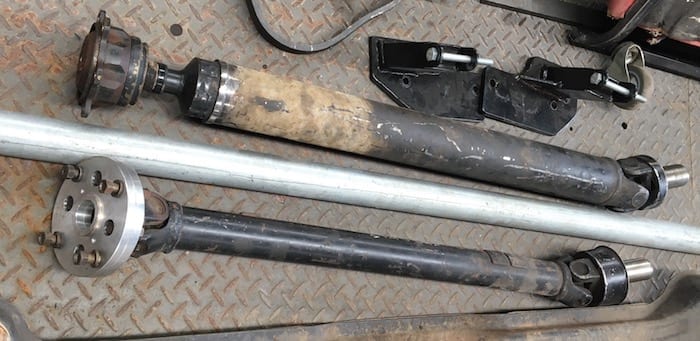
Slowly but surely, this build is coming together.
Next time: Building the exhaust system.
Get your BONUS Guide:
Download “What’s Involved In Building An Off Road Race Car”
+
Cable Sizing Calculators… And More!
at our FREE RESOURCES Page!
Any questions or comments? Go to the Comments below or join us on Pinterest, Facebook or YouTube.
Any errors or omissions are mine alone.
Want to know more about off road racing? Then go here.

