Note: This article contains an affiliate link to Outback Equipment. If you click through and make a purchase, we earn a small commission at no extra cost to you.
A brand new Cel-Fi GO mobile booster pack was sitting there, waiting for me to install into our truck based camper. Cel-Fi recommend using an authorised installer, however I was keen to do it myself. You see, I wanted to learn as much about this package as I could.
So, how easy is a Cel-Fi GO to install?
What Do You Get For Your Money?
We bought the Cel-Fi GO Mobile Trucker Pack. Why this one? It’s suitable for vehicle installations, and the external antenna has the most gain. Gain?? This simply means the antenna is the best one available for picking up weak mobile signals in flat country.
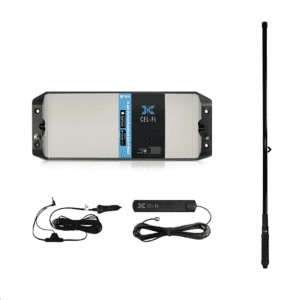
You get an external antenna, an internal antenna, a Cel-Fi GO repeater unit and 12V power cord.
But the long external antenna was a problem at first. Or rather, the position I chose to install it was a problem. To me, the obvious place to install the external antenna was on the bull bar. But there are two major problems with this.
With a cabover truck (flat nose), the metal on the front of the cab interferes with the incoming signal. And because the external antenna is so tall, it looks straight through the windscreen. This means isolating the external and internal antennas is difficult, as they need to be isolated by metal.
For more details on antenna isolation, go to the sections in this article, titled “Antenna Isolation” and “Clear Space”.
We replaced the antenna with a much shorter external antenna, and relocated it to the headboard of the tray. There, it had clear air round it and was much easier isolate from the internal antenna.
The downside? The shorter antenna didn’t have as much range as the taller antenna. In our case however, this was more than compensated for by the smaller antenna having no interference from the cab.
To increase the range, I purchased a GME Fold-Down Antenna Mounting Bracket and re-fitted the original longer antenna. This allows us to get the best possible reception. And when we’re in locations with low clearance, we simply fold the antenna down out of the way.
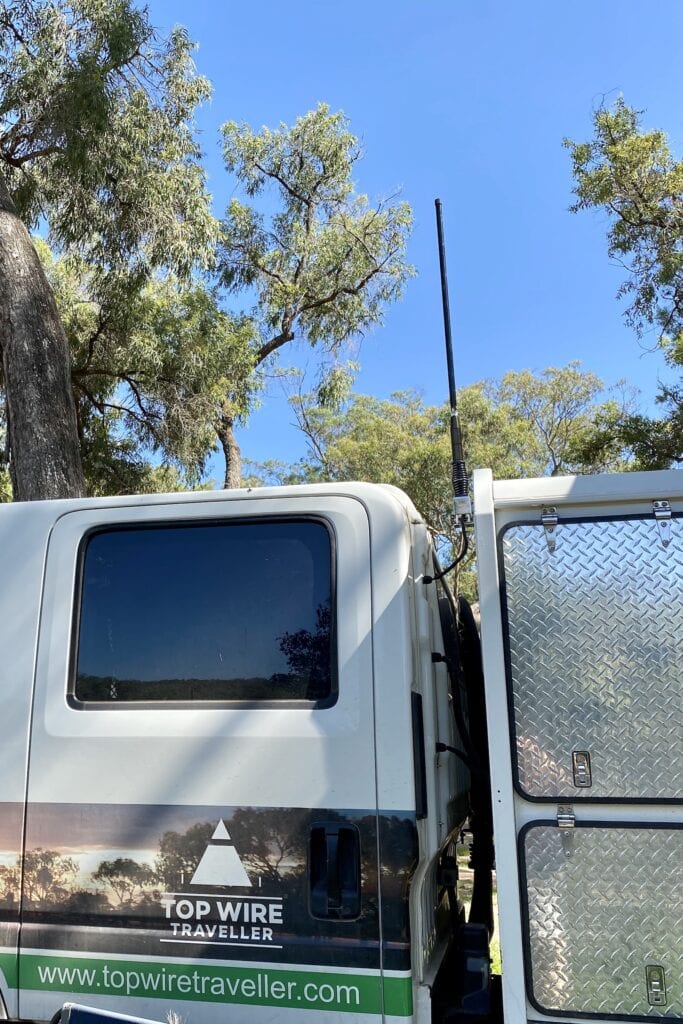
Just be aware you need to modify the GME bracket to suit the large antenna. Go here for more details.
You can buy a GME Fold-Down Antenna Mounting Bracket here.
Finding A Location For The Repeater Unit
When choosing a position for the Repeater Unit, you need to consider 3 things. Where is the 12V power supply coming from, is the external antenna cable long enough to reach the unit and is the internal antenna cable long enough to reach the unit?
Actually, 4 things. Make sure the Repeater Unit is protected from accidental damage.
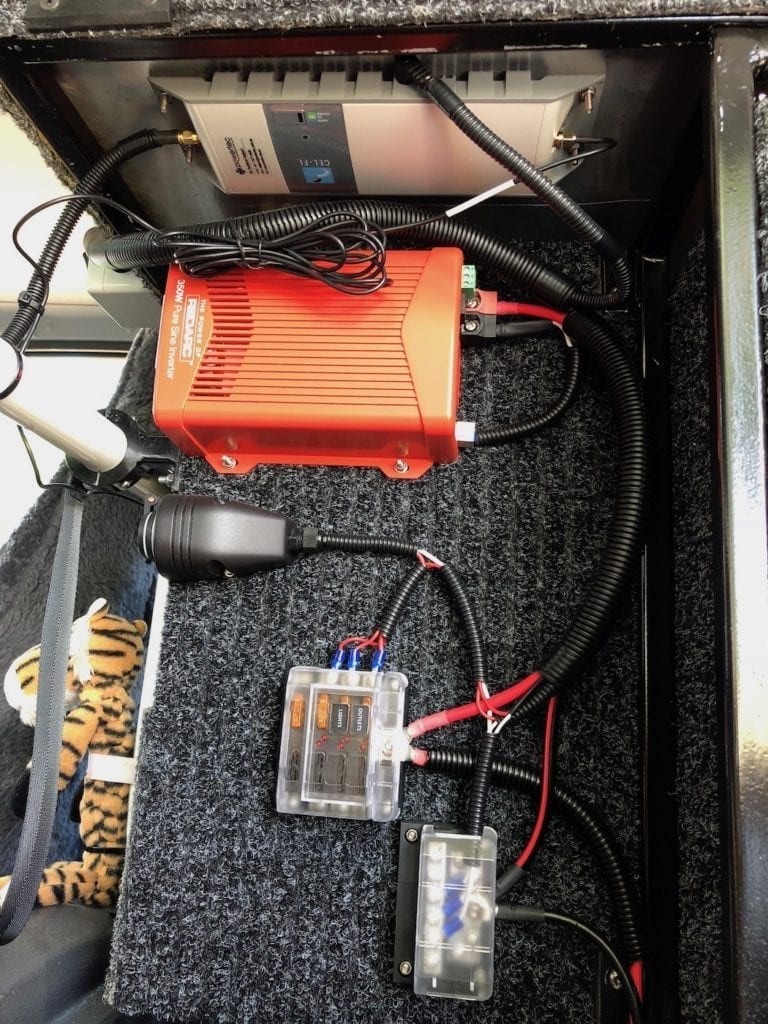
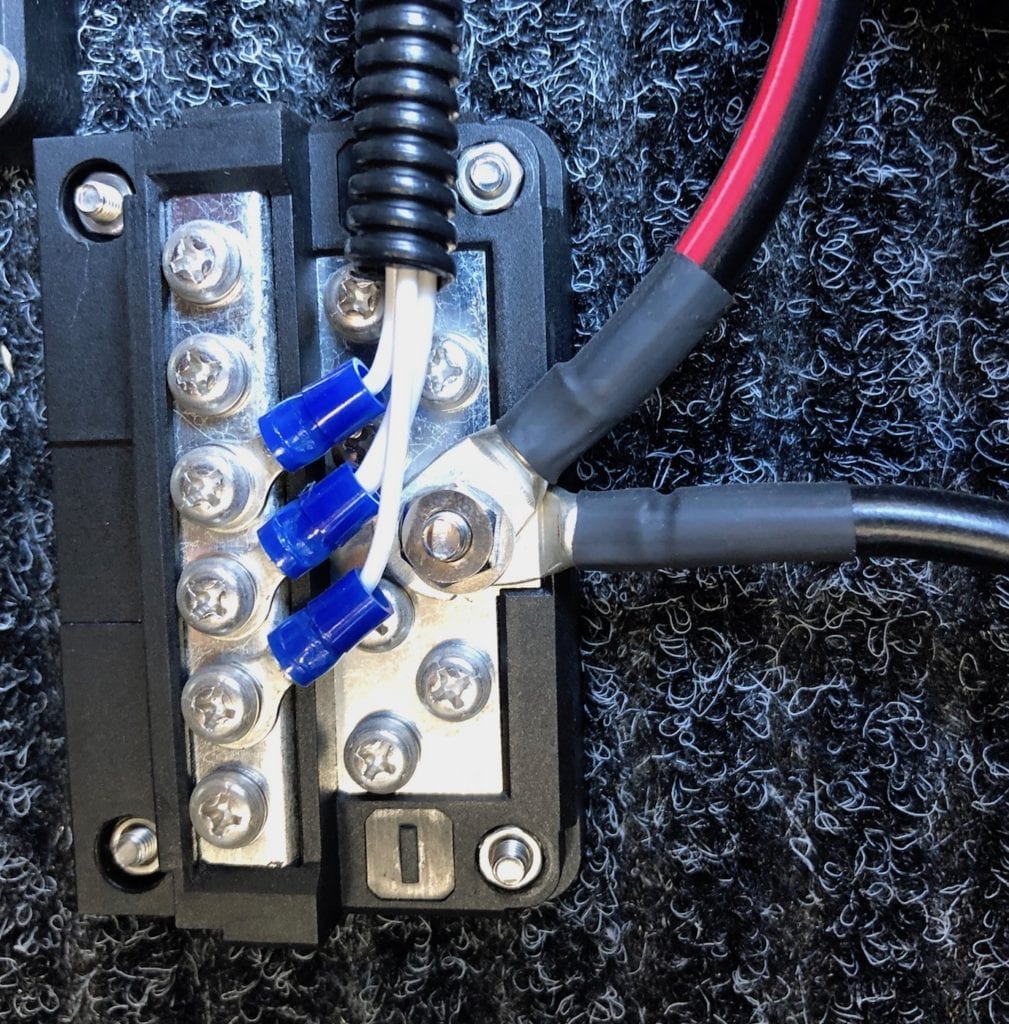
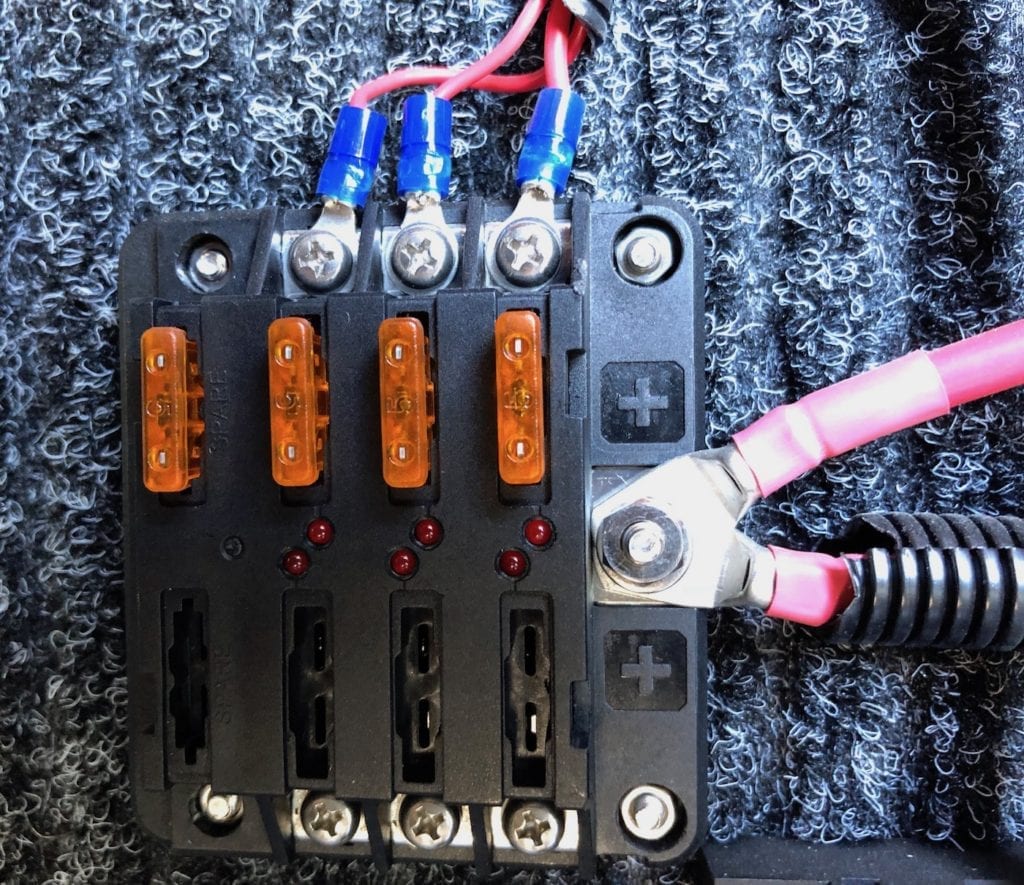
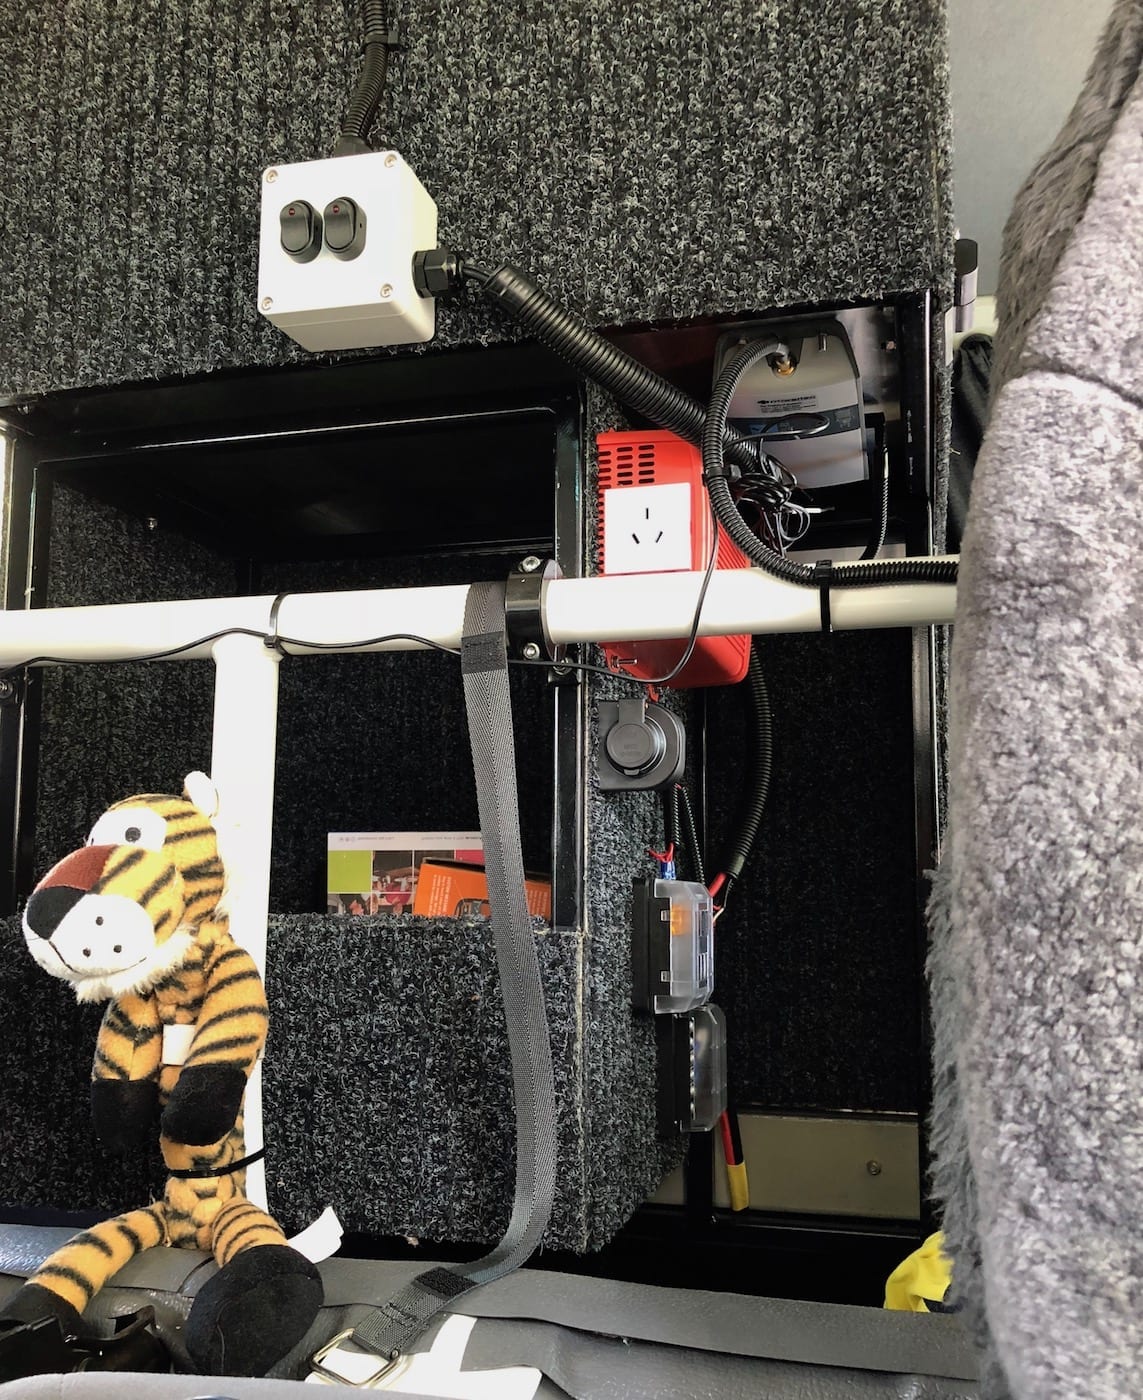
We had the perfect spot for ours, a drawer system inside the truck. On one side of this, we have a power supply coming directly from a 12V second battery system. This power supply terminates at two terminal blocks, a positive and a negative. Further, the positive terminal block doubles as a fuse block.
Above this is a 350W inverter. Above the inverter was a clear space, ideally sized for installed the Cel-Fi GO Repeater Unit. So it was a simple matter of drilling some holes and bolting it on.
Supplying Power To The Repeater Unit
The Cel-GO package comes with a power cable. It has a lighter plug, so you can plug it into a standard lighter socket.
However it wasn’t quite that easy for us. Firstly, the truck runs on 24V, so the lighter socket is a 24V unit. Secondly, these connections are notoriously unreliable. They wobble and fall out, especially in a truck.
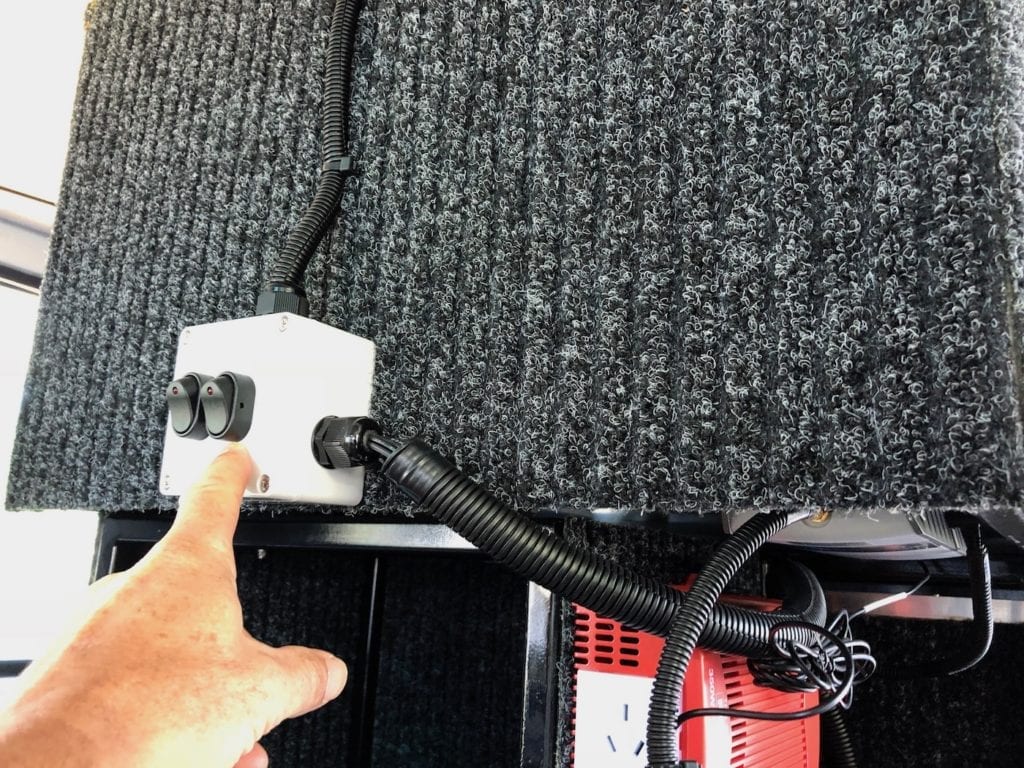
So we decided to hard-wire the unit. We already had our 12V power supply close by. We had also fitted LED lighting in the back seat of the truck, so we also had a small terminal box with a switch.
It was simply a matter of installing a second switch for the Cel-Fi GO Repeater Unit and running some cables. We cut the lighter plug off the supplied power cable and hard-wired it.
We used 7.5A twin cable, more than enough for the unit. A 5A blade fuse completed the job. So now we had a reliable 12V power supply and a means of turning the Repeater Unit on and off. Perfect!
Installing The External Antenna
The external antenna’s cable is pretty thick. So it takes a bit of thought to get a neat cable run. With the antenna bolted to the headboard, we had to punch a hole in the back of the cab and fit a cable gland.
Now this is where it gets tricky. The cable is quite short, for a truck at least. Ours just reaches the Repeater Unit without being tight. Be careful, check this before you decide on a location for the Repeater Unit and the antenna.
Where To Mount The Internal Antenna?
This antenna should be easy to install. With some double-sided tape on the back, you should be able to select a spot and stick it on.
However, we had the isolation issue I mentioned earlier. So I decided to temporarily mount the internal antenna with a couple of cable ties. This was a good decision, as I moved it around many times before finding a suitable spot.
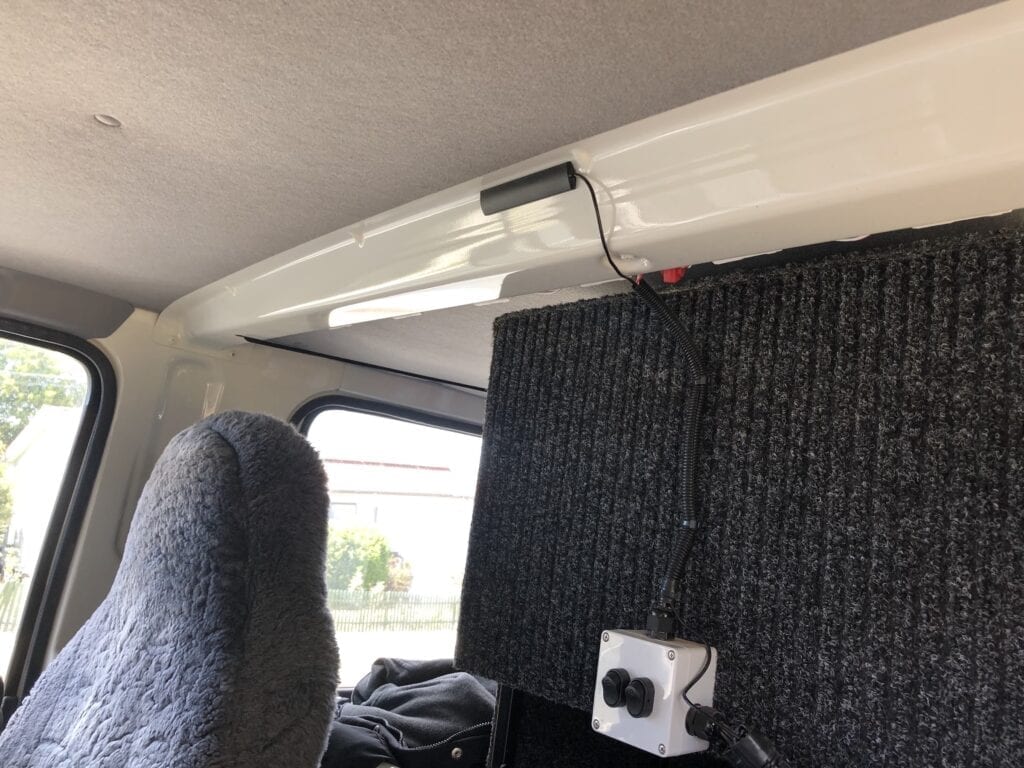
We eventually found a spot up high on a bulkhead behind the front seats. The extra metal of the bulkhead helps with isolation, plus the internal antenna is facing us when we’re sitting driving.
Money Well Spent
So that’s it. The installation is complete. Sounds easy doesn’t it? Except it’s not.
Have a read through this article before you attempt your own installation. I can’t over-emphasise the importance of isolation between the two antennas. It is absolutely critical to achieving maximum boost from the Cel-Fi GO.
Thankfully, the Wave app (the app you use to set up the Cel-Fi GO) now tells you if the antennas are adequately separated. When I did my installation, they didn’t have this feature on the app.
This is where authorised installers come into the picture. They should (hopefully) be far more experienced in the subtle art of antenna isolation than you and me.
Despite our less-than-perfect antenna isolation, we now have a Cel-Fi that significantly extends our mobile phone coverage. We’ve been to several places where previously we had effectively no signal. Now we can send and receive mobile calls, check emails and so on.
There’s no doubt the unit does the job. We’re really happy with it and for us, it’s money well spent. After all, our livelihood depends on being able to connect online.
Go here for more How-To Guides and tips.

Get your Traveller’s Guides
… and a whole lot more at our FREE RESOURCES Page!
Any questions or comments? Go to the Comments below or join us on Pinterest, Facebook or YouTube.
Any errors or omissions are mine alone.

Great article. I am buying a unit to put in my caravan and sought advise from sellers of the units regarding authorised installers in Newcastle NSW. Would you believe there are none. I have spoken to a few local Auto Electricians and none have any experience in installing these but say it would not be a problem. Given this, and your excellent article I am going to have a go myself. My only concern is drilling through the side wall of the caravan to install the outside aerial. More research needed on this. Thanks again for your article.
Thanks Gary! I’m pleased to know this article was helpful. You should be okay, the biggest issue is isolating the internal and external antennas from each other. The Wave app now has a function to help with positioning the antennas… I just haven’t had a chance to update this article with the new information. Cheers, Andrew
Jack here from Queensland. If I install one in my motorhome, which is parked in the garage part of the house, would it provide signal into the house to our devices about 12 metres away, and through 2 walls?
Hi Jack, No the internal antenna only has a short range. For example, our internal antenna’s mounted in the cab of our truck, facing forward. We can pick up a signal when standing a few metres in front of the truck or just off to either side of the cab. Cel-Fi do have other devices designed for houses and buildings, but I don’t know much about them. Cheers, Andrew