
A Custom Aluminium Air Intake
Last time we showed you how Dave built a new exhaust system to suit the Pajero ute.
Let’s Get This Air Intake Sorted
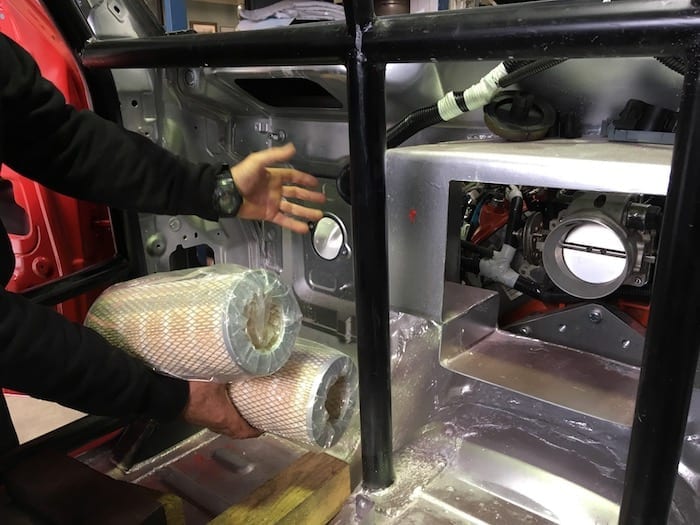
In an earlier article, we explained why the engine sits where it does in the engine bay. The decision was made to fit the air filters in a custom-made box outside of the engine bay.
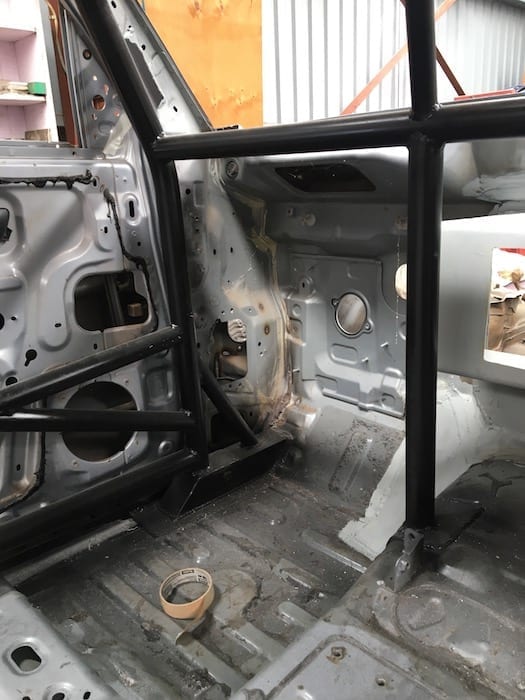
And the best place to fit the filters was at the front of the navigator’s footwell.
To refresh your memory on why we need such large filters, take a look at this video. These dusty conditions are typical in an off road race. Just imagine being caught up in that dust as you were trying to pass.
The Inlet Point
The air inlet will come from the gutter channel under the windscreen. We used the old heater intake slot.
Why here? Well, it’s “clean” air – or at least way cleaner than most other places. You don’t pick up any (or at least, much) of the dust generated by the vehicle.
We’re a bit concerned about starving the intake. If this is the case, then we’ll simply make a deflector on the bonnet to push air down into this area.
The Outlet
This was tricky. We needed to get 4” piping out of the box, up and into the throttle body without going around the world. Eventually we found a spot to locate the outlet – one that would minimise the number of bends and keep the piping out of the way.
Origami With A Difference
So we made up a dummy air intake box from corrugated plastic. This material is sturdy and keeps its shape. To make 90 degree bends, you simply nick it with a Stanley knife then bend it.
Conveniently, there were two studs on the firewall in the perfect position to mount the box. So their positions were marked on our origami masterpiece.
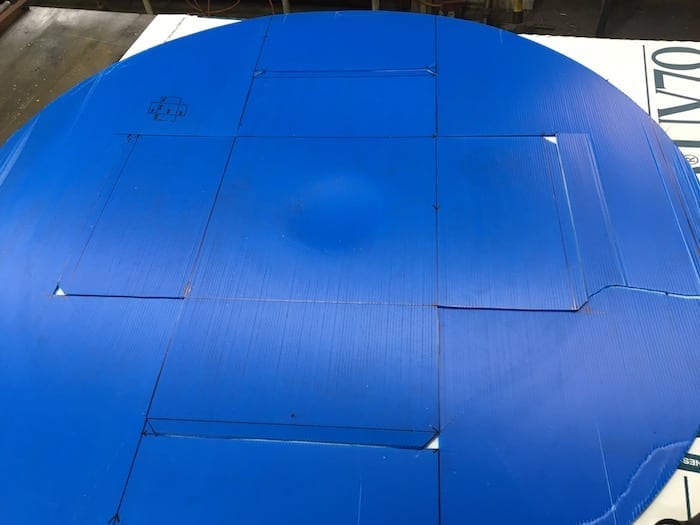
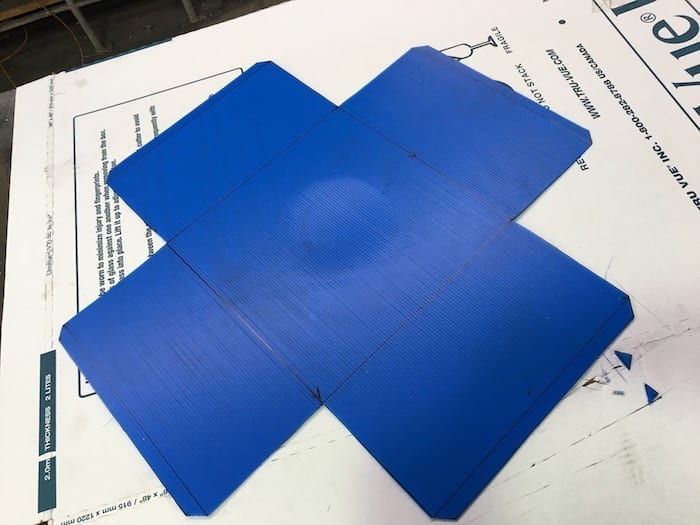
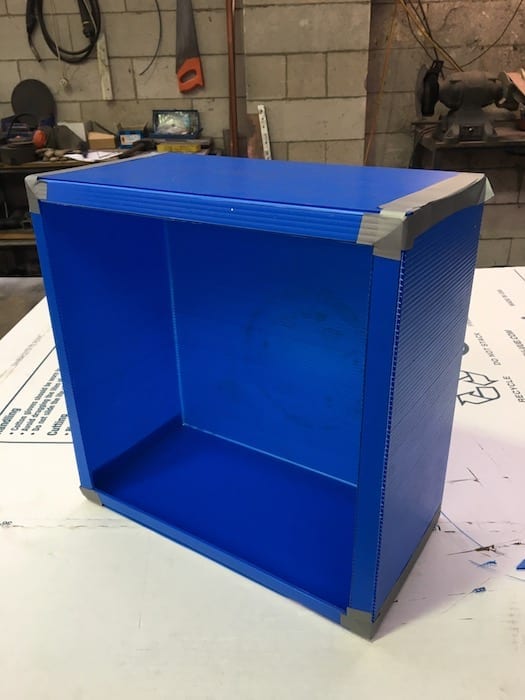
We pretty well dummied the whole thing in plastic corrugated sheet – the inlet, outlet, plenum chamber and spigots for the air filters. Since someone else was going to fabricate the real deal, we didn’t want any expensive mistakes to sort out afterwards.
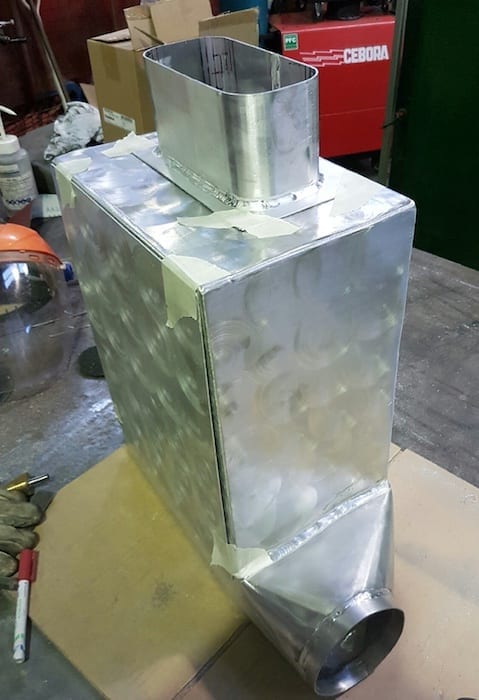
Getting It Made
Next stop was an industrial fabrication shop – someone I’ve known for years and trust.
They made the final product from 1.5mm aluminium sheet. We wanted to keep it lightweight, but of course welding such thin sheet is a nightmare.
To keep it looking pretty and hide the distortions created by welding, they buffed the external faces. Water drains were fitted in the base, through the bottom plenum chamber. Then they came up with a clever way to clamp the air filters in firmly – much better than the standard threaded rod down through the middle of the filters.
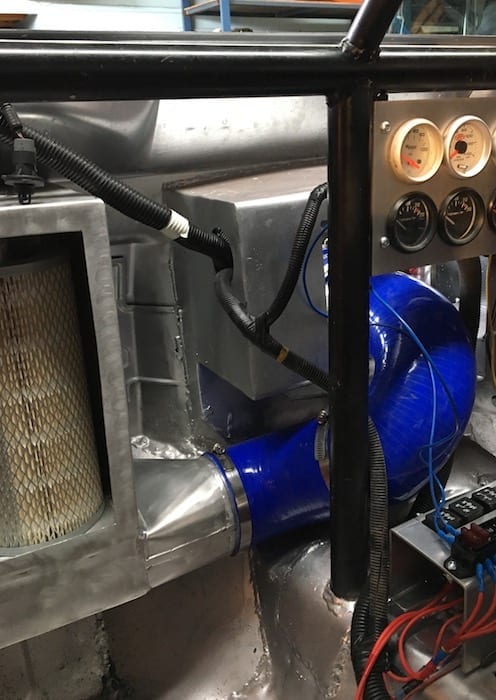
Fitting The Air Intake Box
With the finished product back in our hands, it was time to fit it. The box bolted neatly to the existing studs and Dave made up some straps to secure the bottom to the firewall.
The inlet duct fitted and was sealed with Sikaflex. Then Dave bought some 4” silicone bends and piped the outlet to the throttle body. The whole thing is a neat fit and still gives the navigator plenty of legroom.
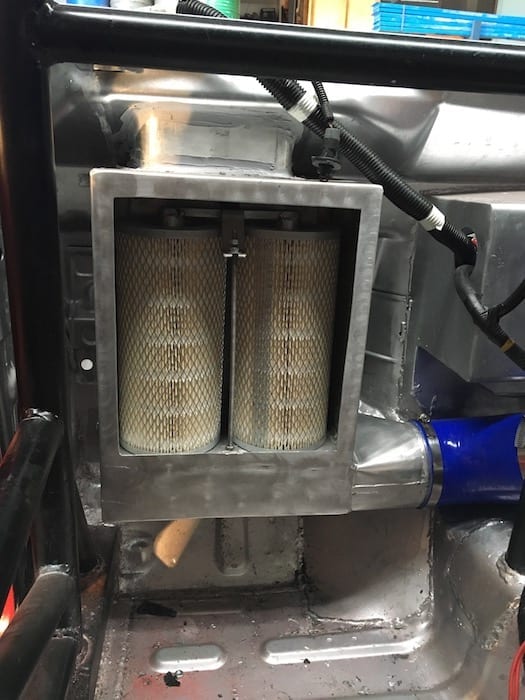
All that remains now is to fit the front cover, fit the intake air temperature sensor, glue in some closed cell neoprene to seal between the filters and the base, then seal the silicone tubing where it passes through the firewall.
Another job done!
Get your BONUS Guide:
Download “What’s Involved In Building An Off Road Race Car”
+
Cable Sizing Calculators… And More!
at our FREE RESOURCES Page!
Any questions or comments? Go to the Comments below or join us on Pinterest, Facebook or YouTube.
Any errors or omissions are mine alone.
Want to know more about off road racing? Then go here.