
Review: Advanced Elements Inflatable Kayak, Cruising In Comfort Package
Note: This article contains an affiliate link to Camera House. If you click through and make a purchase, we earn a small commission at no extra cost to you.
If you want to carry a kayak without having to wrestle it onto the roof of your vehicle, then an inflatable kayak is a great option.
After investigating what’s on the market, we chose an Advanced Elements inflatable kayak.

Why Advanced Elements?
After spending a lot of time comparing brands and features, the Advanced Elements kayak stood out from the crowd.
They have a built-in aluminium frame in the bow and stern. This keeps the kayak tracking in a straight line. When inflated, both bow and stern are completely rigid. So they are comparable to a hard-shell kayak.
Inflation and deflation is quick and simple. Advanced Elements have a clever valve that makes inflation and deflation really easy. You don’t have to worry about air escaping when removing your inflation tube, and you don’t have to spend ages squeezing out the air when you’re packing it away.
The air bladders are protected by multiple layers of material, greatly reducing the chances of a puncture. And if you do somehow manage to get a puncture, the kayak has two main chambers. So you won’t sink to the bottom without a trace!
When deflated, the kayak folds away into a bag. For us this was critical. There was no way we were going to add a rigid kayak on top of an already tall vehicle.
So what did we get in the package?
The Cruising In Comfort Package
After a couple of discussions with Oz Inflatable Kayaks, we settled on their Cruising In Comfort Package.
Bear in mind, this package best suited our needs. No doubt your needs will be different, if only slightly. So talk to them before ordering.
The Cruising In Comfort Package included:
- Advanced Frame Convertible kayak,
- Kayak cart,
- Foot pump,
- Pressure gauge for pump,
- A set of 3 roll-top dry bags,
- Two paddles that break down for storage.
We also ordered life jackets.
Now to the most important question. What’s it like to set up?
Setting It Up
This is the part I was most concerned about. If our inflatable kayak took ages to set up, then I knew we’d never use it. The moment of truth had arrived…
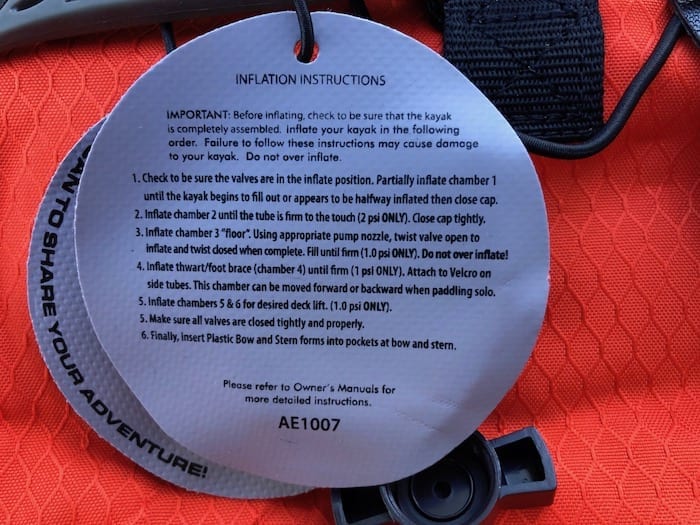
Well it turned out to be simple, really simple. Once we figured out where the valves were, it was simply a matter of inflating each chamber. The pressure gauge was really useful here. We simply followed the recommended inflation pressures on the instructions attached to the kayak.
It’s worth pointing out that the aluminium bow and stern frames are built into the kayak. You don’t have to fit them or set them up. They’re an integral part of the body.
With the footrest inflated, we fitted the plastic bow and stern forms, seats and the footrest. Then we were ready to go. Well almost.
Grab lifejackets, drop phones and keys into a roll-top dry bag, click paddles together… oh, and throw in a water bottle plus the GoPro.
You’ll find plenty of clips where you can attach the roll-top dry bags. This ensures you won’t lose your valuables if you capsize.
We carried our inflatable kayak down to the water this time. The kayak cart was a bit of a mystery at that point. We were keen to get the kayak in the water… the kayak cart could wait.
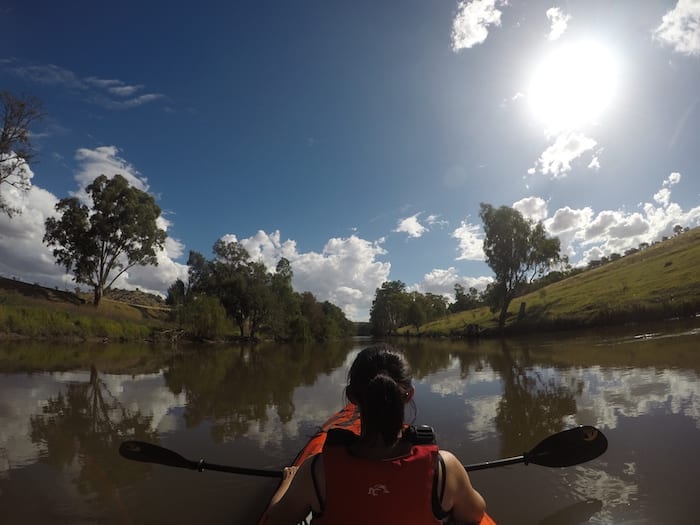
On The Water
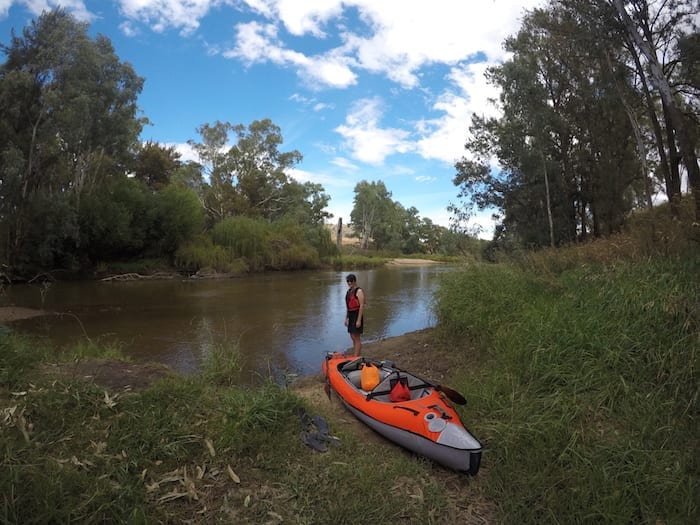
Time to test this beast! We were camped on the Lachlan River at Darbys Falls near Cowra NSW. The river was fairly shallow and running quite swiftly.
With some trepidation, we pointed our inflatable kayak upstream, jumped in and started paddling.
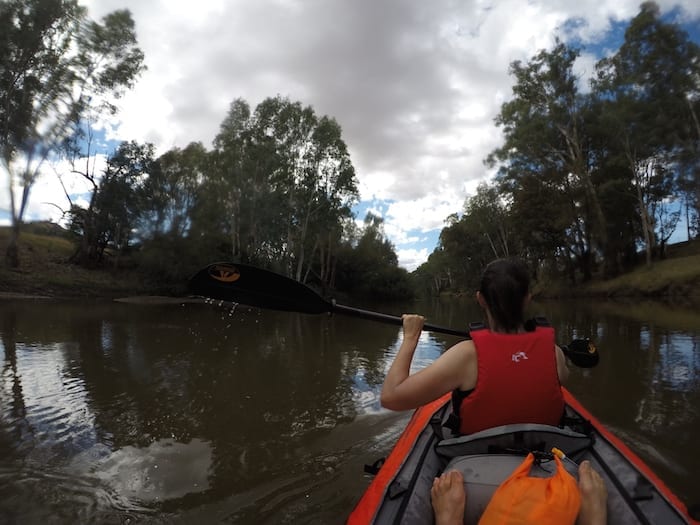
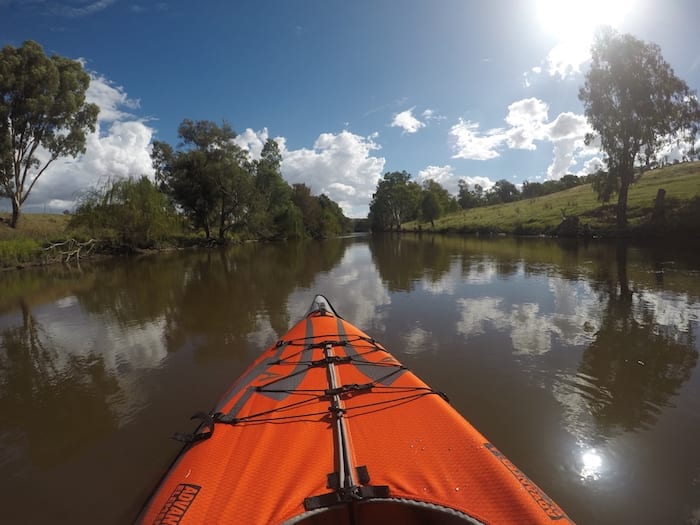
And what a surprise! We paddled upstream with ease. Pretty well straight away we had to negotiate fallen branches, rocks and all manner of obstacles… all against the current. This was an excellent test of the kayak’s manoeuvrability and it passed with flying colours.
Keep in mind, we’re novices. We’ve used kayaks before but we’re certainly not experts.
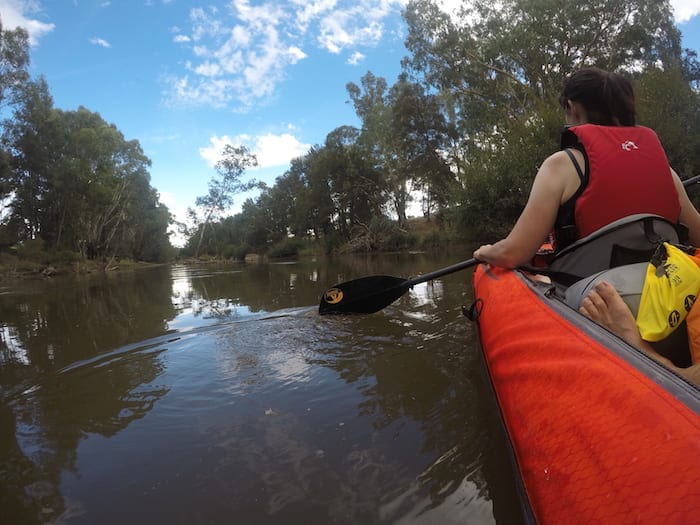
Once into calmer waters upstream, we both had grins from ear to ear. This kayak was way better than we expected. It was so responsive and stable. Whenever we changed direction, the kayak would immediately respond and go wherever we wanted it to. No battling to keep it on track and no scary moments.
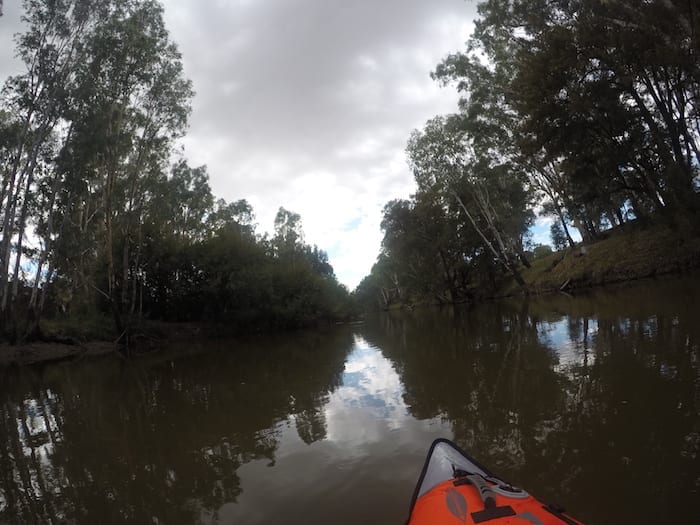
After quite a long paddle upstream, we turned around and floated peacefully back down the river. As we glided, the inflatable kayak stayed straight. There was no hint of it wanting to drift left or right. Very impressive!
Carrying It Back Up The Hill
With our maiden voyage successfully completed, it was time to carry the kayak about 100 metres back up a slope to our camp.
Surprisingly, we weren’t wet. In fact we were hardly even damp. The only water that came in was from water splashing off the paddles.
Even with two of us carrying the kayak, it was quite heavy after a while. In addition to the weight of the kayak (about 25kg), we also had life jackets, paddles plus all the other bits and pieces we had taken.
So we decided it was time to figure out the kayak cart.
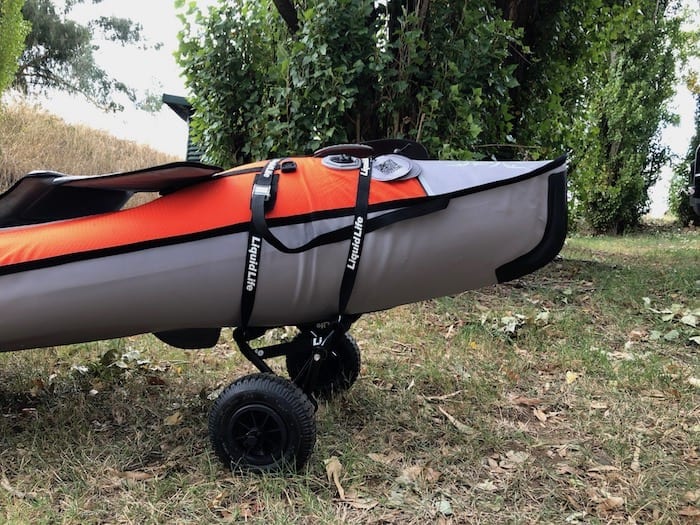
The Mysterious Kayak Cart
The kayak cart has two U-shaped bars that pivot open to form a cradle. Detachable wheels are easy to fit. The cart is supplied with one strap, used to strap the kayak to the cart.
With some fiddling, we settled on a good place to locate the cart under the kayak. Then we strapped it on using the one strap.
However, the cart kept folding up whenever we pulled the inflatable kayak over a bump.
So we tried attaching the cart by attaching the strap to just the front U-shaped bar, instead of both. This did the trick. We wheeled the kayak over rocks and rough ground and it performed effortlessly.
The only downside? If you have to back up, the cart will fold up. This is not a big deal once you’re aware of it.
Packing It Down
After a few more excursions onto the water, the time had come to pack down our new toy.
Remove the footrest and seats, then you simply twist four small valves (footrest, floor and two for deck lift) to deflate. Depress and twist the valves for the two main chambers and the kayak quickly deflates.
We used the “deflate” feature on the foot pump to get the last of the air out of the main chambers.
With the air out, fold the kayak in half down the middle then fold it over on itself a few times. Slide the bag over, throw in the deflated footrest and seats, zip it up and you’re done!
Would We Recommend The Advanced Elements Inflatable Kayak?
In a word, yes. Without hesitation.
This inflatable kayak is perfect for our needs. We love camping on inland rivers and billabongs, so we now have a means of exploring these places.
The best part? It’s easy to set up and pack down, so we actually use it.
What could be improved? Well, some instructions on how to set up the kayak cart would be handy. There is a video on YouTube, however it’s not for the model we have.
What else? Just a small one. We’ll have to buy a storage bag for the paddles, foot pump and pressure gauge. The thin plastic bags they’re packaged in won’t last long.
These are just minor things. Overall, our Advanced Elements inflatable kayak gets a huge tick of approval.
Remember, this inflatable kayak suits our needs to a tee. However, it may not be the right one for you. Talk to the suppliers before making your purchase.
Any questions or comments? Go to the Comments below or join us on Pinterest, Facebook or YouTube.
Any errors or omissions are mine alone.
NOTE: We purchased the Cruising In Comfort package at retail price. Our reviews are always honest and authentic – we tell it how it is.
Go here for more Reviews on Advanced Elements inflatable kayaks.
Hi Andrew, Hope this correspondence finds you both well.
The Oz kayak are you still happy/ impressed?
If I were to purchase kayak how do I keep you in the loop so you get a benefit (which I have no problem with).
I see you are busy crisscrossing the eastern states, in spite of Anna doing her best to place ‘speed bumps’ wherever she can in Qld.
Our only venture of any significance this year was crossing the Simpson, no issues, get the tyre pressure correct and the 4×4 NPS seems to go anywhere.
Merry xmas to you both, cheers.
Hi Neil,
Yes, we’re still happy with our Advanced Elements kayak. It’s still going strong!
Unfortunately, we no longer get commission from Oz Inflatable Kayaks. They decided to end the agreement. Not sure why, but that’s their decision. Thanks for the reminding me… I’ve removed the links to them.
Glad you’re enjoying the Isuzu NPS, they’re a great touring vehicle.
Cheers, Andrew